Avocado Dye Recipe and Tutorial
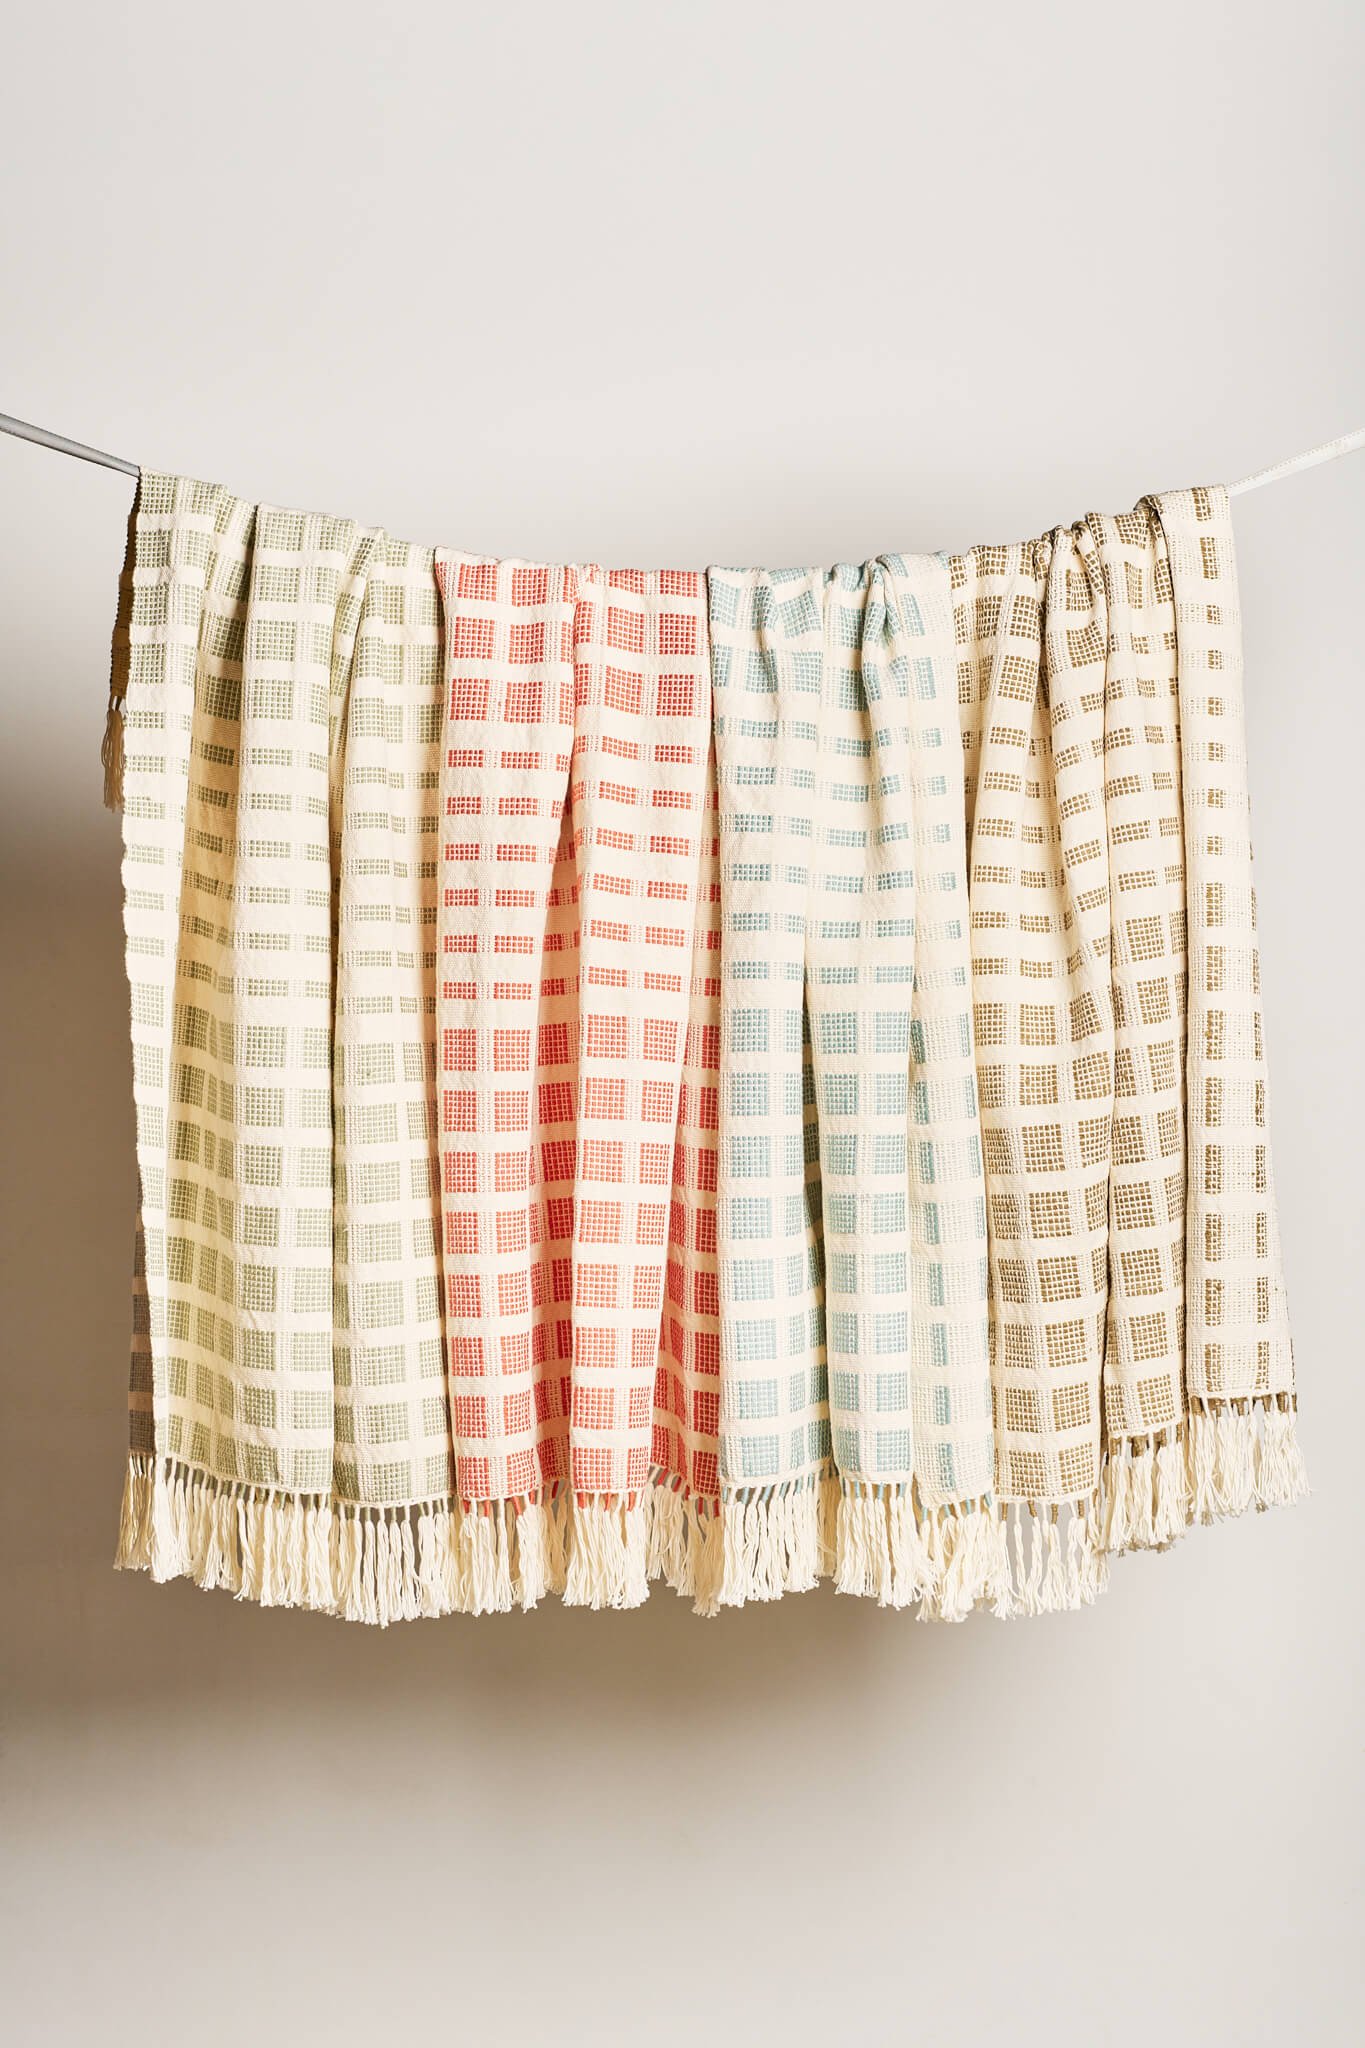
As a brand dedicated to revitalize the craft of weaving and naturally dyeing, we are invested in learning and teaching the beautiful and ancient art of natural dyeing. Natural dyeing is the practice of using natural ingredients such as plants and food waste to obtain colors to dye fabric with. However, with the invention of synthetic dyes, the entire textile industry has relied heavily on petroleum-base substances to dye our fibers, contaminating our water sources, soils and affecting the health of the people who directly interact with these dyes. Natural dyes on the other hand, are biodegradable and cause minimal environmental impact when used with safe mordants. For our business, using natural dyes instead of chemical ones is a way we can directly minimize our environmental impact, creating products that can be 100% biodegradable at the end of their life cycle.
We also love how fun this craft can be! It makes for a great science and art project for families and kids learning at home during this season of quarantine. You only need to save some of your natural waste material and/or find local plants to dye some old cotton t-shirts or new wool yarn to knit with. We decided to start with a very simple recipe many people can do at home because all you need is your avocado pits and skins! We will be sharing more recipes over the next months, but we though this one was an easy one for those who have never dyed with food waste material before! Let’s get started.
What you are going to need:
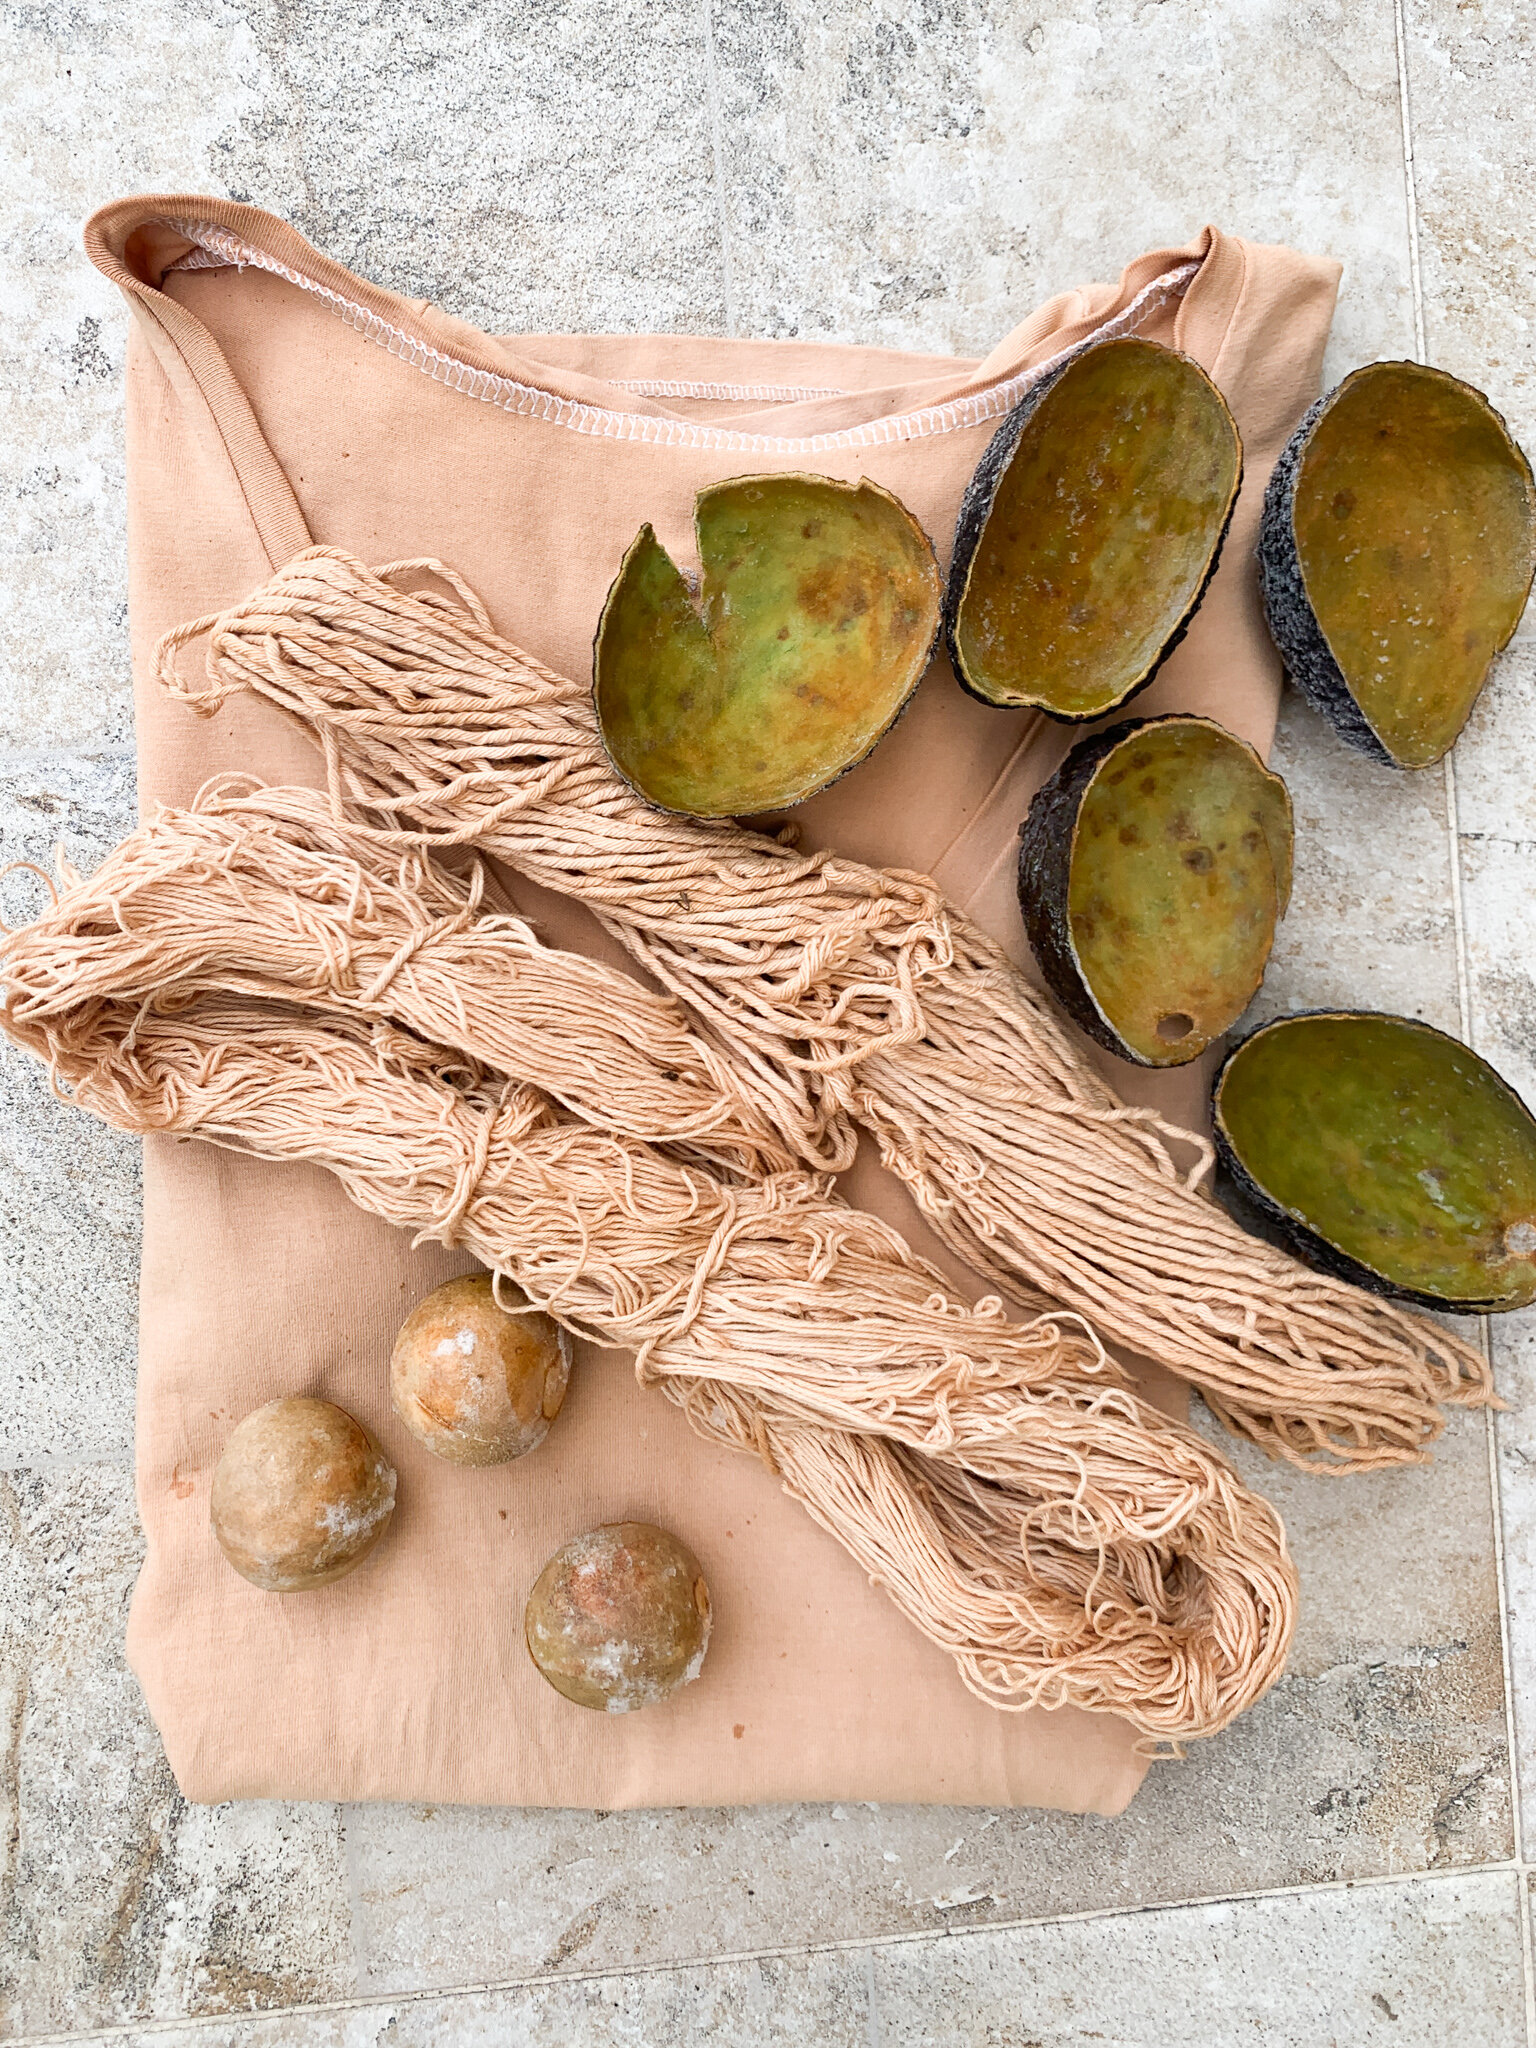
Avocado skins and pits. I normally collect them over 2 weeks and place them in a bag and put them in the freezer to avoid them collecting mold. Collect enough to make up around the same weight as your fiber goods. For this project I recommend between (100-200g). Also, make sure to wash off the green remnants of avocado well. I recommend using the hass avocados instead of the bigger ones.
100-200g of any natural fiber fabric or yarn. Natural dyeing only works with natural fibers. Make sure that the yarn skein or cloth that you pick is made out of cotton, wool, linen, alpaca, any animal or vegetable fiber. That means no polyester or nylon fabrics.
Alum powder or an aluminium stone. There are some great wesbites that sell natural dyeing materials. Dharma Trading sells alum powder, you can order online here. If you are using powder, you will need only 1 tablespoon of powder per 100g of fiber. If you are in Colombia or in other countries outside the US and Europe, I recommend buying aluminium stone, which can easily be found in pharmacies or online. They sell small packs of 1 stone in pharmacies and you just need 1 or 2 for this project. (I am using alum stone for this tutorial).
A large staining steel pot.
A pair of heat resisting gloves.
A wooden spoon.
Optional: If you wish to do some shibori (tie-dye) design to your piece then you’ll need rubber bands, cotton rope and/or wood blocks.
First let’s go through some essential vocabulary
A few things first before we dive into the process. As I mentioned above, natural dyeing is an ancient craft where science meets art. I want to explain some important words that I will be using as I explain each step.
MORDANT/MORDANTING
To make sure the colors we obtain from our dyestuff do not run off once we wash our fibers, we need a mordant. The word mordant means “to bite” and that is literally what the mordant’s purpose is. A mordant is generally a natural chemical (such as aluminium which we will be using in this tutorial) that adheres to the fabric in a molecular level with the goal of preparing the fiber molecules to adhere to the molecules of the dyestuff better. This step is essential if you want your color to last and not fade away when washed after the dyeing process. This is what makes your color last for a long time, we call it color-fast.
dyestuff
We will be referring to our avocado pits and skins as the “dyestuff”. This word is used to describe the power, substance or material that when used for dyeing purposes it yields color.
PROTEIN FIBERS
Protein fibers are fibers that come from animals. Examples include wool, angora, mohair, cashmere, alpaca and also silk from insects. Protein fibers are made out of 20 amino acids. Dye particles generally adhere more easily to protein fibers than cellulose because they have many different substances to attach to.
CELULLOSE FIBERS
Cellulose fibers are fibers that come from plant sources. Examples include cotton, flax, hemp, jute, linen and bamboo. Cellulose is a polymeric sugar polysaccharide which means the molecules they are made out of are mainly glucose. When dyeing cellulose fibers, dye particles can only adhere to sugar particles as suppose to 20 amino acids in protein fibers. This is why when cellulose fibers are dyed, the color tends to be less strong than in protein fibers.
Steps
Mordanting your fibers
Firstly we are going to prepare your fibers to soak up and adhere to the color as much as possible. Avocados have a great advantage over other dyestuffs and is that they contain tannins. Tannins are found in wood, bark, leaves and fruit of plants as various as oak, rhubarb, tea, walnut, cranberry, cacao, grapes and wine. The purpose of tannins is to protect the fruit or plant from animals eating them before they are ripe. But most importantly, tannins are natural mordants for dyeing fabric. In other words, avocado dyeing has an advantage and is that it already contains natural mordants to make sure the color won’t wash off. However, I personally prefer to always mordant all my fibers with aluminium prior to dyeing because it makes the colors stronger and even more long lasting. Is a simple easy step that helps you rest asure your color won’t wash off after dyeing.
Boil enough water in a medium size pot. Just enough to cover your fibers.
Introduce 1 aluminium stone or 1-2 teaspoons of aluminium powder (based on the weight of your fibers)
Mix thoroughly until dissolved.
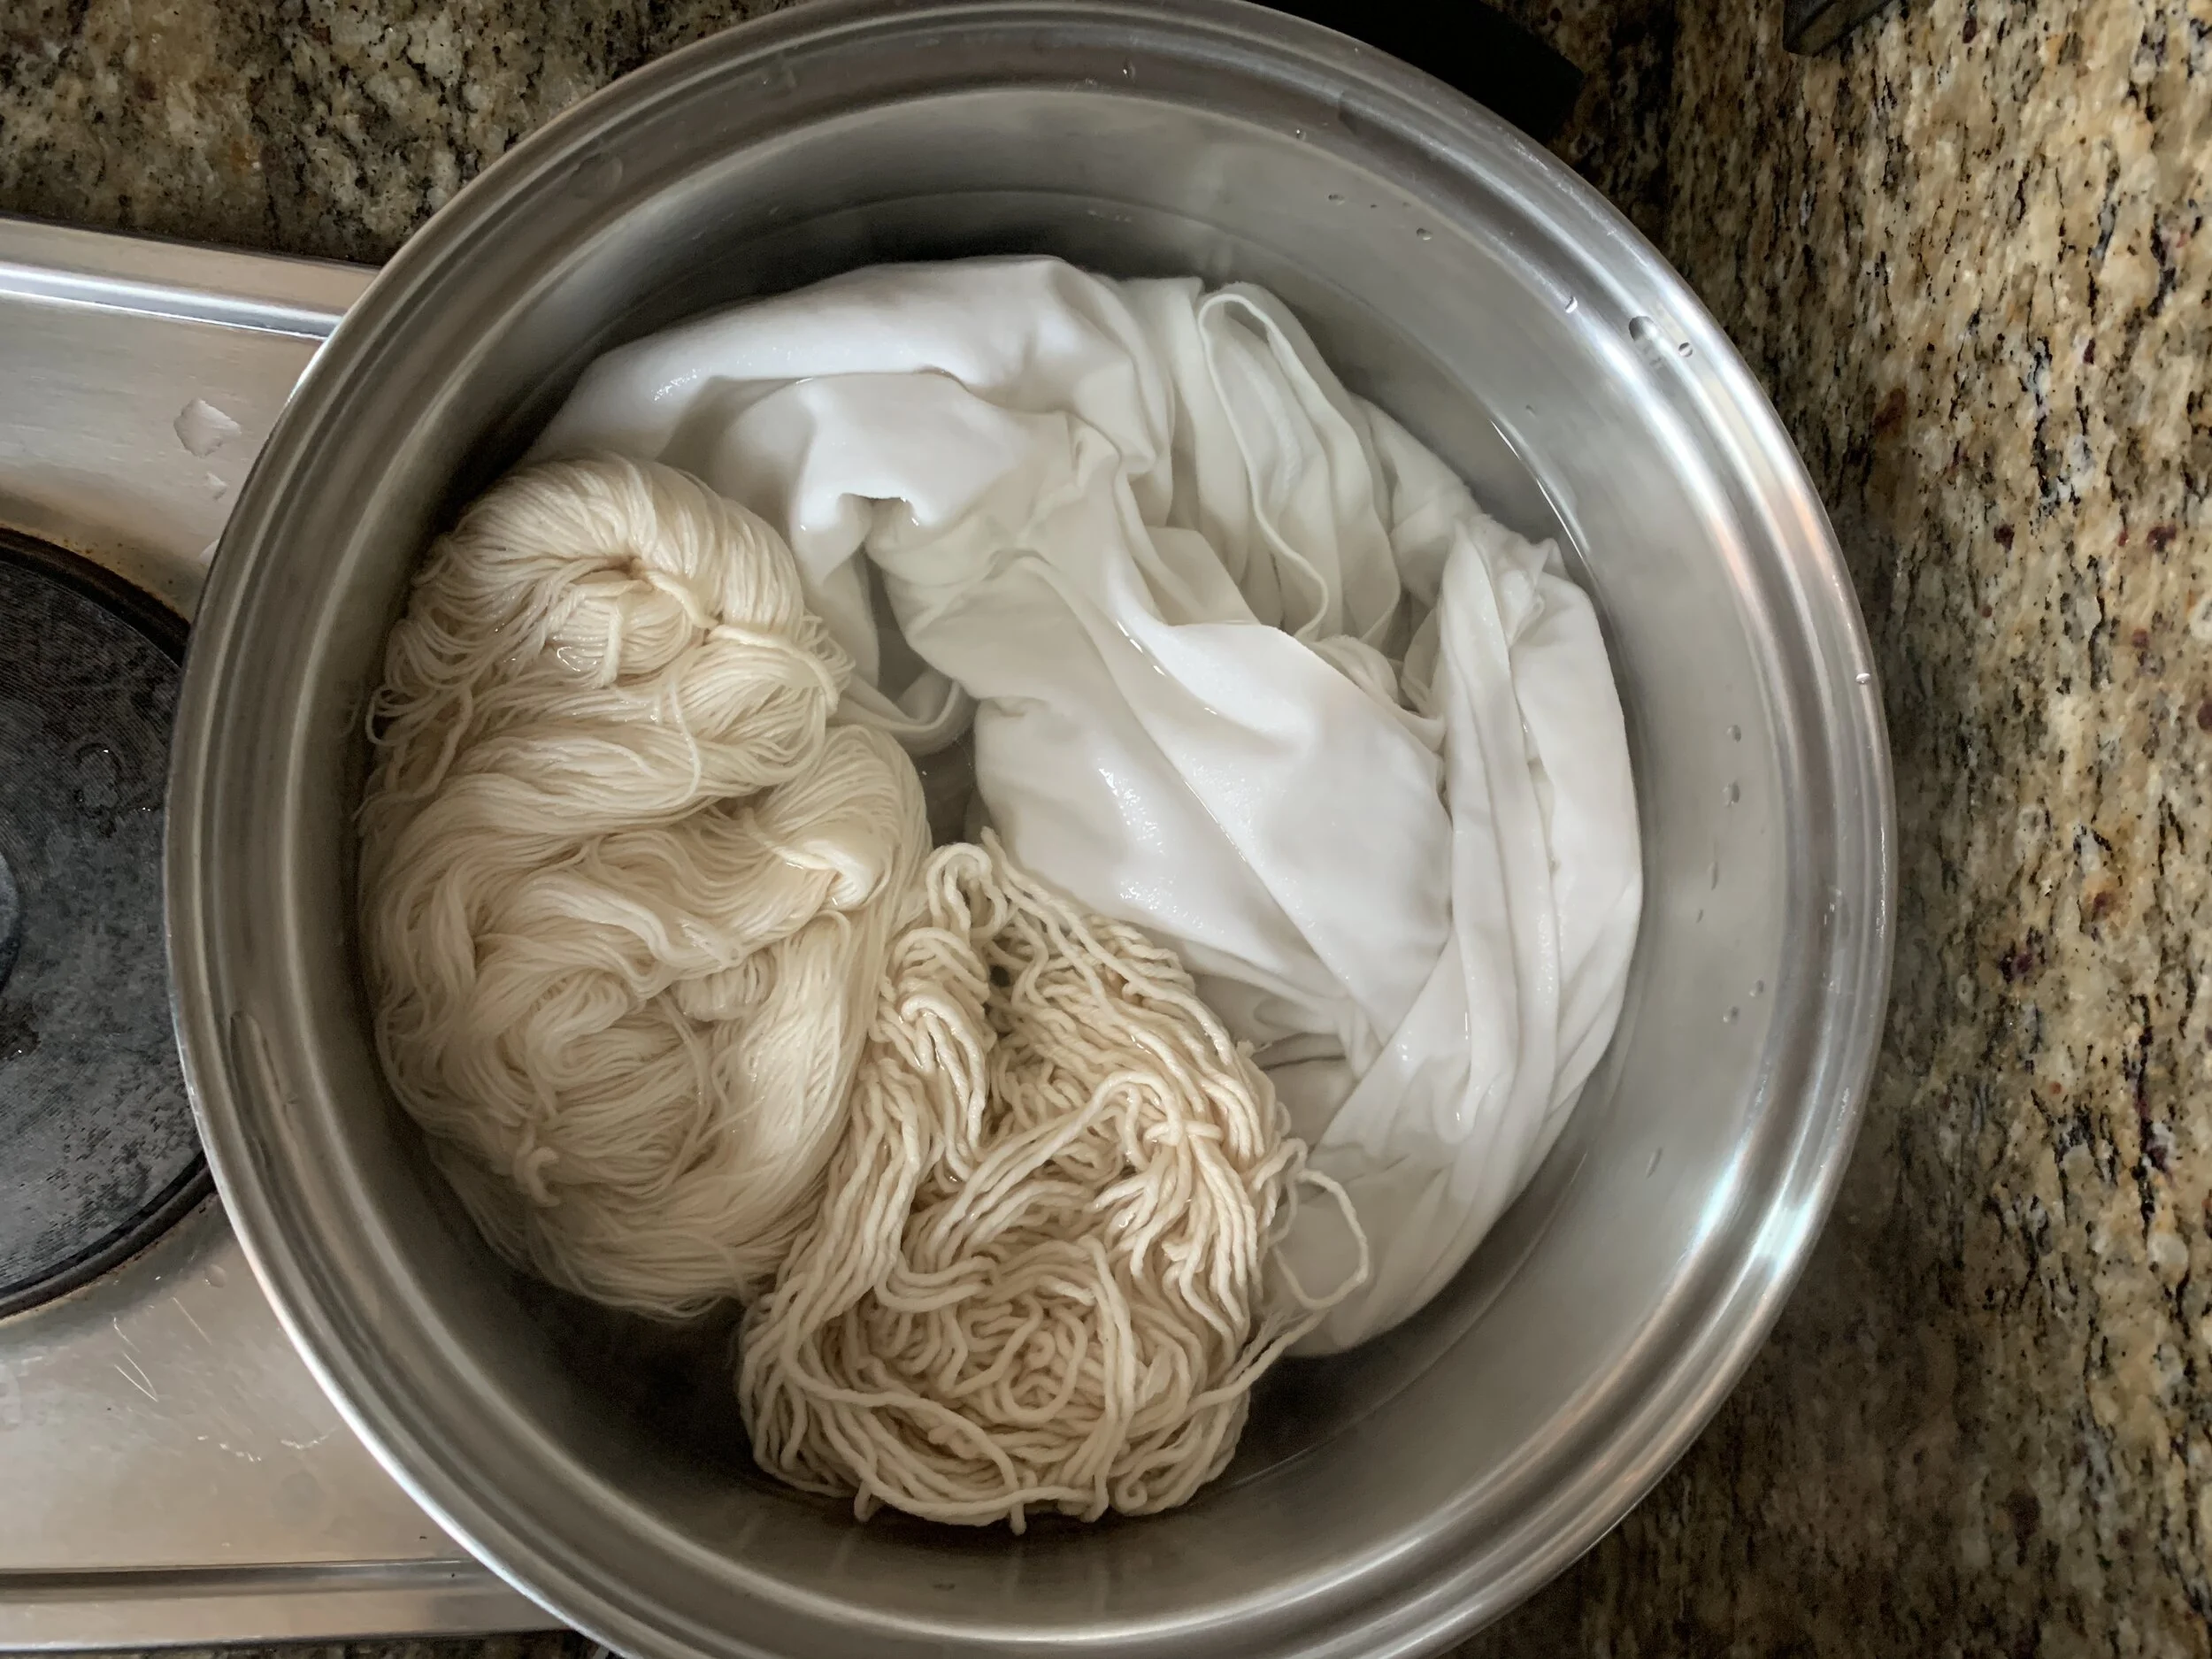
Wet your fibers. Make sure your fibers (t-shirt or yarn skein) are fully wet before introducing.
Introduce your fibers to the hot pot and simmer for 1 hour.
Move your fibers around every once in a while. Do not let the fibers sit. This will avoid having uneven color and help you get nice even results
Remove and wash with cold water.
This is what an aluminium stone looks like. You can easily find it in a pharmacy in Colombia. If you can buy alum powder instead it works exactly the same.
I am using 2 skeins of cotton yarn of 50g and a white cotton t-shirt, all weight around 150g, so am using 1 alum stone to mordant my fibers.
2. EXTRACTING DYE FROM AVOCADO PITS AND SKINS
After mordanting your fibers, you can leave them inside a bowl or hang them to dry while you work on extracting the dye from the avocado pits and skins. For these next steps you are going to need the avocado skins and pits you stored. Some dyers will use the skins and pits separately and you can also do that. In this case I am using both together to see what shades and depths of colors we get. As a rule, I normally use a 1:1 Ratio. With cotton, colors tend to be less strong, so I would recommend using the same weight of your fibers and dyestuff to get as much depth of color as possible. You will get deeper shades with animals fibers like wool. So, In this case for 150g of fibers I will use 150-200 grams of avocado stones and pits to make sure we get as much color as possible
A few notes before we start…
Why Avocado Hass?
There are many types of avocados and if you live in Colombia you will ask yourself, what avocado should I use? I found out that the smallest avocado (hass) is the best one for deep color results. The reason could be behind the levels of oxidization. Have you notice how black they get when they are ripe? Oxidization means deep rich color lasting colors. I have not tried this recipe with other avocados, and I will very soon! I will love to find out if we can get the same results with other type of avocados, but for this tutorial please just use the hass variation of avocados.
Altering your PH matters!
I found out that water in Bogotá is more acidic. This altered my results and just got peach shades the first time I did it. I then decided to add 1/4 cup of baking soda to the water before adding the dyestuff to make it more alkali and I got completely different results! I suggest you trying it both ways, not adding baking soda first to see what are the results you get and if you notice the dye not getting red in 24 hours, you might need to add baking soda, it will change the color completely!
How do I do a Shibori Natural Dye Piece?
If you want to do a shibori design, take your rubber bands and/or blocks and fold your fabric prior to starting your dye. I found a great resource for you to know how to fold your fibers and get beautiful shibori patterns HERE.
Ok, Now ready to start!
In a medium size pot, heath up enough water to cover your fibers until its simmering. Is very important for you to NOT boil the water. If you do, you can burn and “brown” the dye and only get brown shades.
Add your avocado skins and pits.
If you decide to add baking soda, add 1/4 to your pot and dissolve.
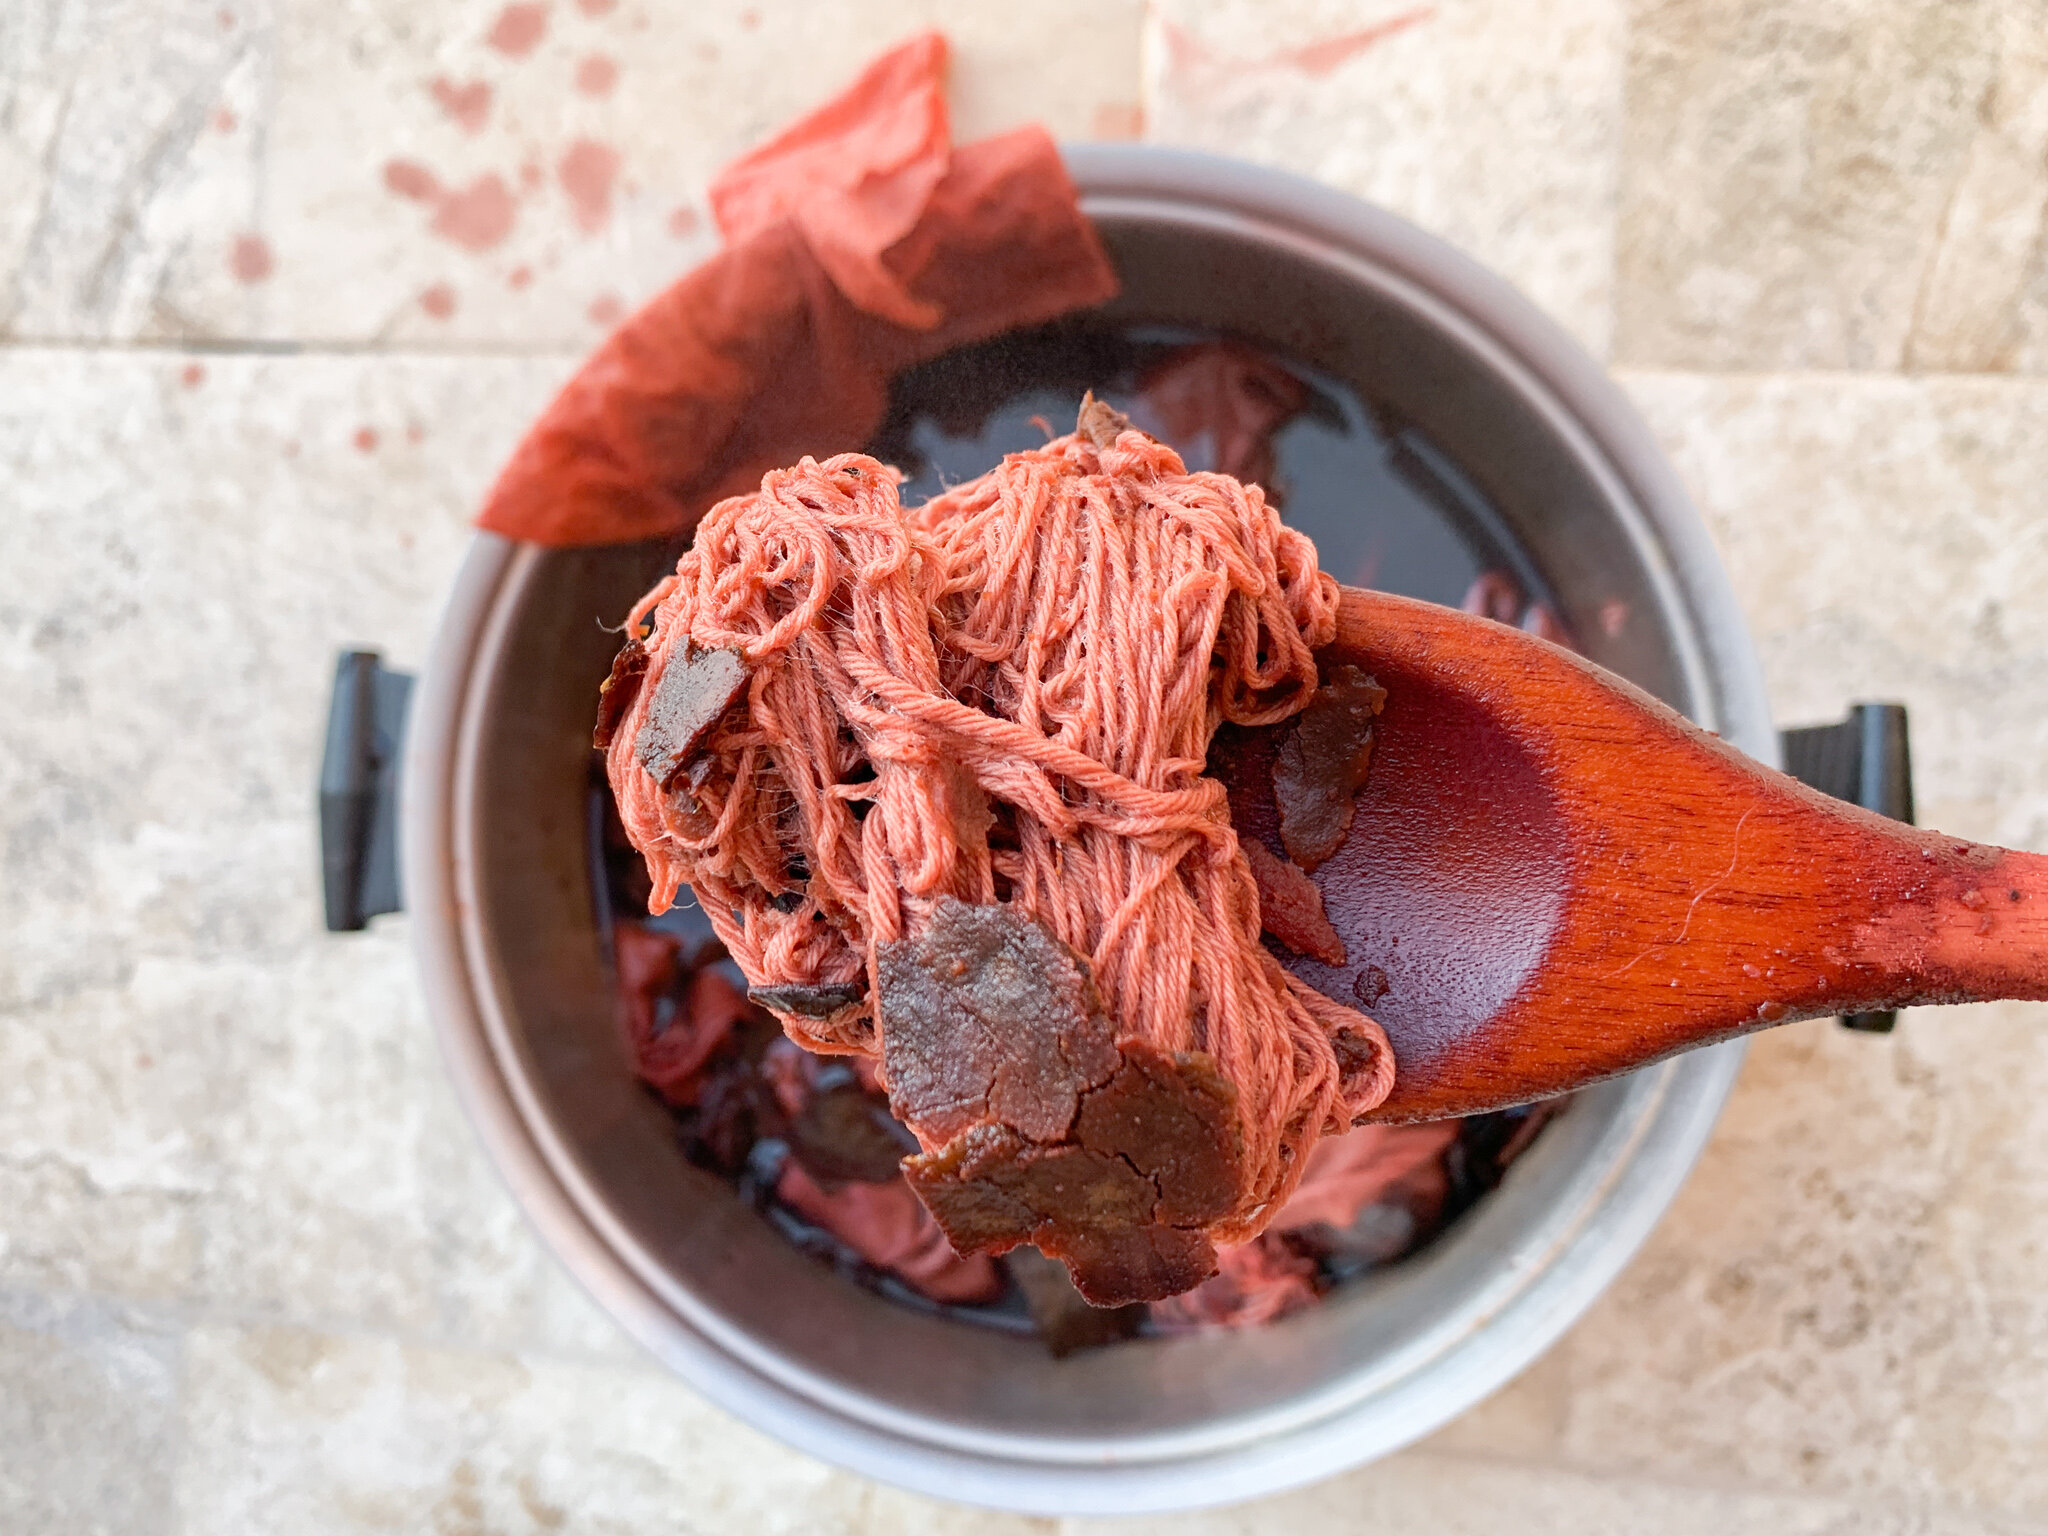
Stir occasionally and leave simmering for an hour and a half. You will start noticing the water changing color from a light peach to a dark orange and finally to a dark red/purple within the 1st hour.
You will watch the water turn from clear to orange and dark within the first hour.
This is what the color was looking like in my first experiment after a few hours of getting the skein in the dye bath. Without baking soda the dye did not get more red but orange.
I did not use any baking soda in this first dye bath. Notice how the color of the dye is more orange. Now, I understand that this probably was due to the acidity of the water in Bogota.
These are the results of the first dye bath. I mostly got peach hues on both the yarn skeins and cotton t-shirt.
5. Add your wet mordanted fiber and stir to make sure you get all the fibers evenly dyed.
6. Leave simmering for another 2 hours and stir occasionally.
7. Leave your fibers in the pot for 24 to 48 hours. (Colors will get darker the longer you leave your fibers in the pot) Natural dyeing is a SLOW PROCESS! You will notice the dye getting darker the longer tome you leave it to sit.
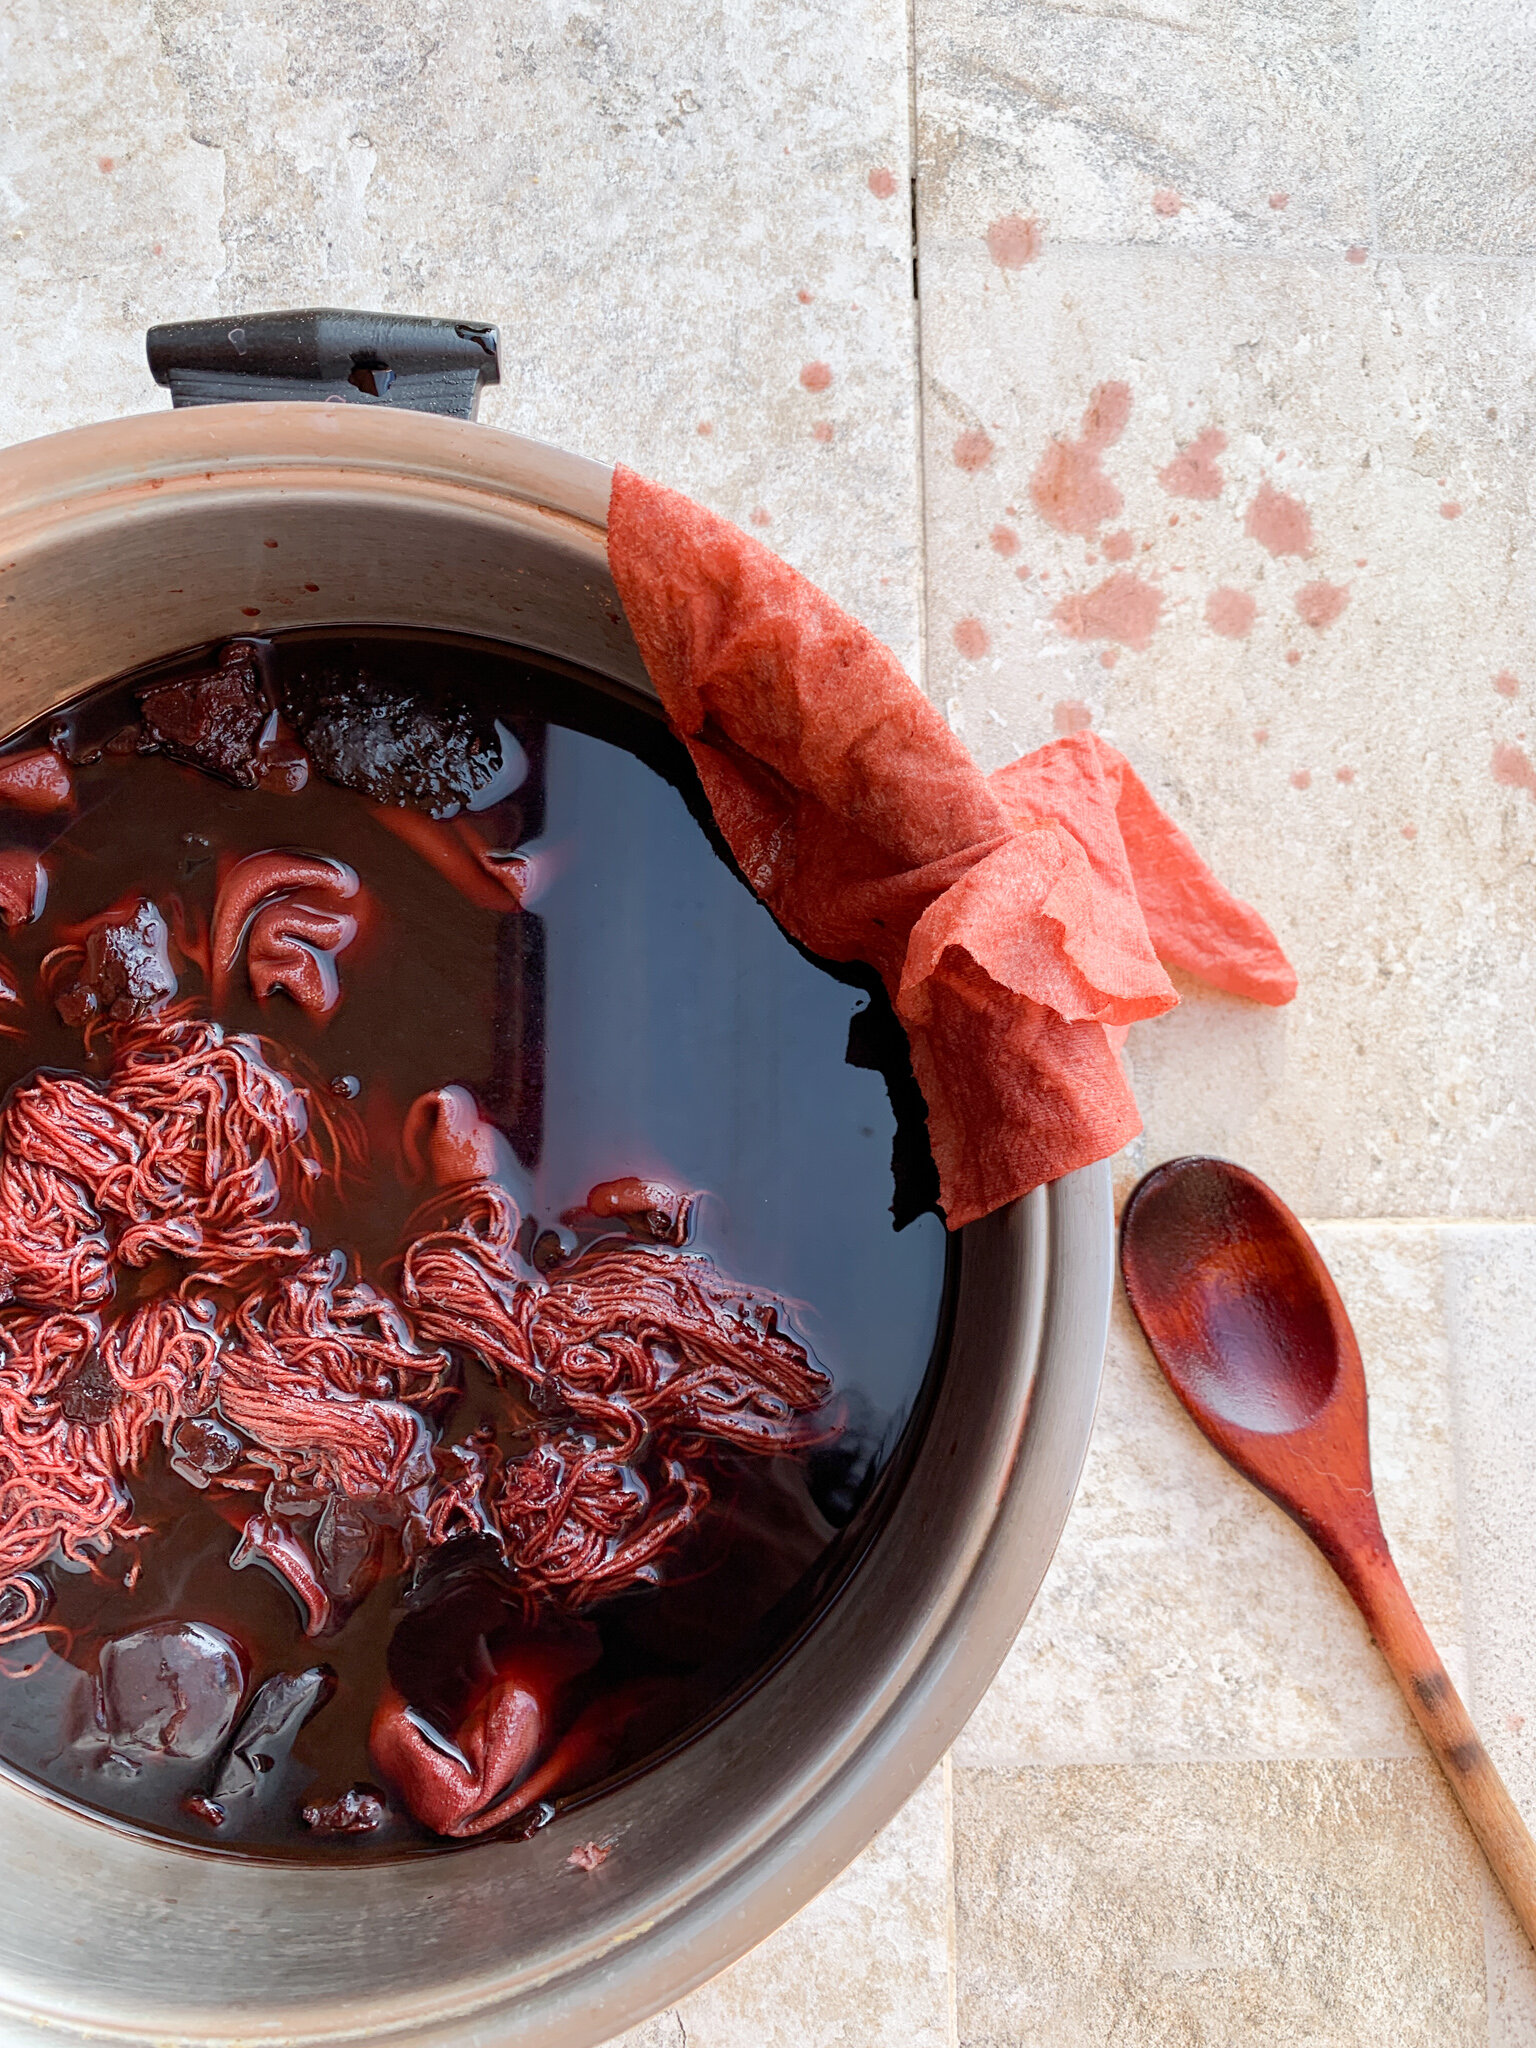
In my second experiment I added baking soda to make my water more alkali. It completely changed. Notice the color of the dye after a couple hours of simmering and immersing the skeins of yarn. I used the the peach t-shirt and yarn skein I had previously dyed to see how the depth of color could change, together with a completely new un-dyed yarn skein.
The color of the dye was a deep red (looked like red wine!) and the depth of the color of the dyed yarn was deeper than the first experiment of the peach dye bath.
8. When you are ready to take your fibers out, wash off until you see clear water running. This will ensure your cloth won’t run anymore dye when you wash it next time.
9. With a strainer, separate the remaining bits of the avocado stones and skins. You can dry them and try extracting more dye out of them a second time. You can also store your liquid dye and try to use it for another dye bath. It will probably be good to use one more time but you might get lighter shades.
Notice how much dye comes our of the yarn that looked very dark when it was inside the dye bath.
For my second experiment I decided to use the pre-dyed peach t-shirt and 1 yarn skein to see how much more they will absorb color in comparison to a new non-dye yarn skein.
You should wash off the dye as much as possible until your water tuns clear and no more dye is coming out. This is the real color of how much dye your fibers absorbed.
You can notice here how much dye the non-dyed skein is already absorbing.
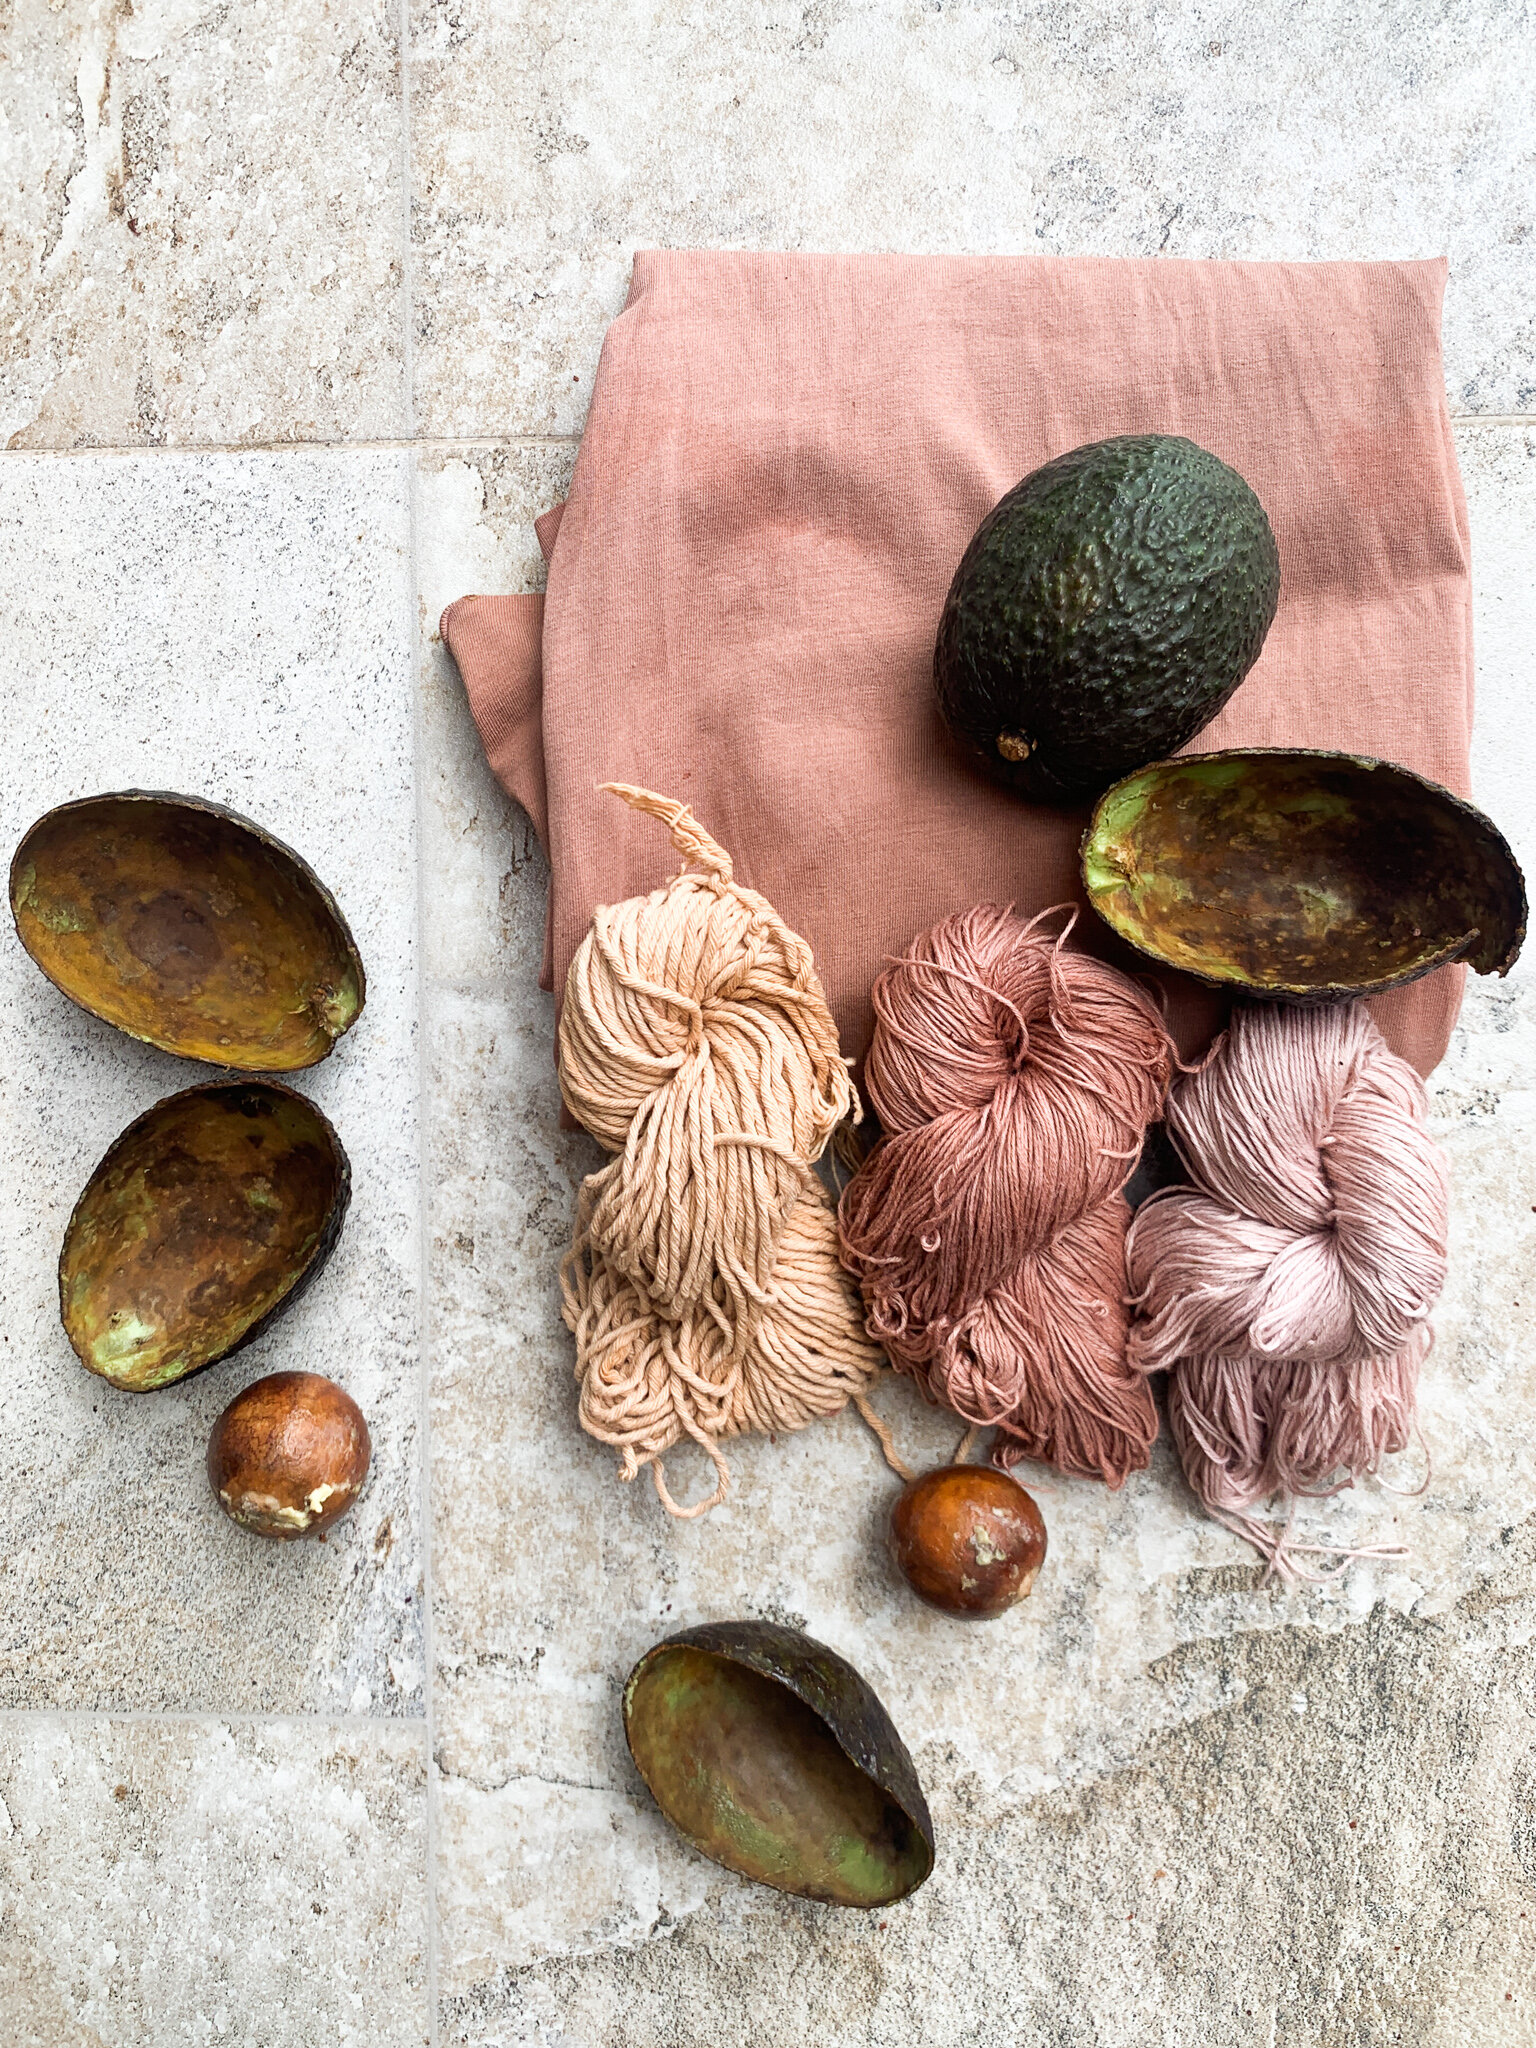
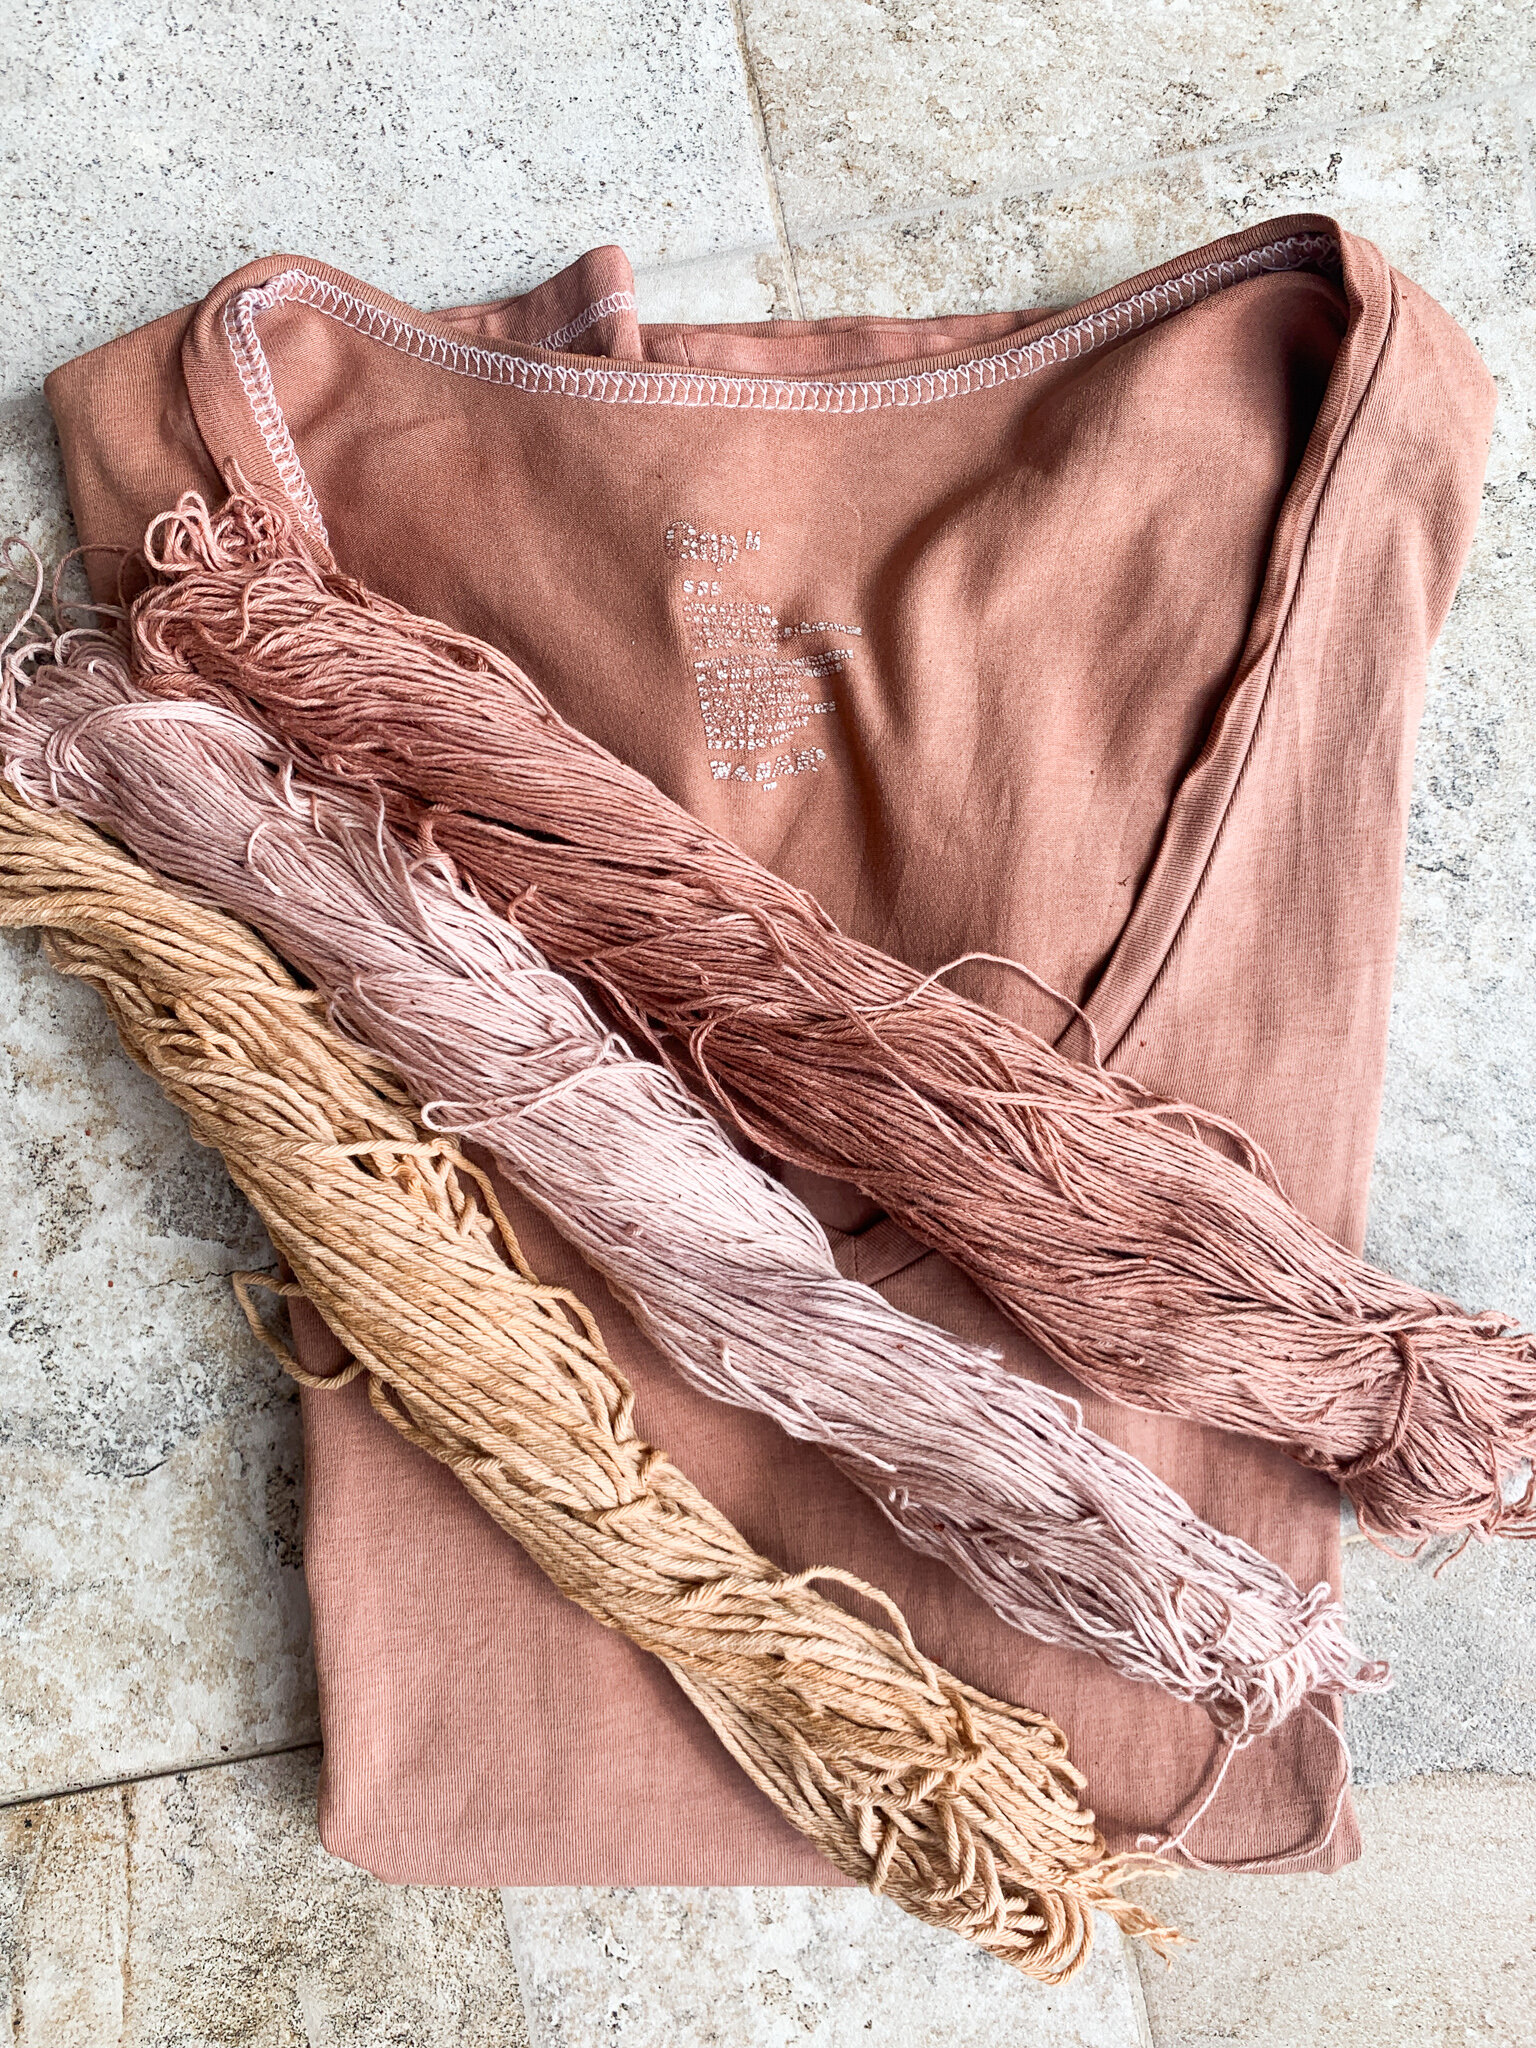
These were the final results:
1. The peach cotton yarn skein from my first experiment. I left it in the dye for 48 hours. No baking soda was used in this dye.
2. The one in the middle is a lighter pink shade I got from non-dyed cotton yarn skein and was left for 24 hours in the dye bath.
3. The t-shirt from the bottom and the darker dusty pink yarn skein were both pre-dyed with a peach dye bath first (from the first experiment) and then re-dyed for 48 hours with the redder dye bath. There were the deeper results because they were technically dyed twice and longer.
Final Results
Notice the the difference in color of the peach yarn which came from the dye bath with no baking soda and the depth of color that came from the extra 24 hours of the pre-dyed peach t-shirt and yarn skein. This can help us understand that avocado dyeing can give us many results, from very light peach shades to deep burgundy colors. It all depends on the amount of time you leave your fibers to soak dye and playing with changing your ph (acidic or alkali) from your water by adding baking soda.
What can I do with my leftover dye and avocado remains?
You can store them! The dye you created will be probably be good to use one more time. Be sure to separate the pits and skins (which are all mushed up together and very soft by now) from the dye. Dry the pits and skins to avoid them collecting mold and you can try extracting more dye from them. If you do use your dye one more time it might give you lighter shades. This happens because the dye gets “exhausted”. Once your dye seems to not give you any more color depth, it probably reached its exhaustion point and it can be thrown away.
That is all! I hope you have fun practicing this ancient craft and reusing what is already in your kitchen! Let me know if you have any questions, you can leave a comment here or contact us.
Happy dyeing everybody!
Interested in Seeing our Naturally Dyed Textiles?
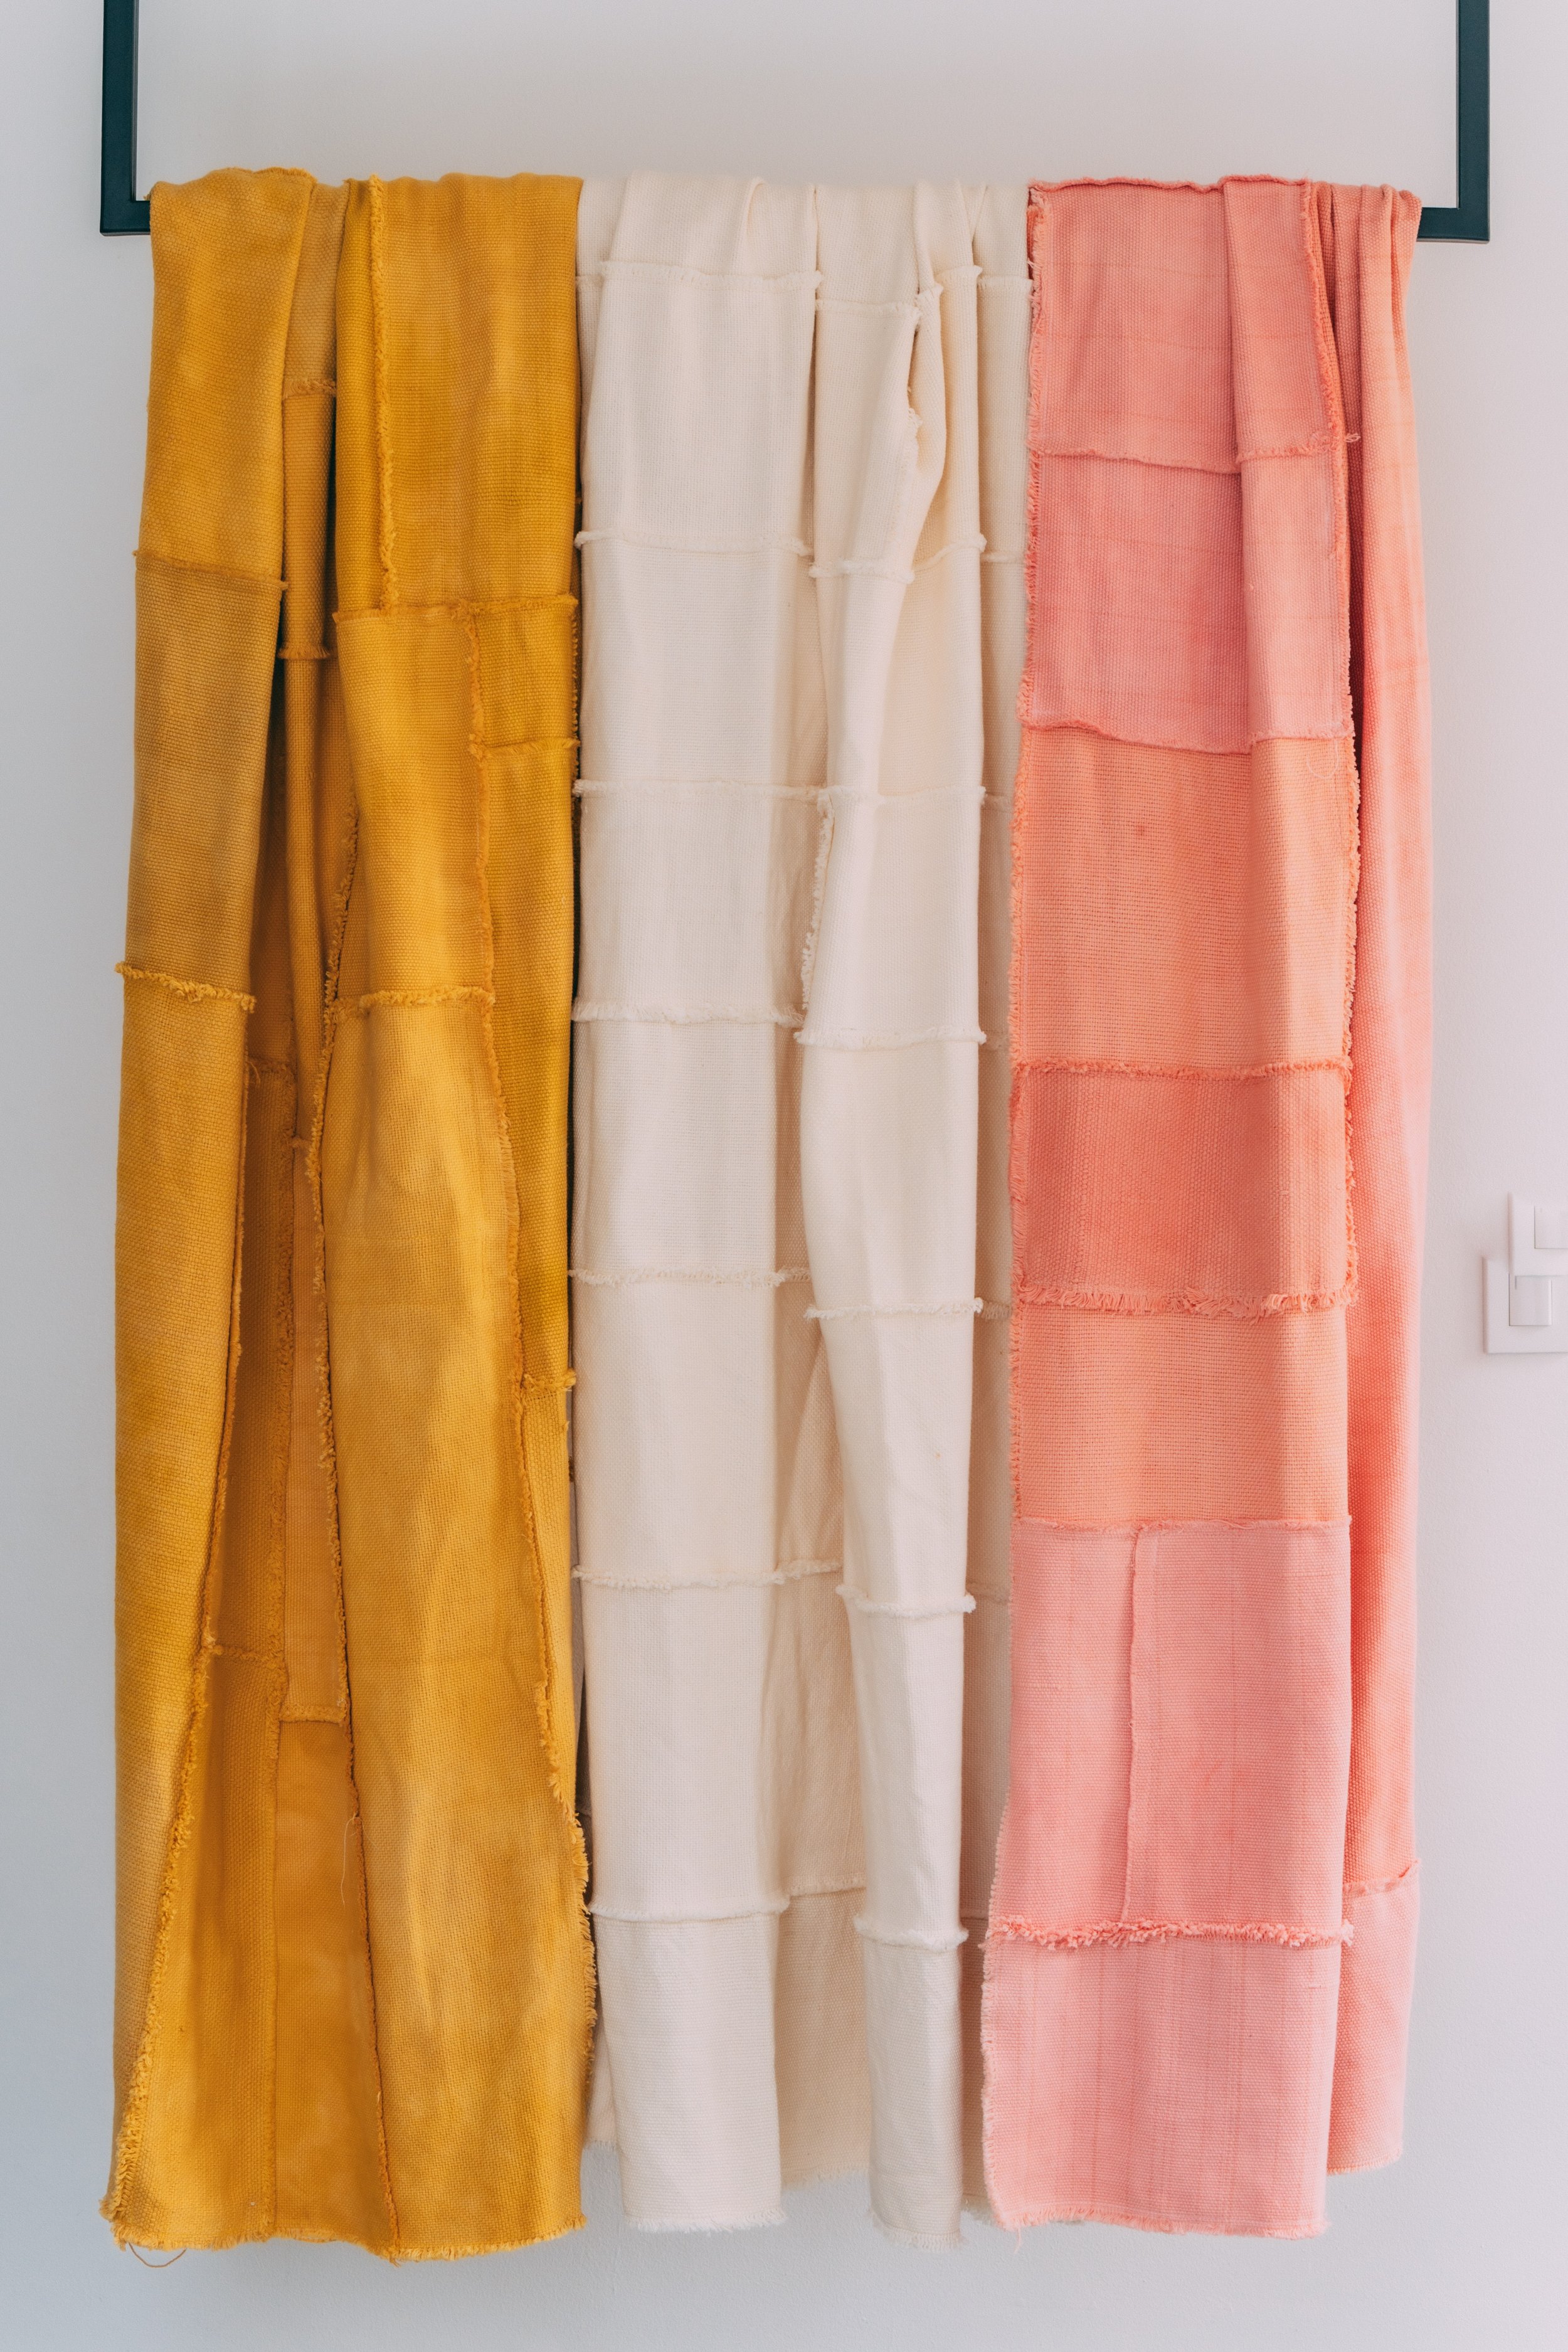
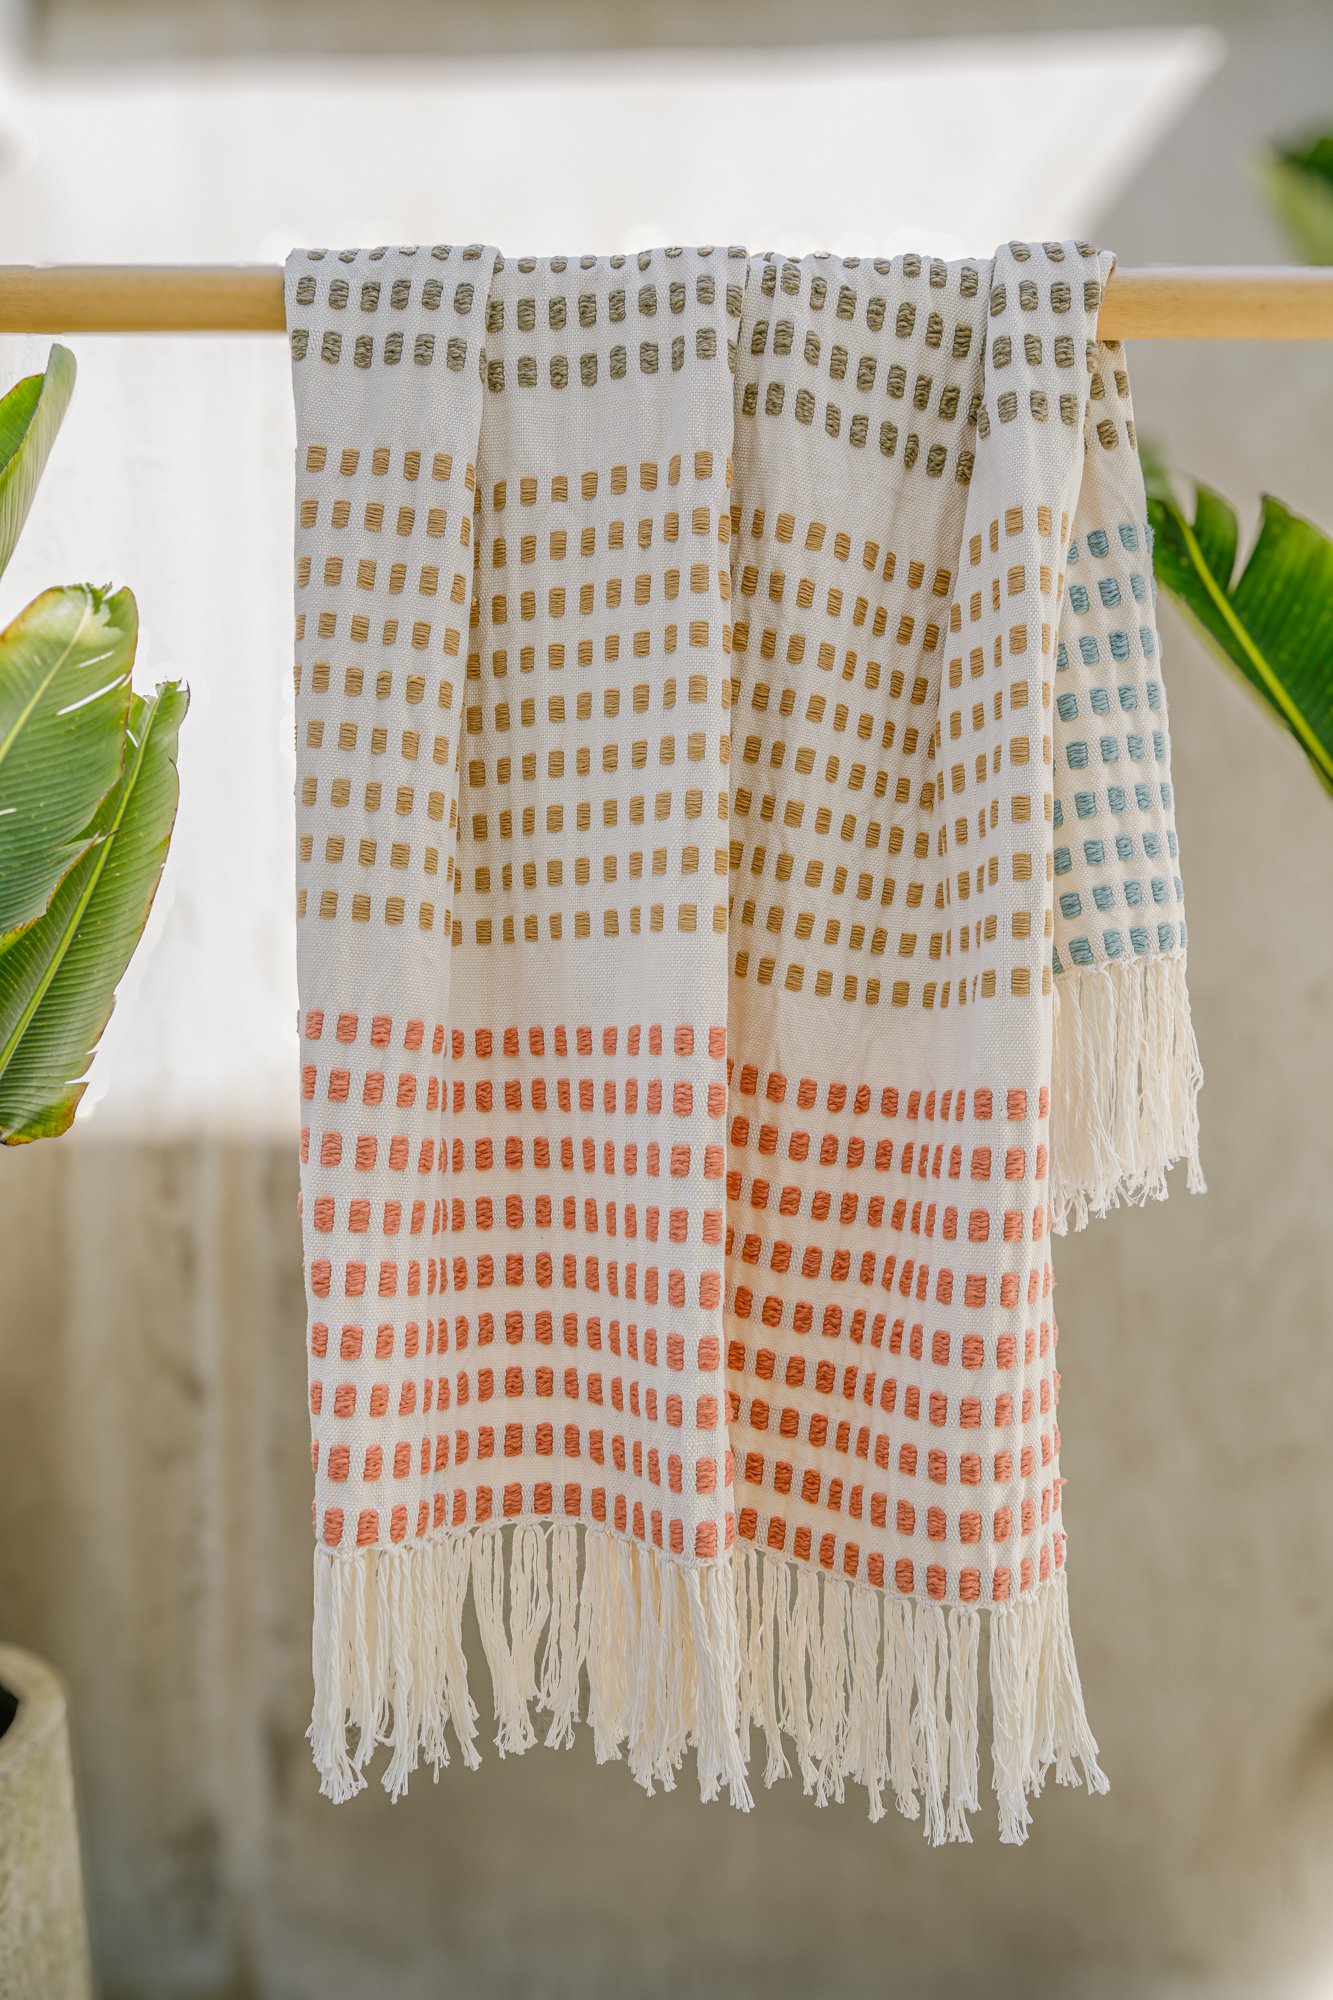
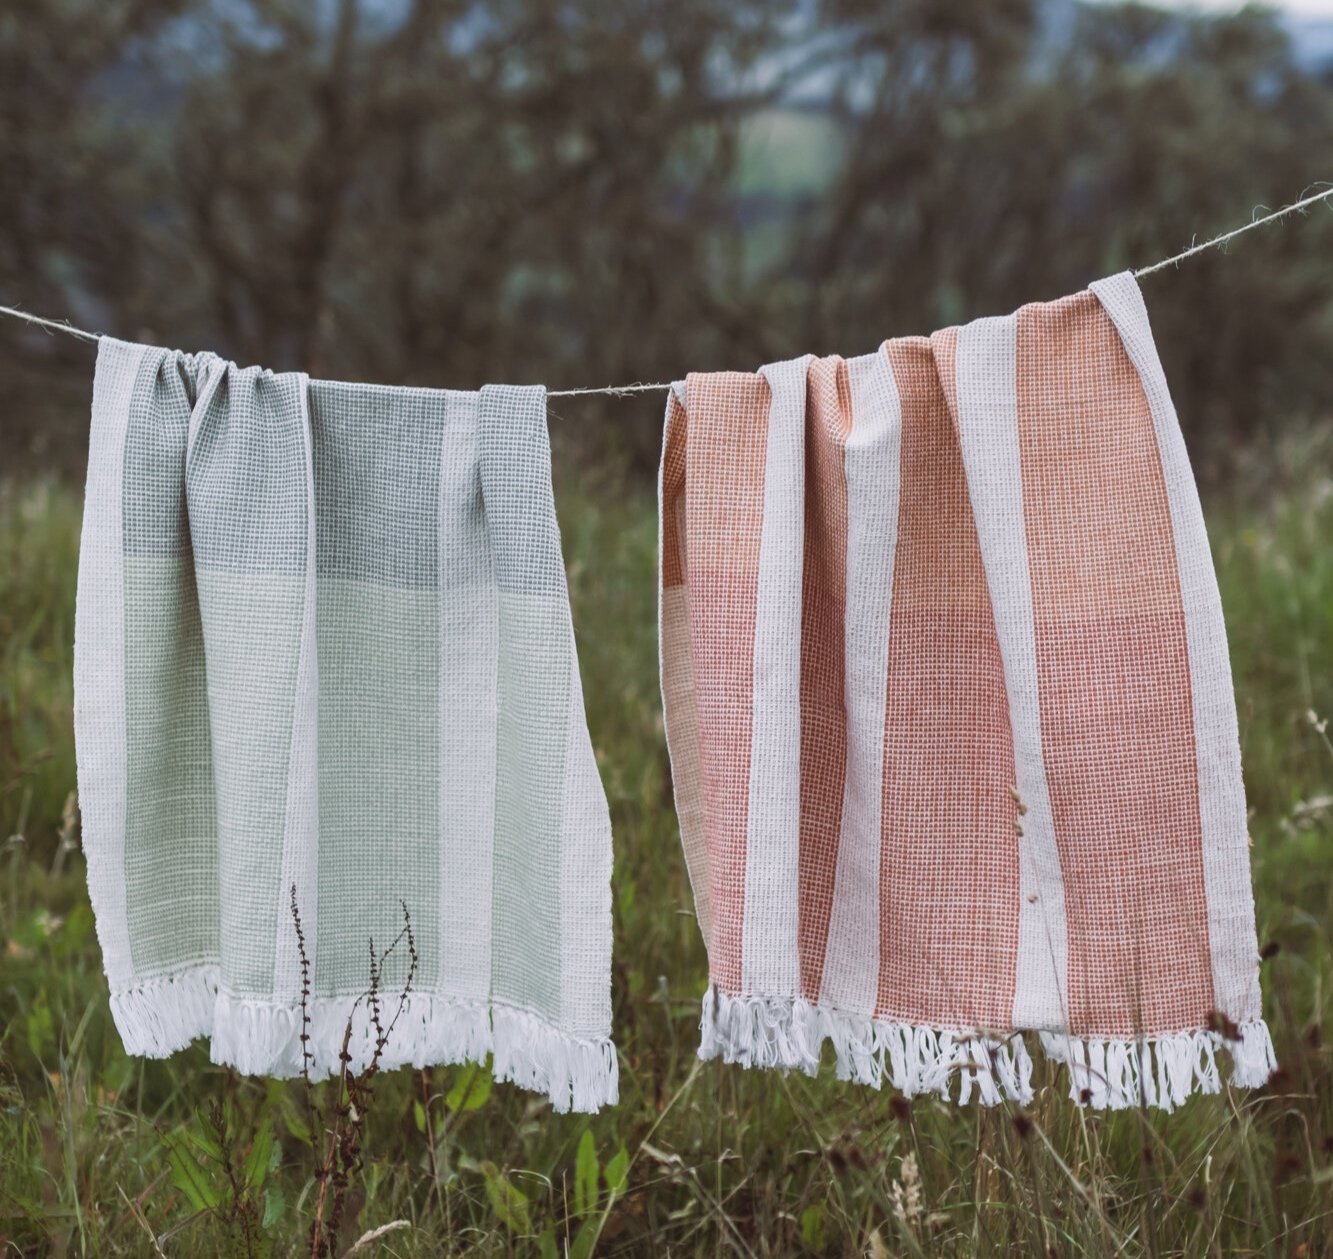
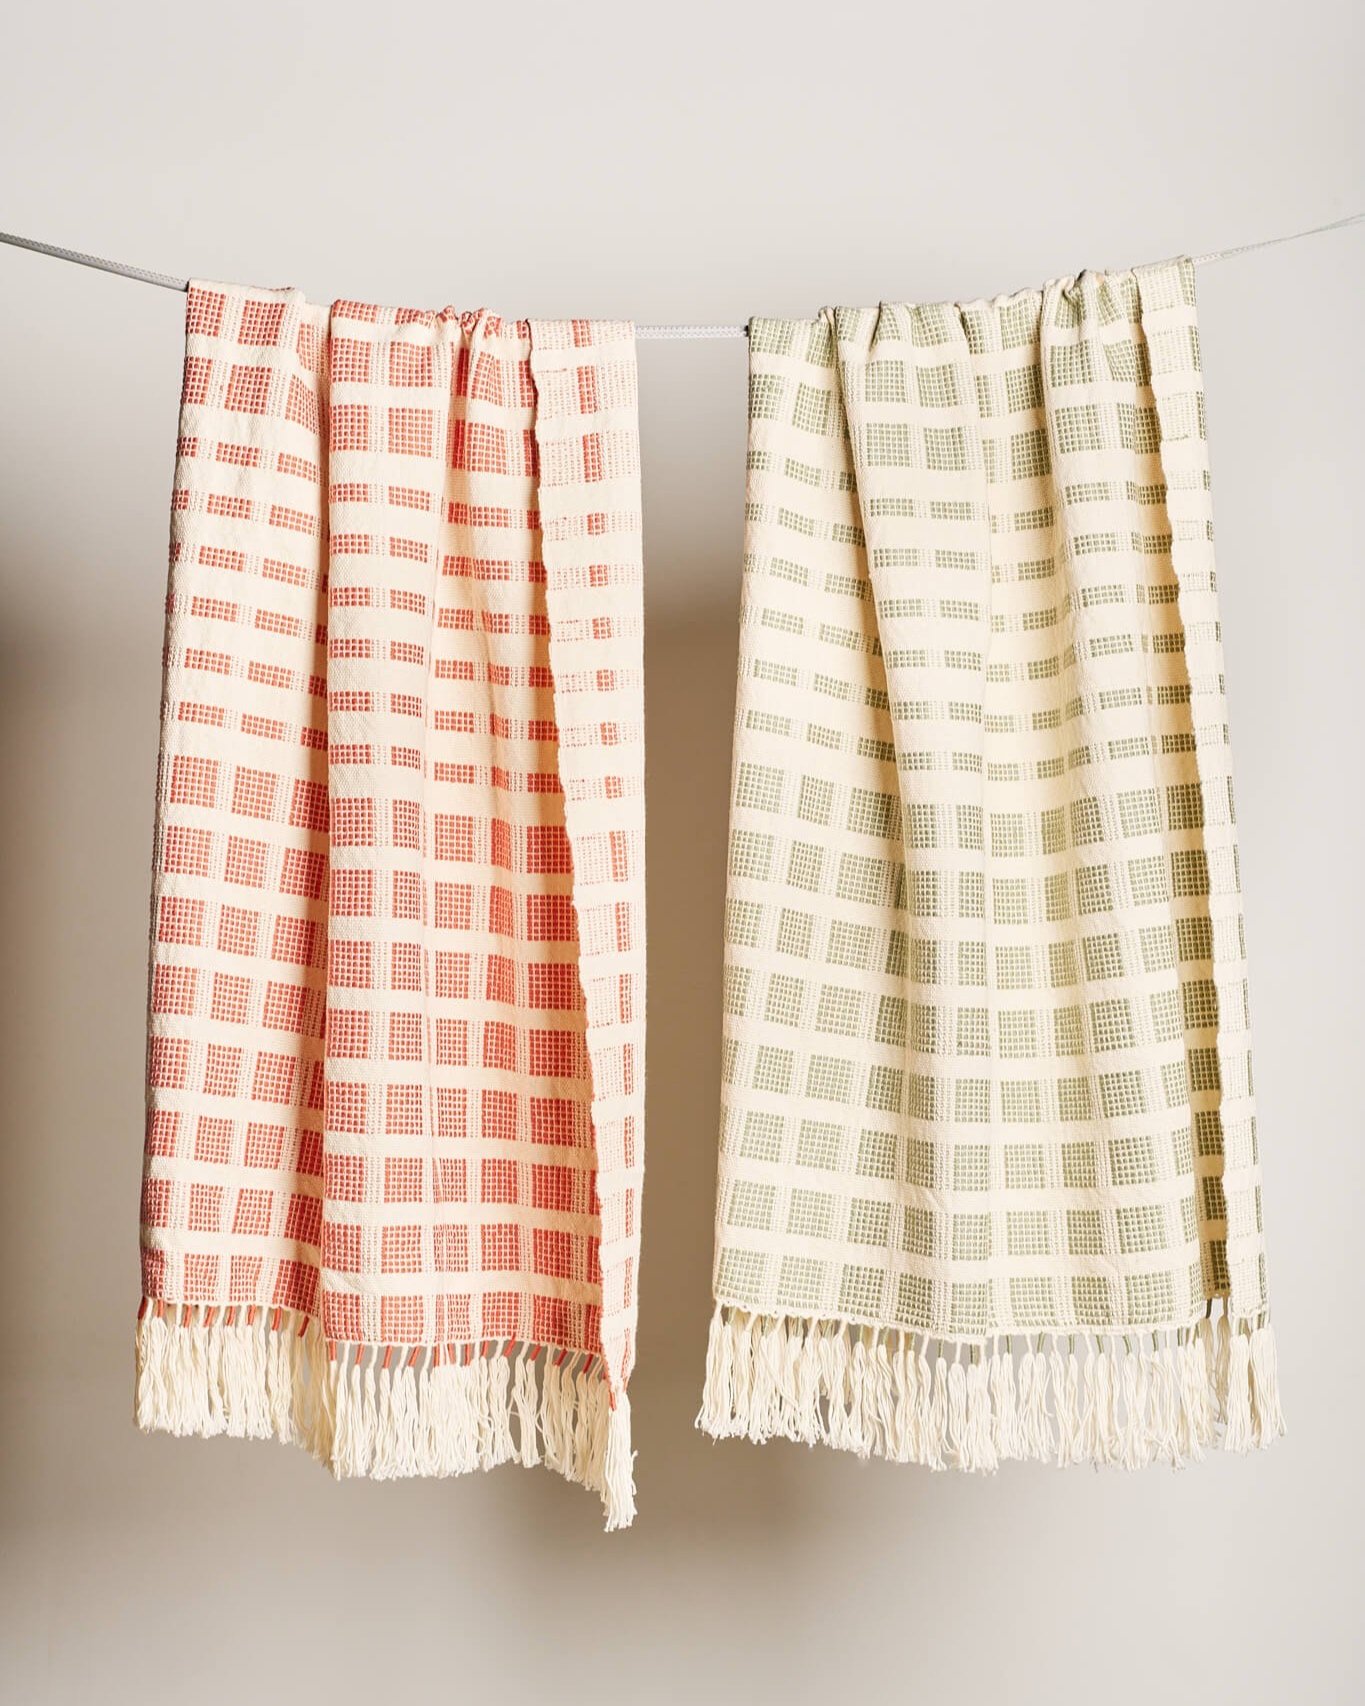
We are so happy you stopped by and learned more about the magic of natural dyeing! Switching to organic, natural products is what we are all about. Take a look at our organic cotton 100% naturally dyed with local plants and vegetables!

