Natural Dyeing with Red Cabbage
To continue our series on natural dyeing at home with food waste, we chose a food product that has incredible dyeing possibilities! Red cabbage can give you very intense pink, purple and blue hues. Sometimes with natural dyeing is hard to get stronger or deeper colors if you are using cotton as your main fiber. This is why cabbage was such an easy and fun dye to play with! Take a look at our recipe and tips to get long lasting hues!
What you will need:
Alum powder or an aluminium stone. There are some great wesbites that sell natural dyeing materials. Dharma Trading sells alum powder. If you are using powder, you will need only 1 tablespoon of powder per 100g of fiber. If you are in Colombia or in other countries outside the US and Europe, I recommend buying aluminium stone, which can easily be found in pharmacies or online. They sell small packs of 1 stone in pharmacies and you just need 1 or 2 for this project. (I am using alum stone for this tutorial).
One red cabbage (Depends on how heavy your fibers are) A rule of thumb to make sure you the deep colors is using a 50:50 ratio for the weight of your fibers and your dyestuff. I am going to use half a medium size cabbage which weights approximately half a kilo and 500g of fiber. Natural dyeing only works with natural fibers. Make sure that the yarn skein or cloth that you pick is made out of cotton, wool, linen, alpaca, any animal or vegetable fiber. That means no polyester or nylon fabrics.
A knife and cutting board
Rubber gloves
A large staining steel pot.
A pair of heat resisting gloves.
A wooden spoon.
Optional: If you wish to do some shibori (tie-dye) design to your piece then you’ll need rubber bands, cotton rope and/or wood blocks.
First let’s go through some essential vocabulary
A few things first before we dive into the process. As I mentioned above, natural dyeing is an ancient craft where science meets art. I want to explain some important words that I will be using as I explain each step.
If you read our past blog entry on avocado dyeing you might be familiar with the term "mordanting”. This is basically the first step when dyeing any fiber with natural dyes to assure your color will not wash-off when you wash your fibers after dyeing them. We copied the same information about what mordanting is, and how to go about preparing your fibers prior to start dyeing.
MORDANT/MORDANTING
To make sure the colors we obtain from our dyestuff do not run off once we wash our fibers, we need a mordant. The word mordant means “to bite” and that is literally what the mordant’s purpose is. A mordant is generally a natural chemical (such as aluminium which we will be using in this tutorial) that adheres to the fabric in a molecular level with the goal of preparing the fiber molecules to adhere to the molecules of the dyestuff better. This step is essential if you want your color to last and not fade away when washed after the dyeing process. This is what makes your color last for a long time, we call it color-fast.
DYESTUFF
We will be referring to our avocado pits and skins as the “dyestuff”. This word is used to describe the power, substance or material that when used for dyeing purposes it yields color.
PROTEIN FIBERS
Protein fibers are fibers that come from animals. Examples include wool, angora, mohair, cashmere, alpaca and also silk from insects. Protein fibers are made out of 20 amino acids. Dye particles generally adhere more easily to protein fibers than cellulose because they have many different substances to attach to.
CELULLOSE FIBERS
Cellulose fibers are fibers that come from plant sources. Examples include cotton, flax, hemp, jute, linen and bamboo. Cellulose is a polymeric sugar polysaccharide which means the molecules they are made out of are mainly glucose. When dyeing cellulose fibers, dye particles can only adhere to sugar particles as suppose to 20 amino acids in protein fibers. This is why when cellulose fibers are dyed, the color tends to be less strong than in protein fibers.
Steps for Mordanting your Fibers (for colorfastness)
Firstly we are going to prepare your fibers to soak up and adhere to the color as much as possible. I personally prefer to always mordant all my fibers with aluminium prior to dyeing because it makes the colors stronger and even more long lasting. Is a simple easy step that helps you rest asure your color won’t wash off after dyeing.
Boil enough water in a medium size pot. Just enough to cover your fibers.
Introduce 1 aluminium stone or 1-2 teaspoons of aluminium powder (based on the weight of your fibers)
Mix thoroughly until dissolved.
Wet your fibers. Make sure your fibers (t-shirt or yarn skein) are fully wet before introducing.
Introduce your fibers to the hot pot and simmer for 1 hour.
Move your fibers around every once in a while. Do not let the fibers sit. This will avoid having uneven color and help you get nice even results
Remove and wash with cold water.
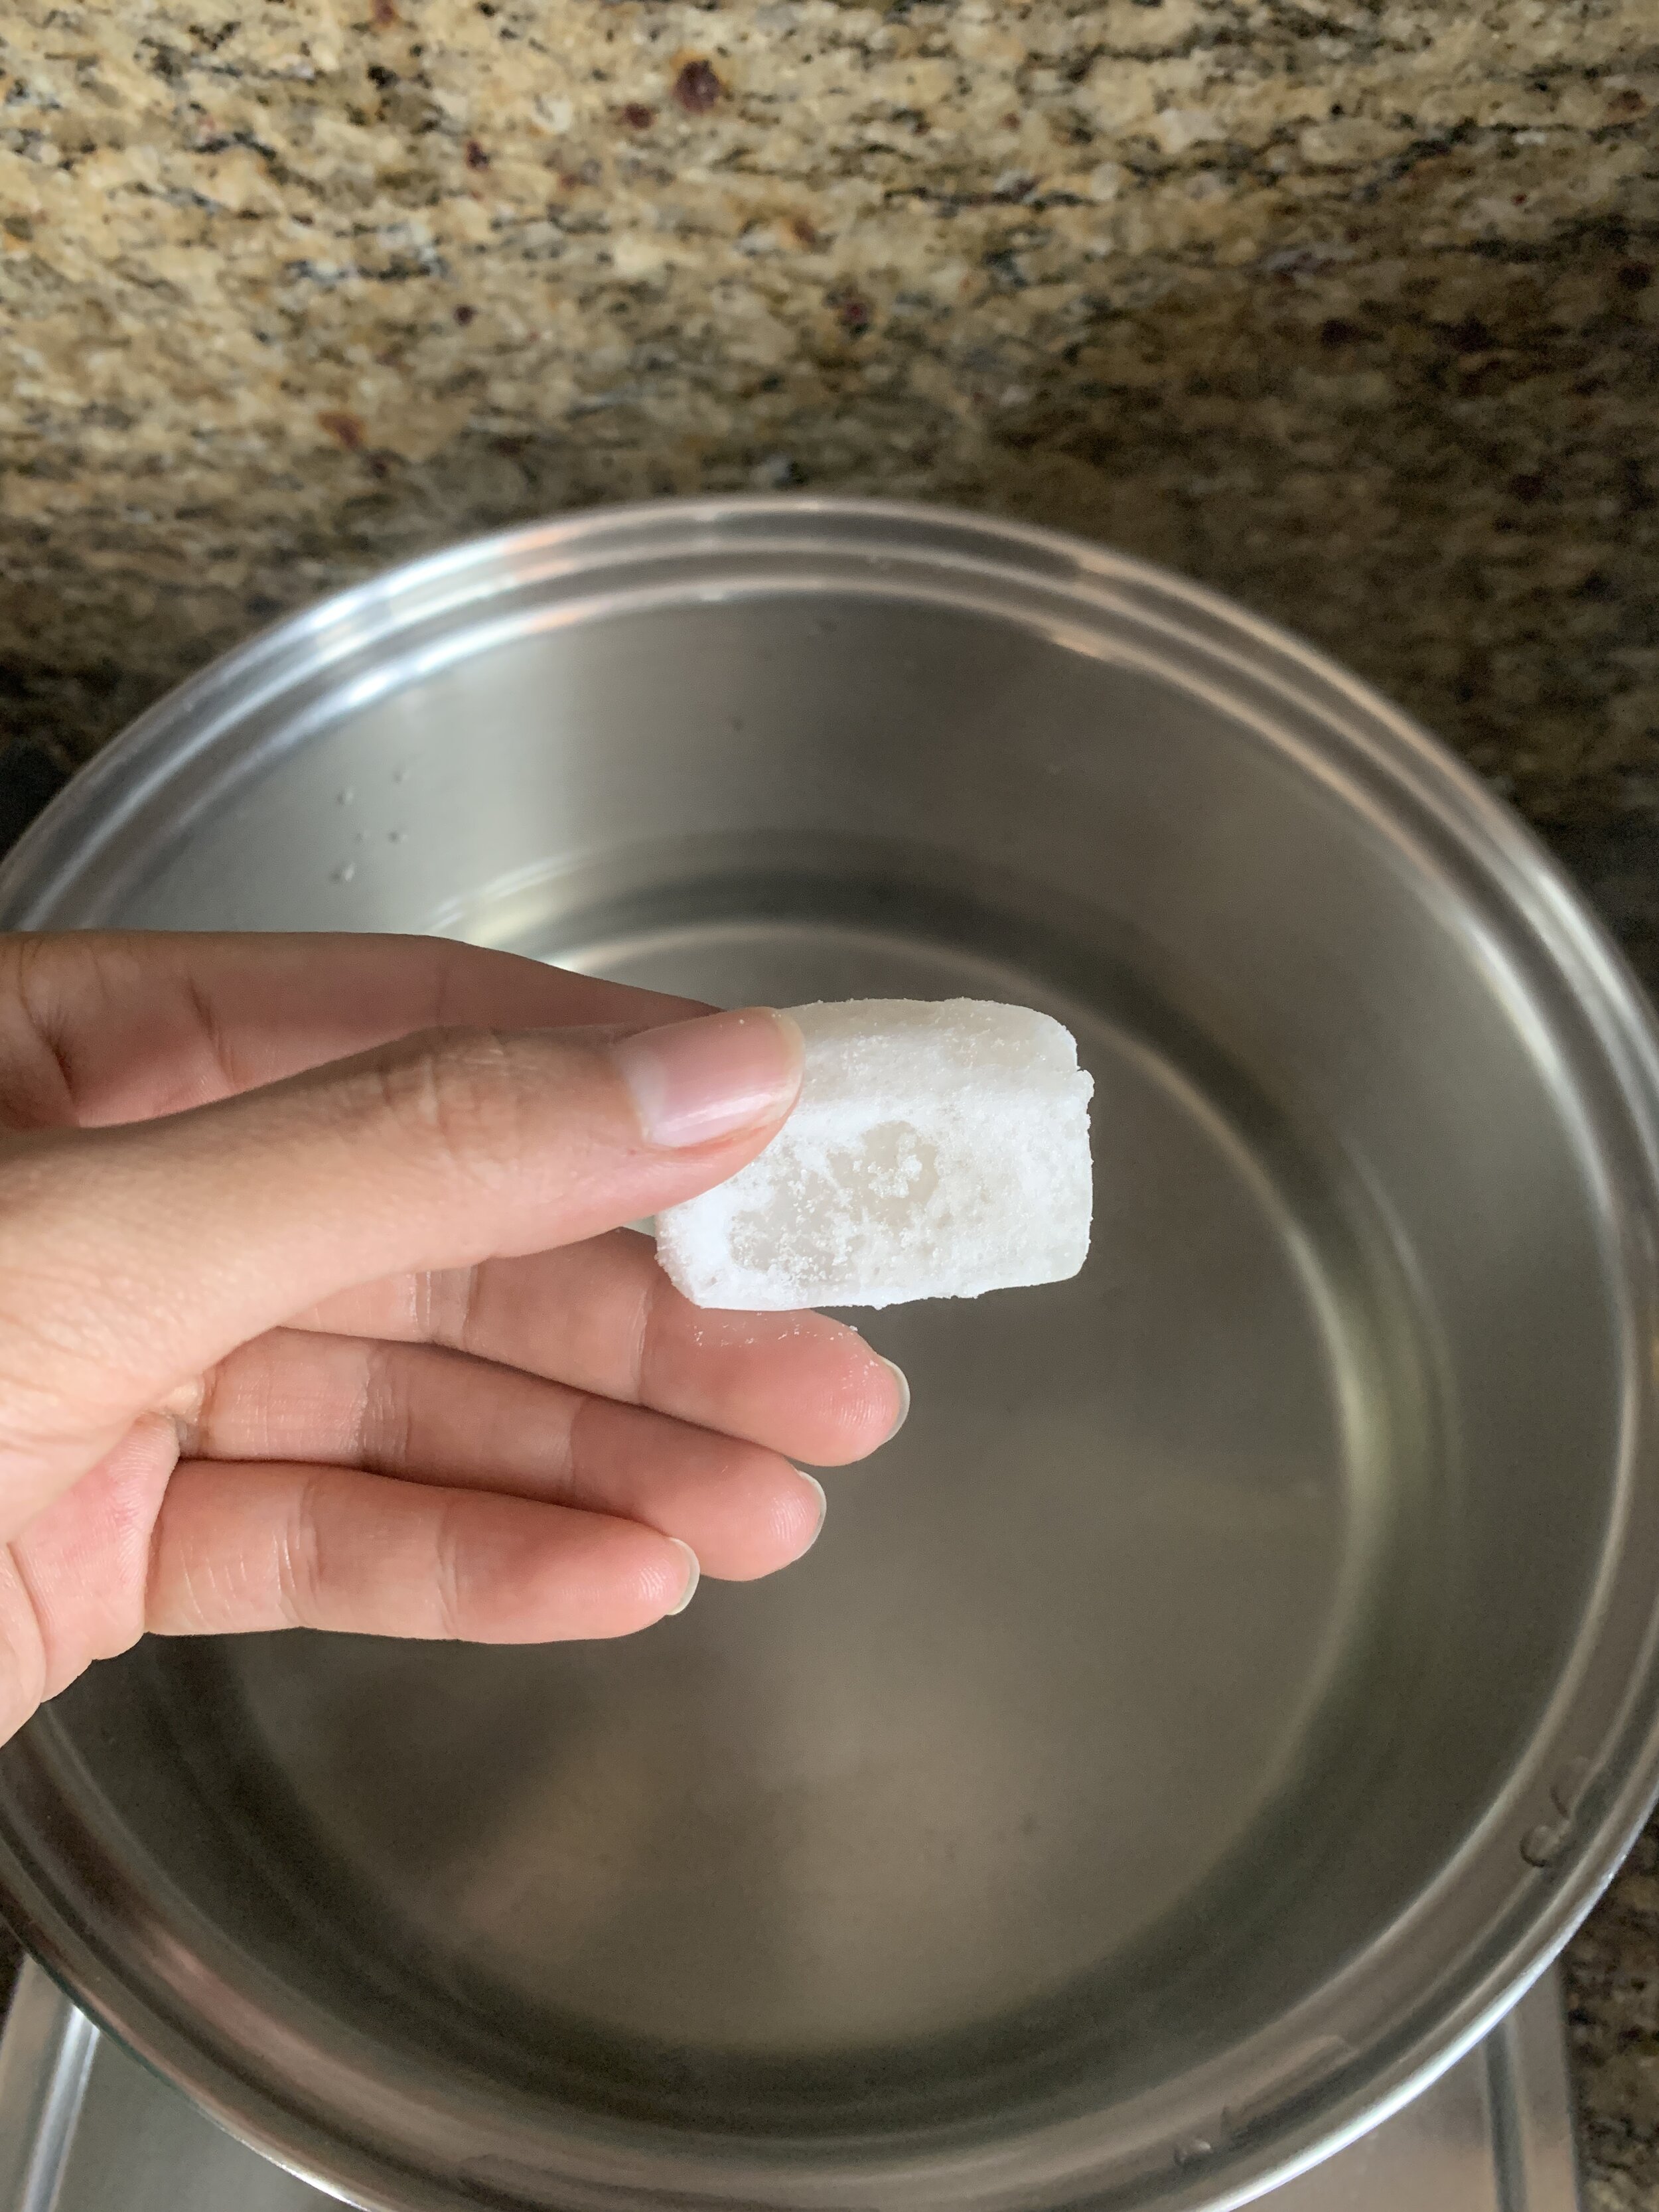
This is what an aluminium stone looks like. You can easily find it in a pharmacy in Colombia. If you can buy alum powder instead it works exactly the same.
I am using 3 skeins of cotton yarn of 50g, all weight around 150g, so am using 1 alum stone to mordant my fibers.
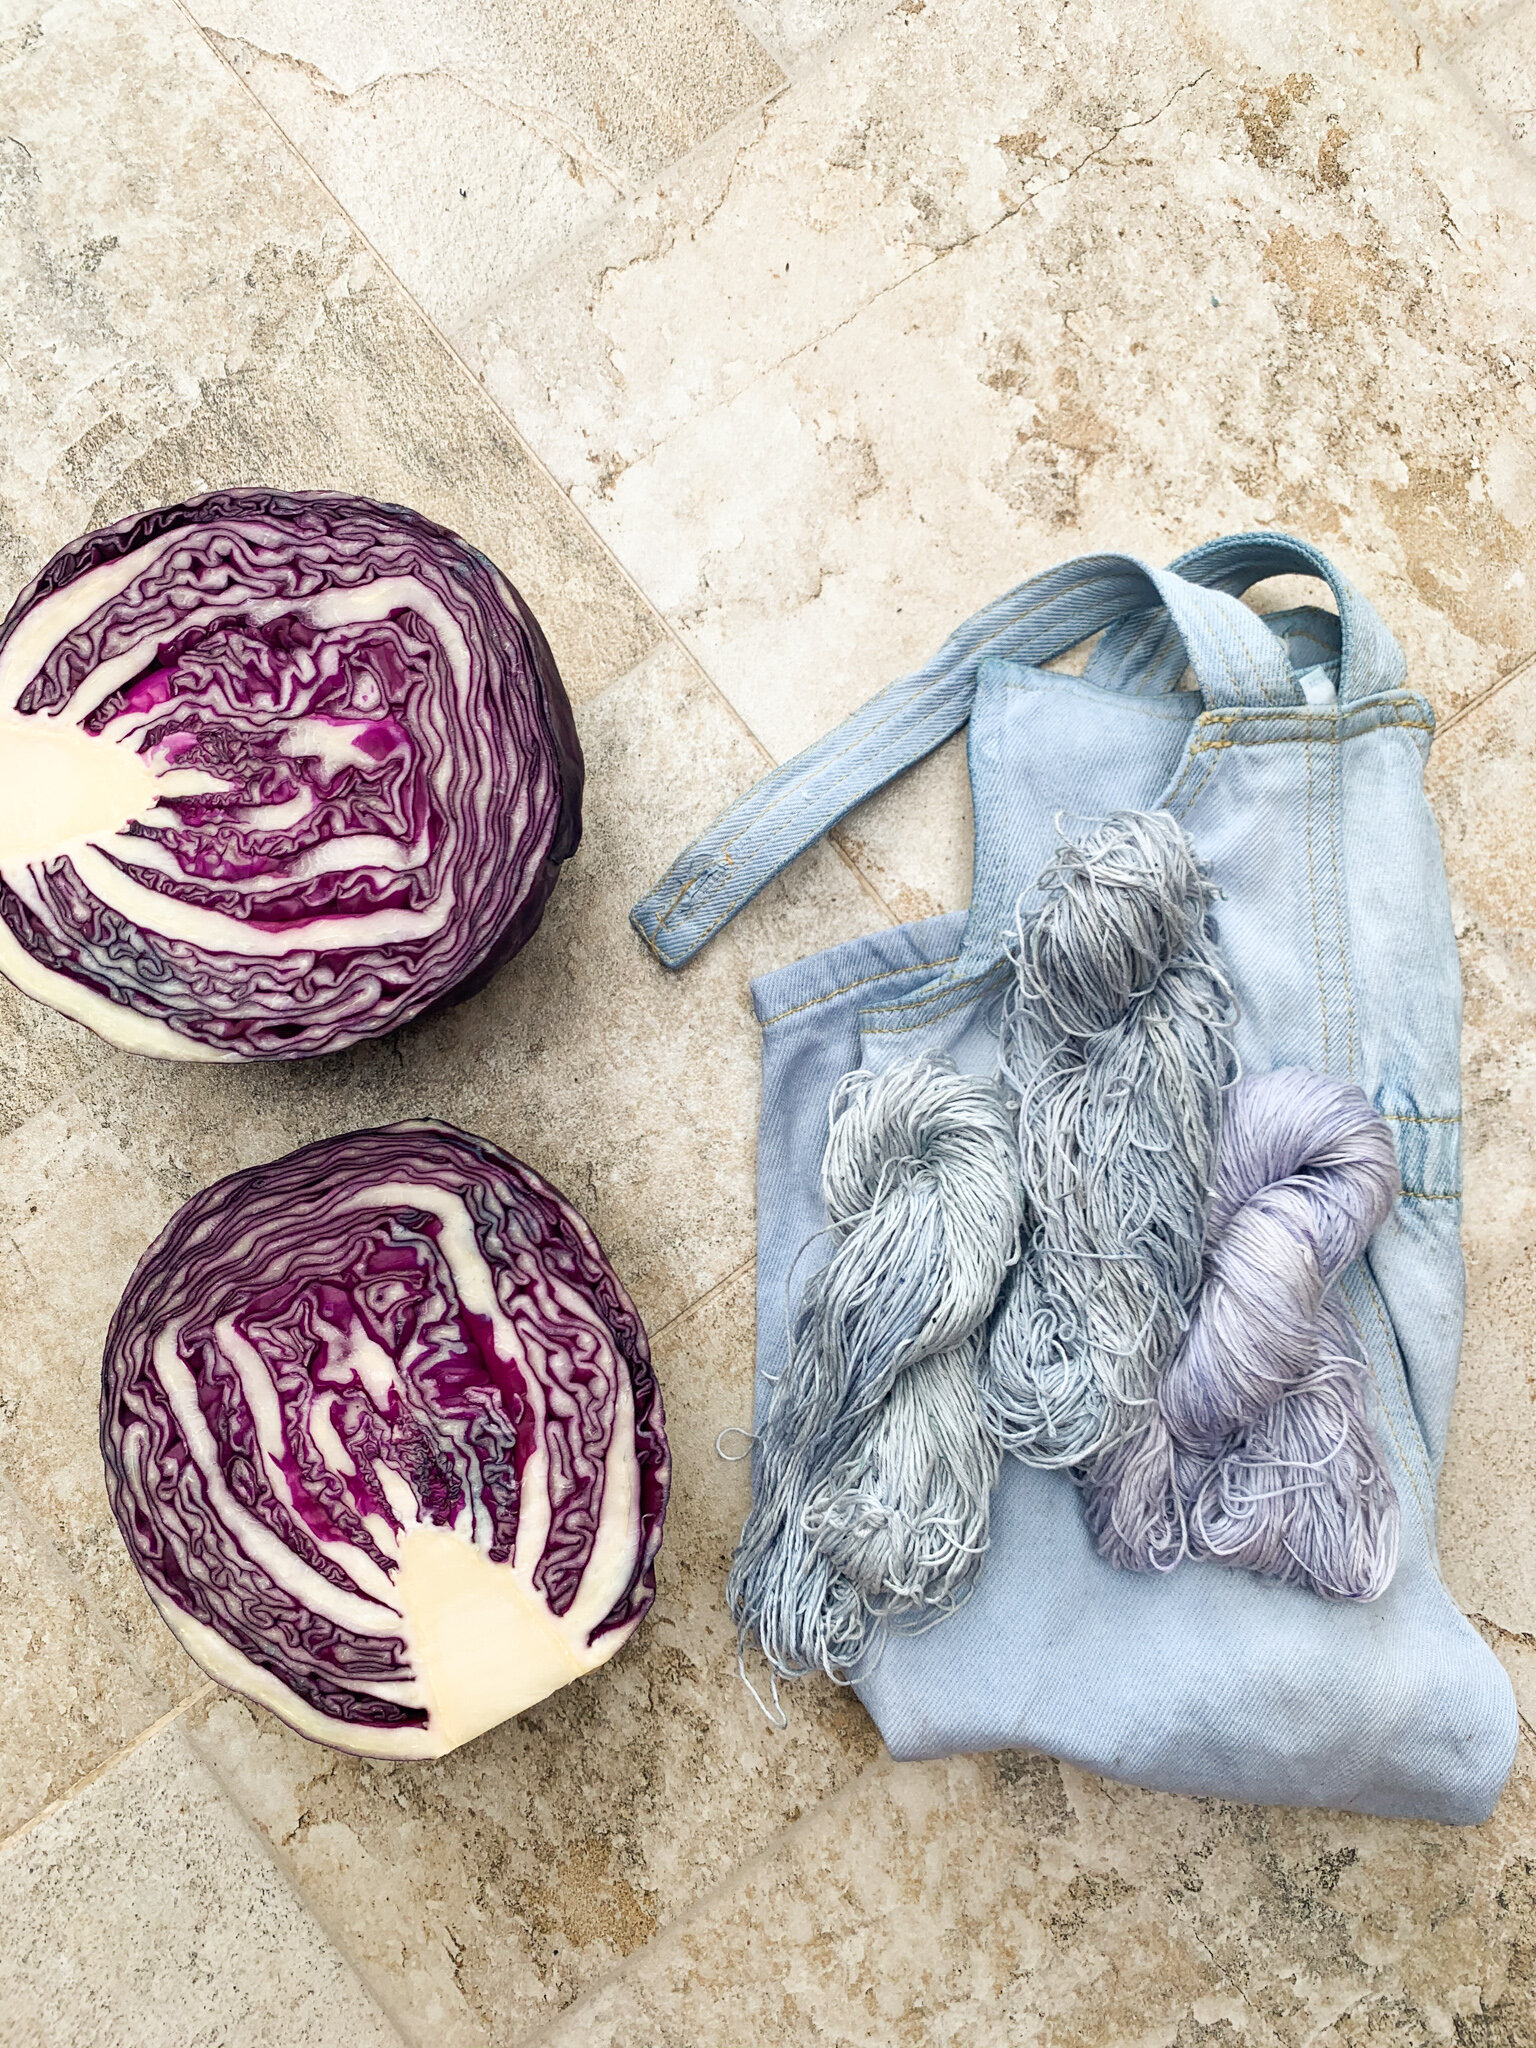
We are using one medium size red cabbage for this tutorial.
Let’s get started with the dyeing part now!
Red cabbage in difference with avocados does not contain natural tannins (a natural mordant). So is even more crucial that you follow the steps of mordanting your fibers prior to dyeing it. Red Cabbage is extremely sensitive to ph alterations. This means that although altering the ph matters in almost every natural dye process, colors change a lot with rad cabbage making it a very fun natural dyeing experience. We will show you our results dyeing it without ph alteration to get lilac tones and making the bath more alkali to obtain blue hues!
PREPARE YOUR DYESTUFF
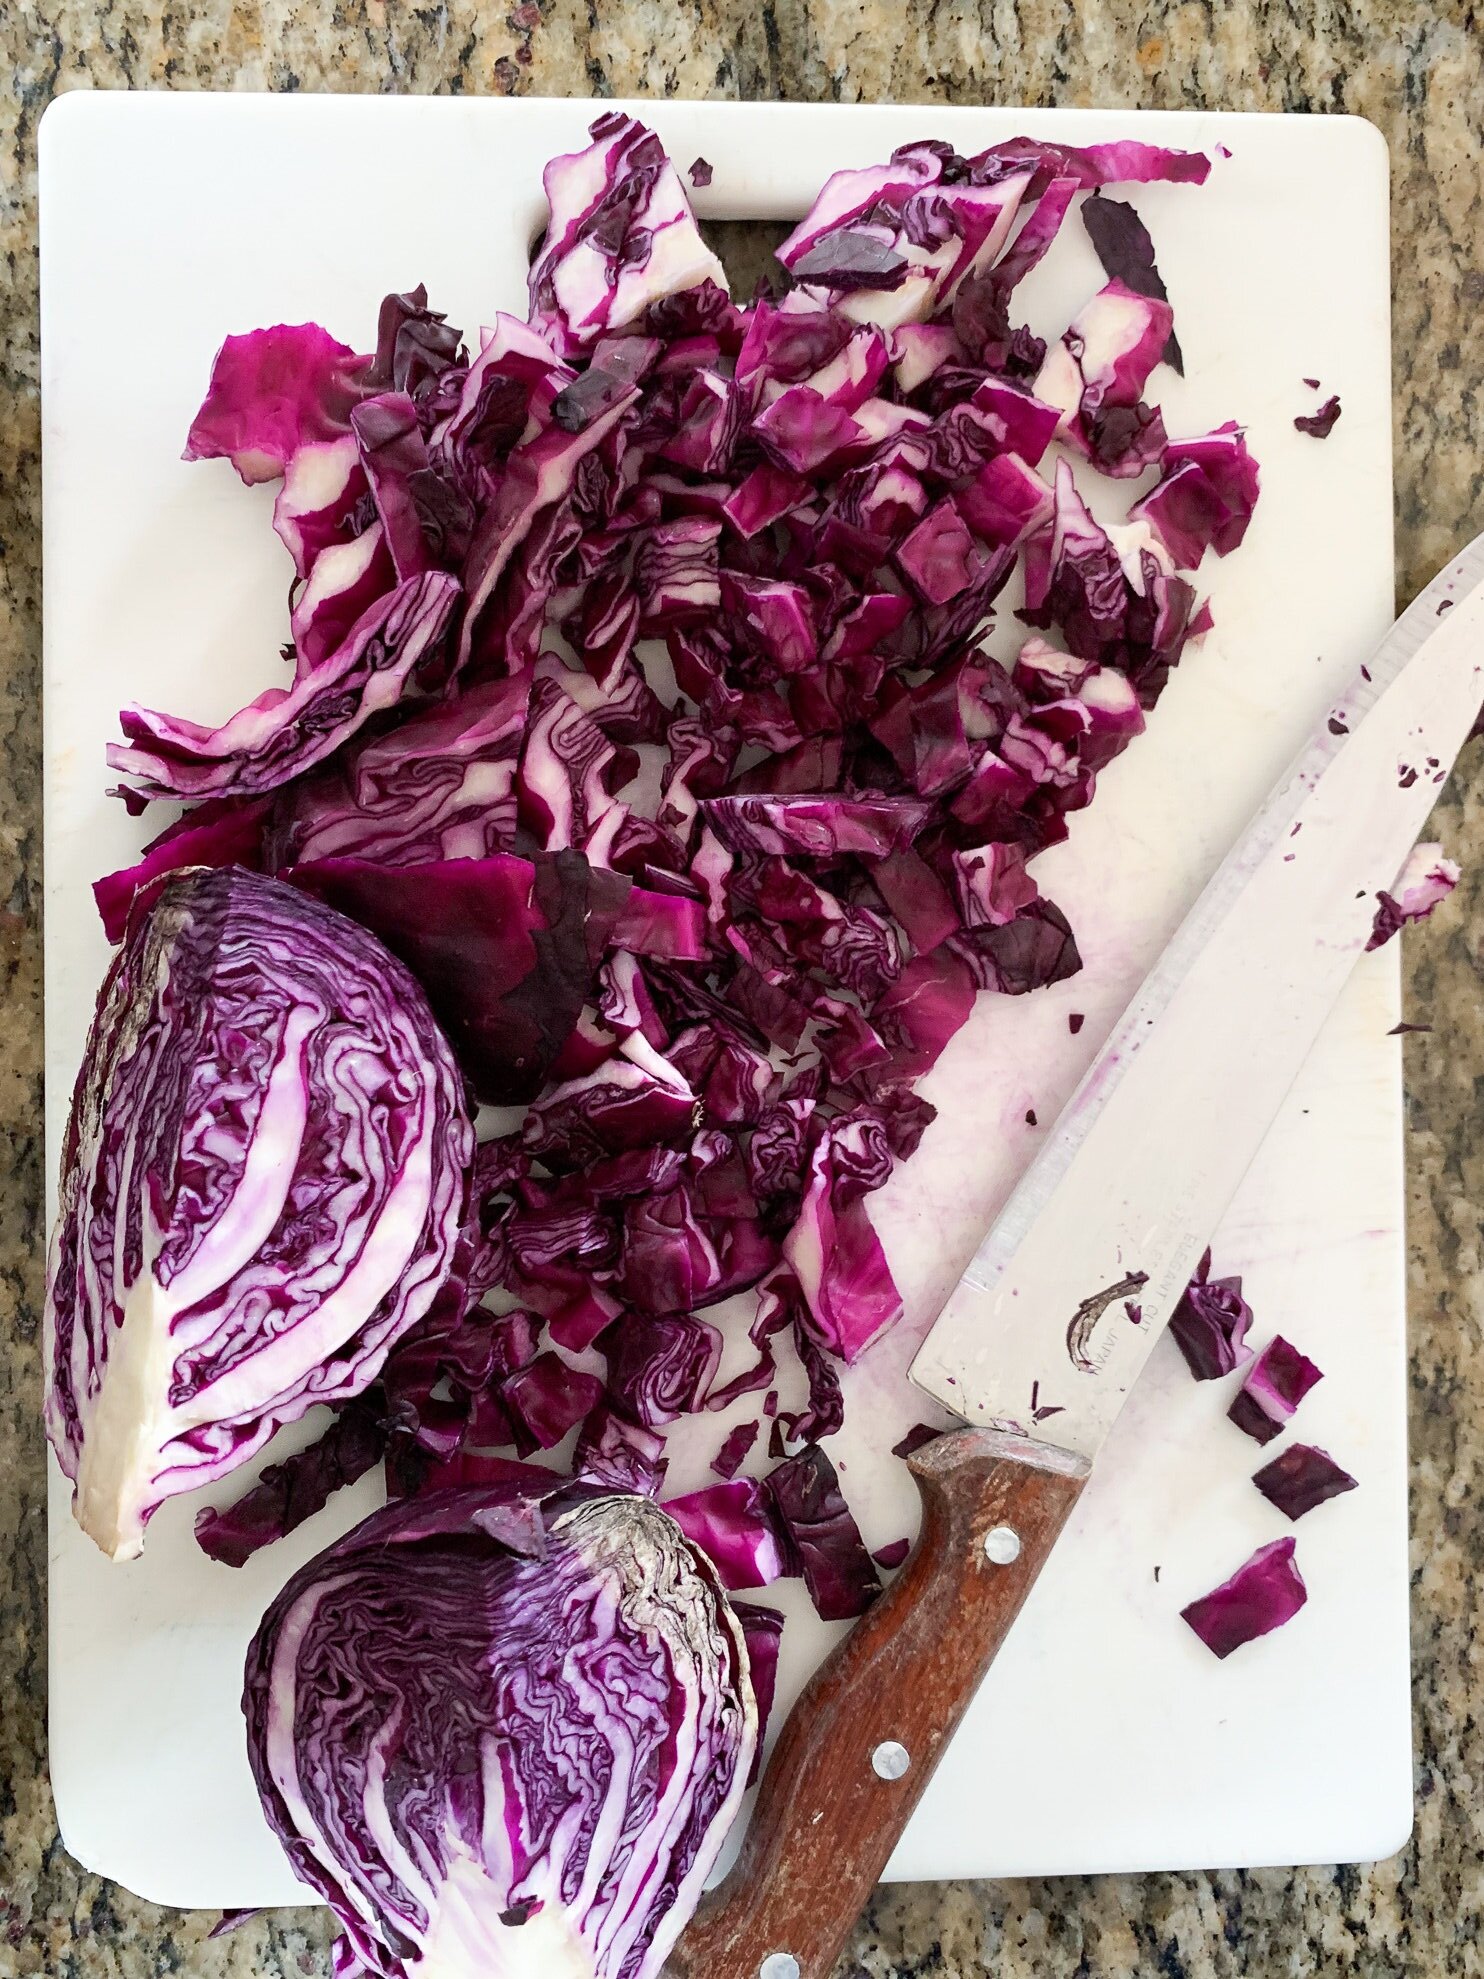
Take your cabbage and chop it until obtaining medium size chunks.
Heat up enough water to cover your fibers. Bring to a boil.
Introduce the chopped cabbage and let sit at a simmering temperature. Make sure to not let the cabbage boil because this could burn your dye and color might be altered.
We recommend adding a few teaspoons of salt, depending on how much your dyeing but from 1-3 teaspoons is a good rule fo thumb for 500g of fiber. Salt also helps to set the dye. This does not replace the mordant, it acts as an intensifier.
Simmer for 2 hours.
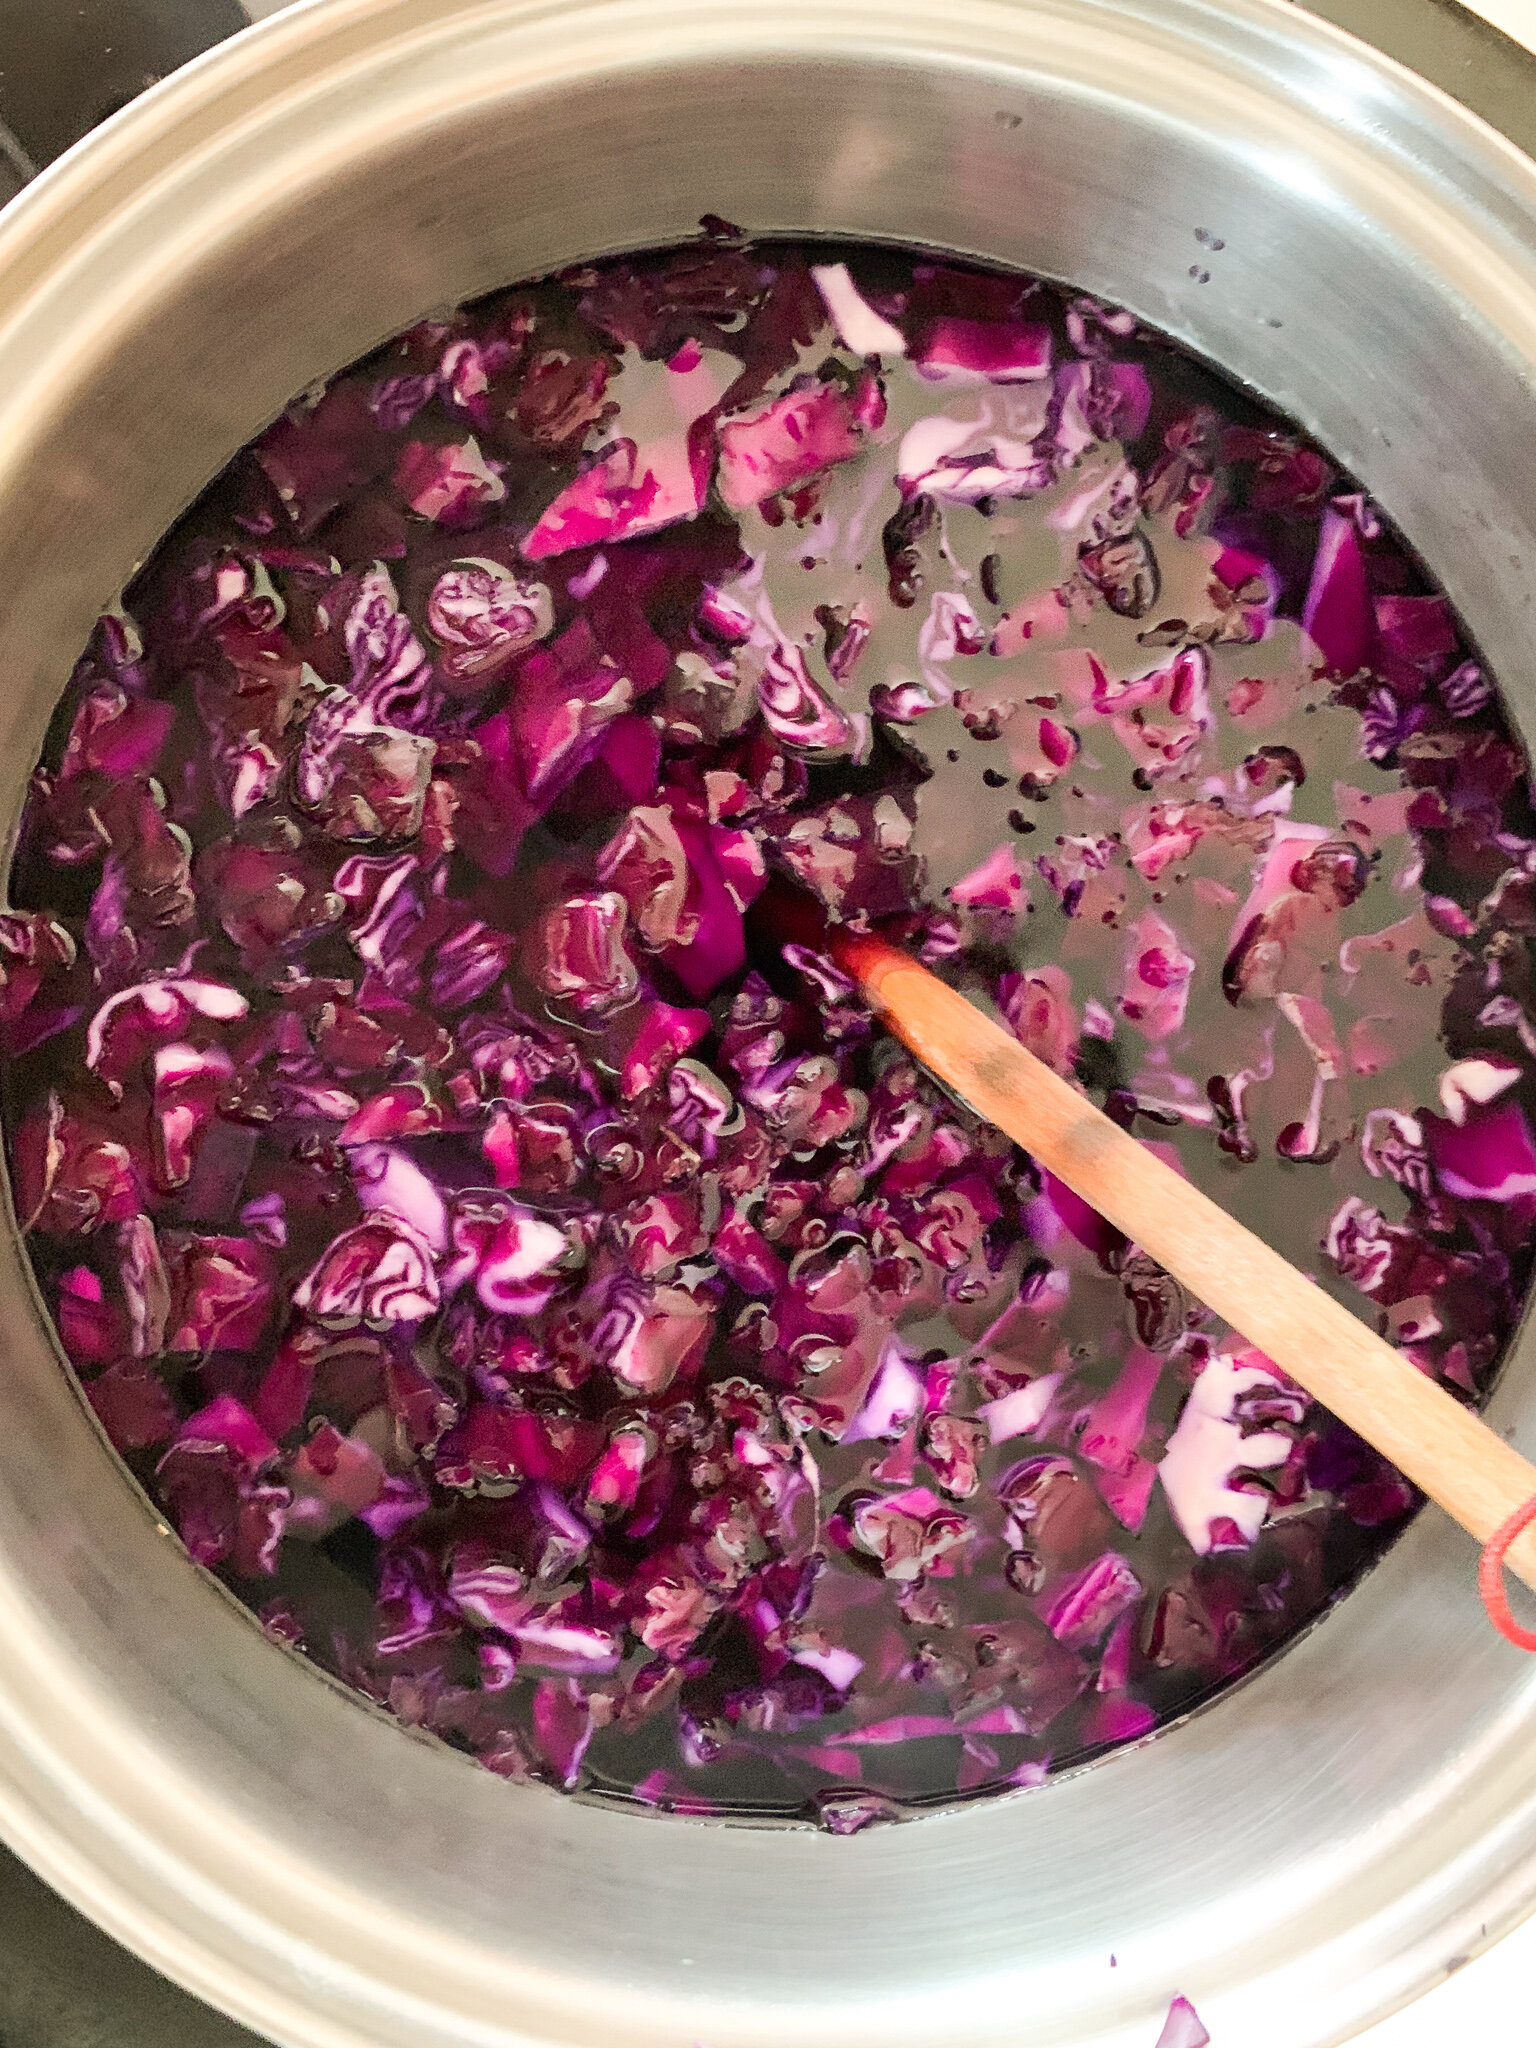
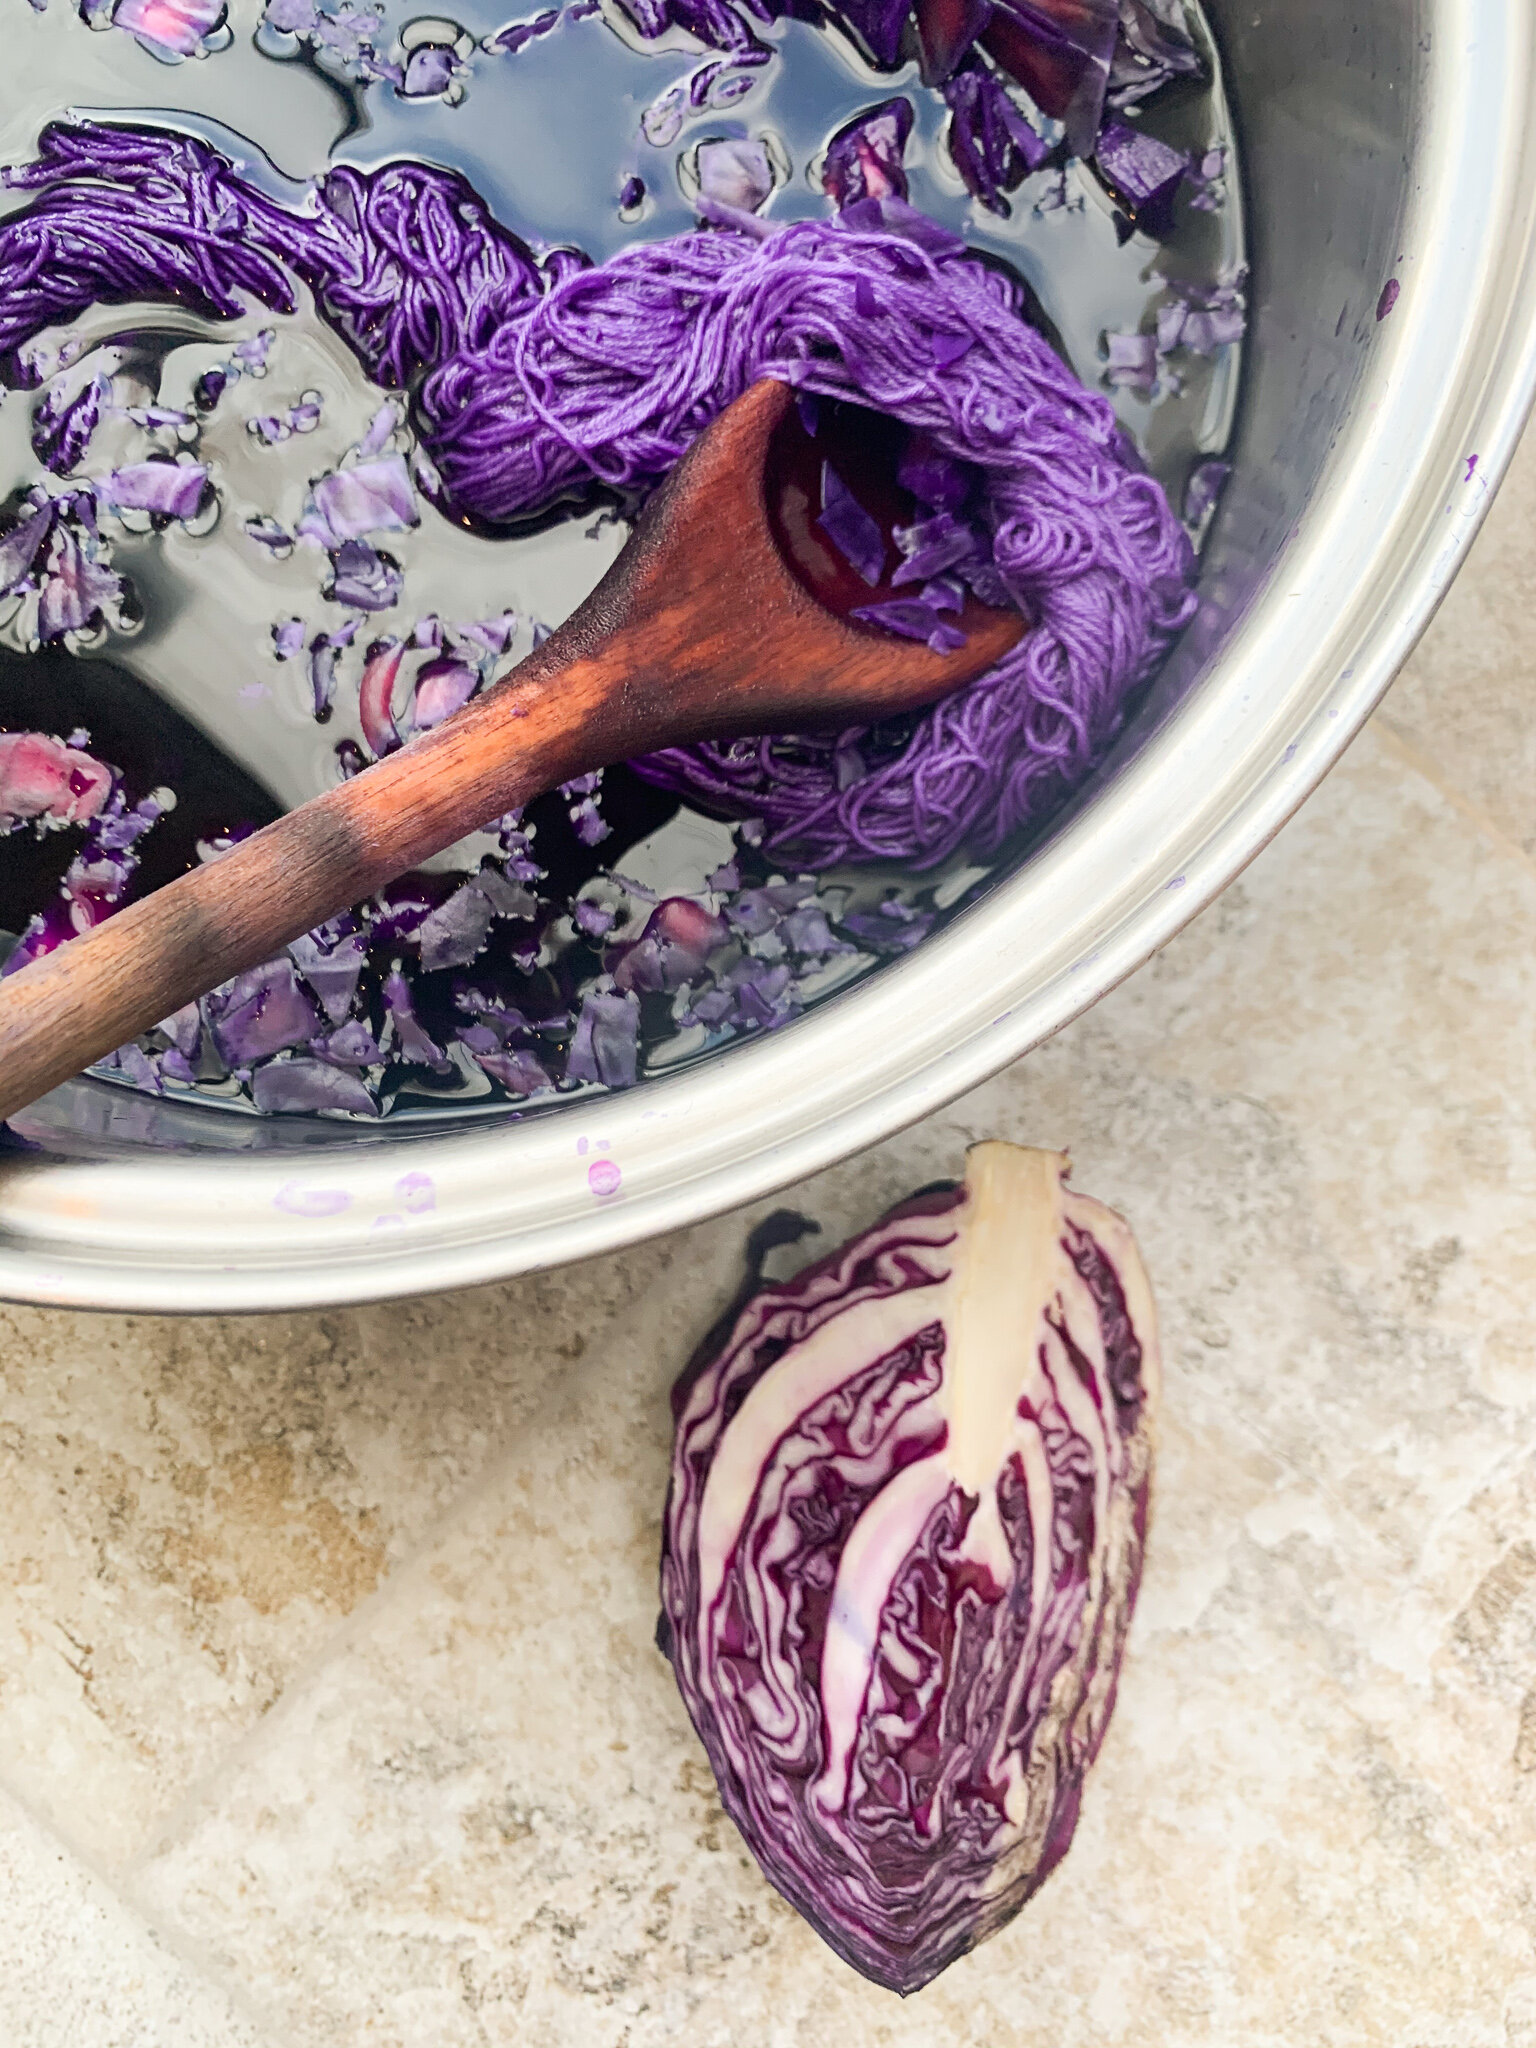
After one hour of simmering, the cabbage is getting softer and the water is turning very dark quickly.
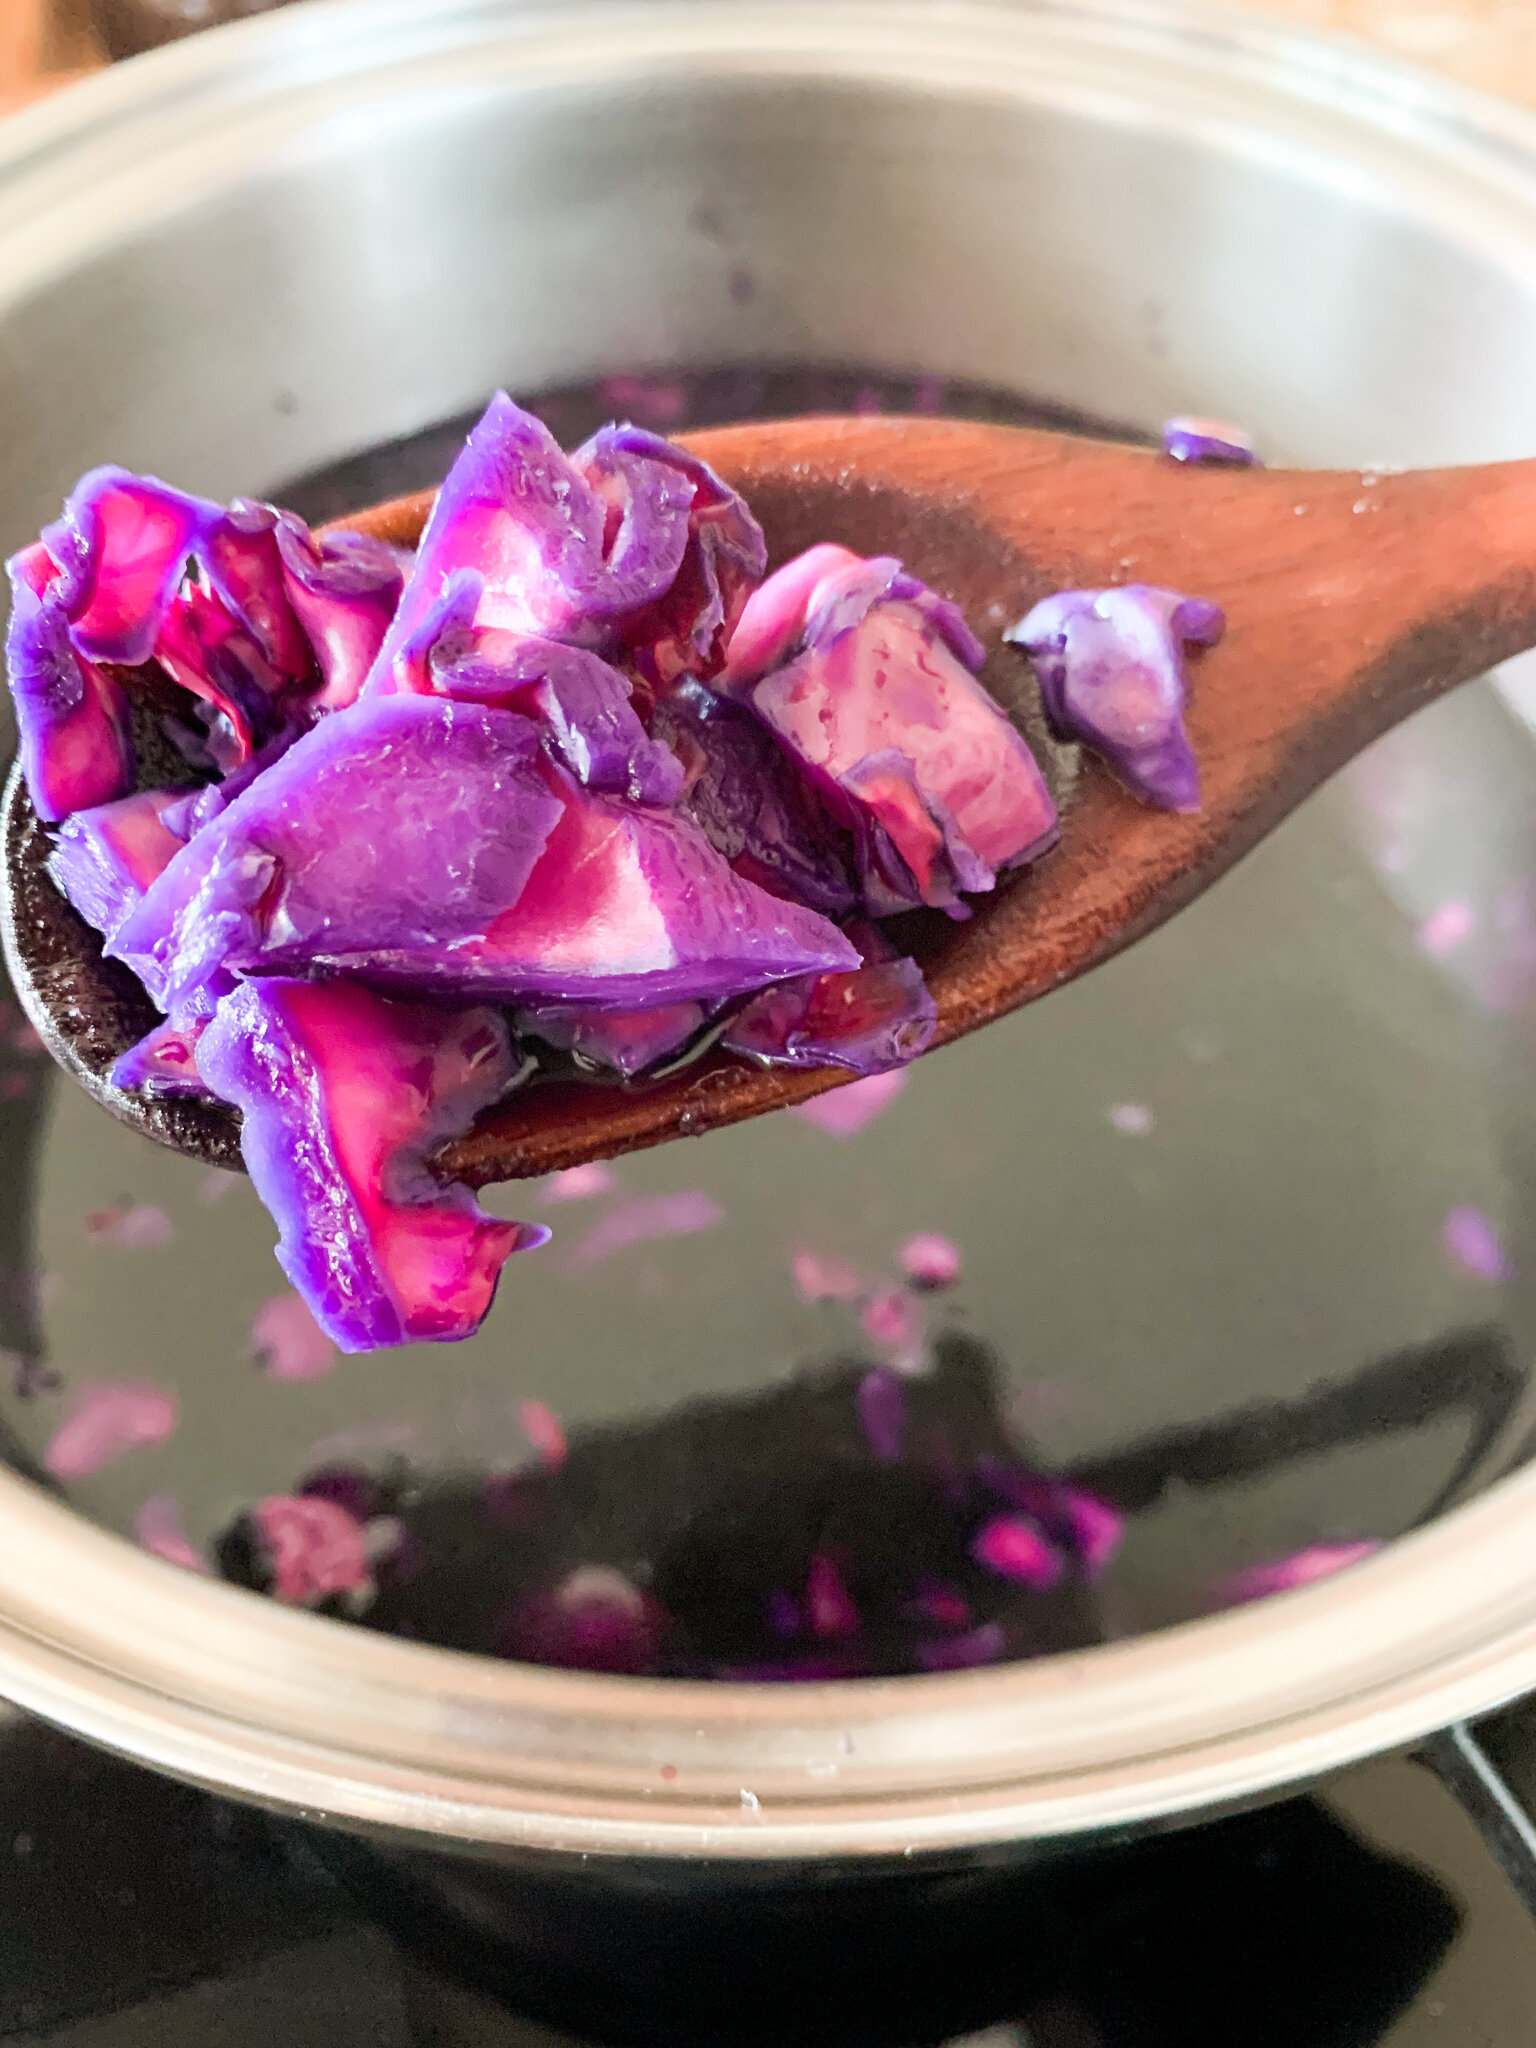
After 2 hours the white parts of the cabbage are starting to have a bright pink a purple color.
INTRODUCE YOUR FIBERS
Once you start seeing the water turn deep purple you can start introducing you fibers and moving them around frequently to get even dye results. I like to extract dye for at least 2 hours before adding the fibers.
Leave simmering for 2 more hours and let sit for 24 hours in the dye if you don’t want to alter the ph. In case you want to add baking soda (an alkali ph addition) you can add it at this point before letting your fibers sit for a day.
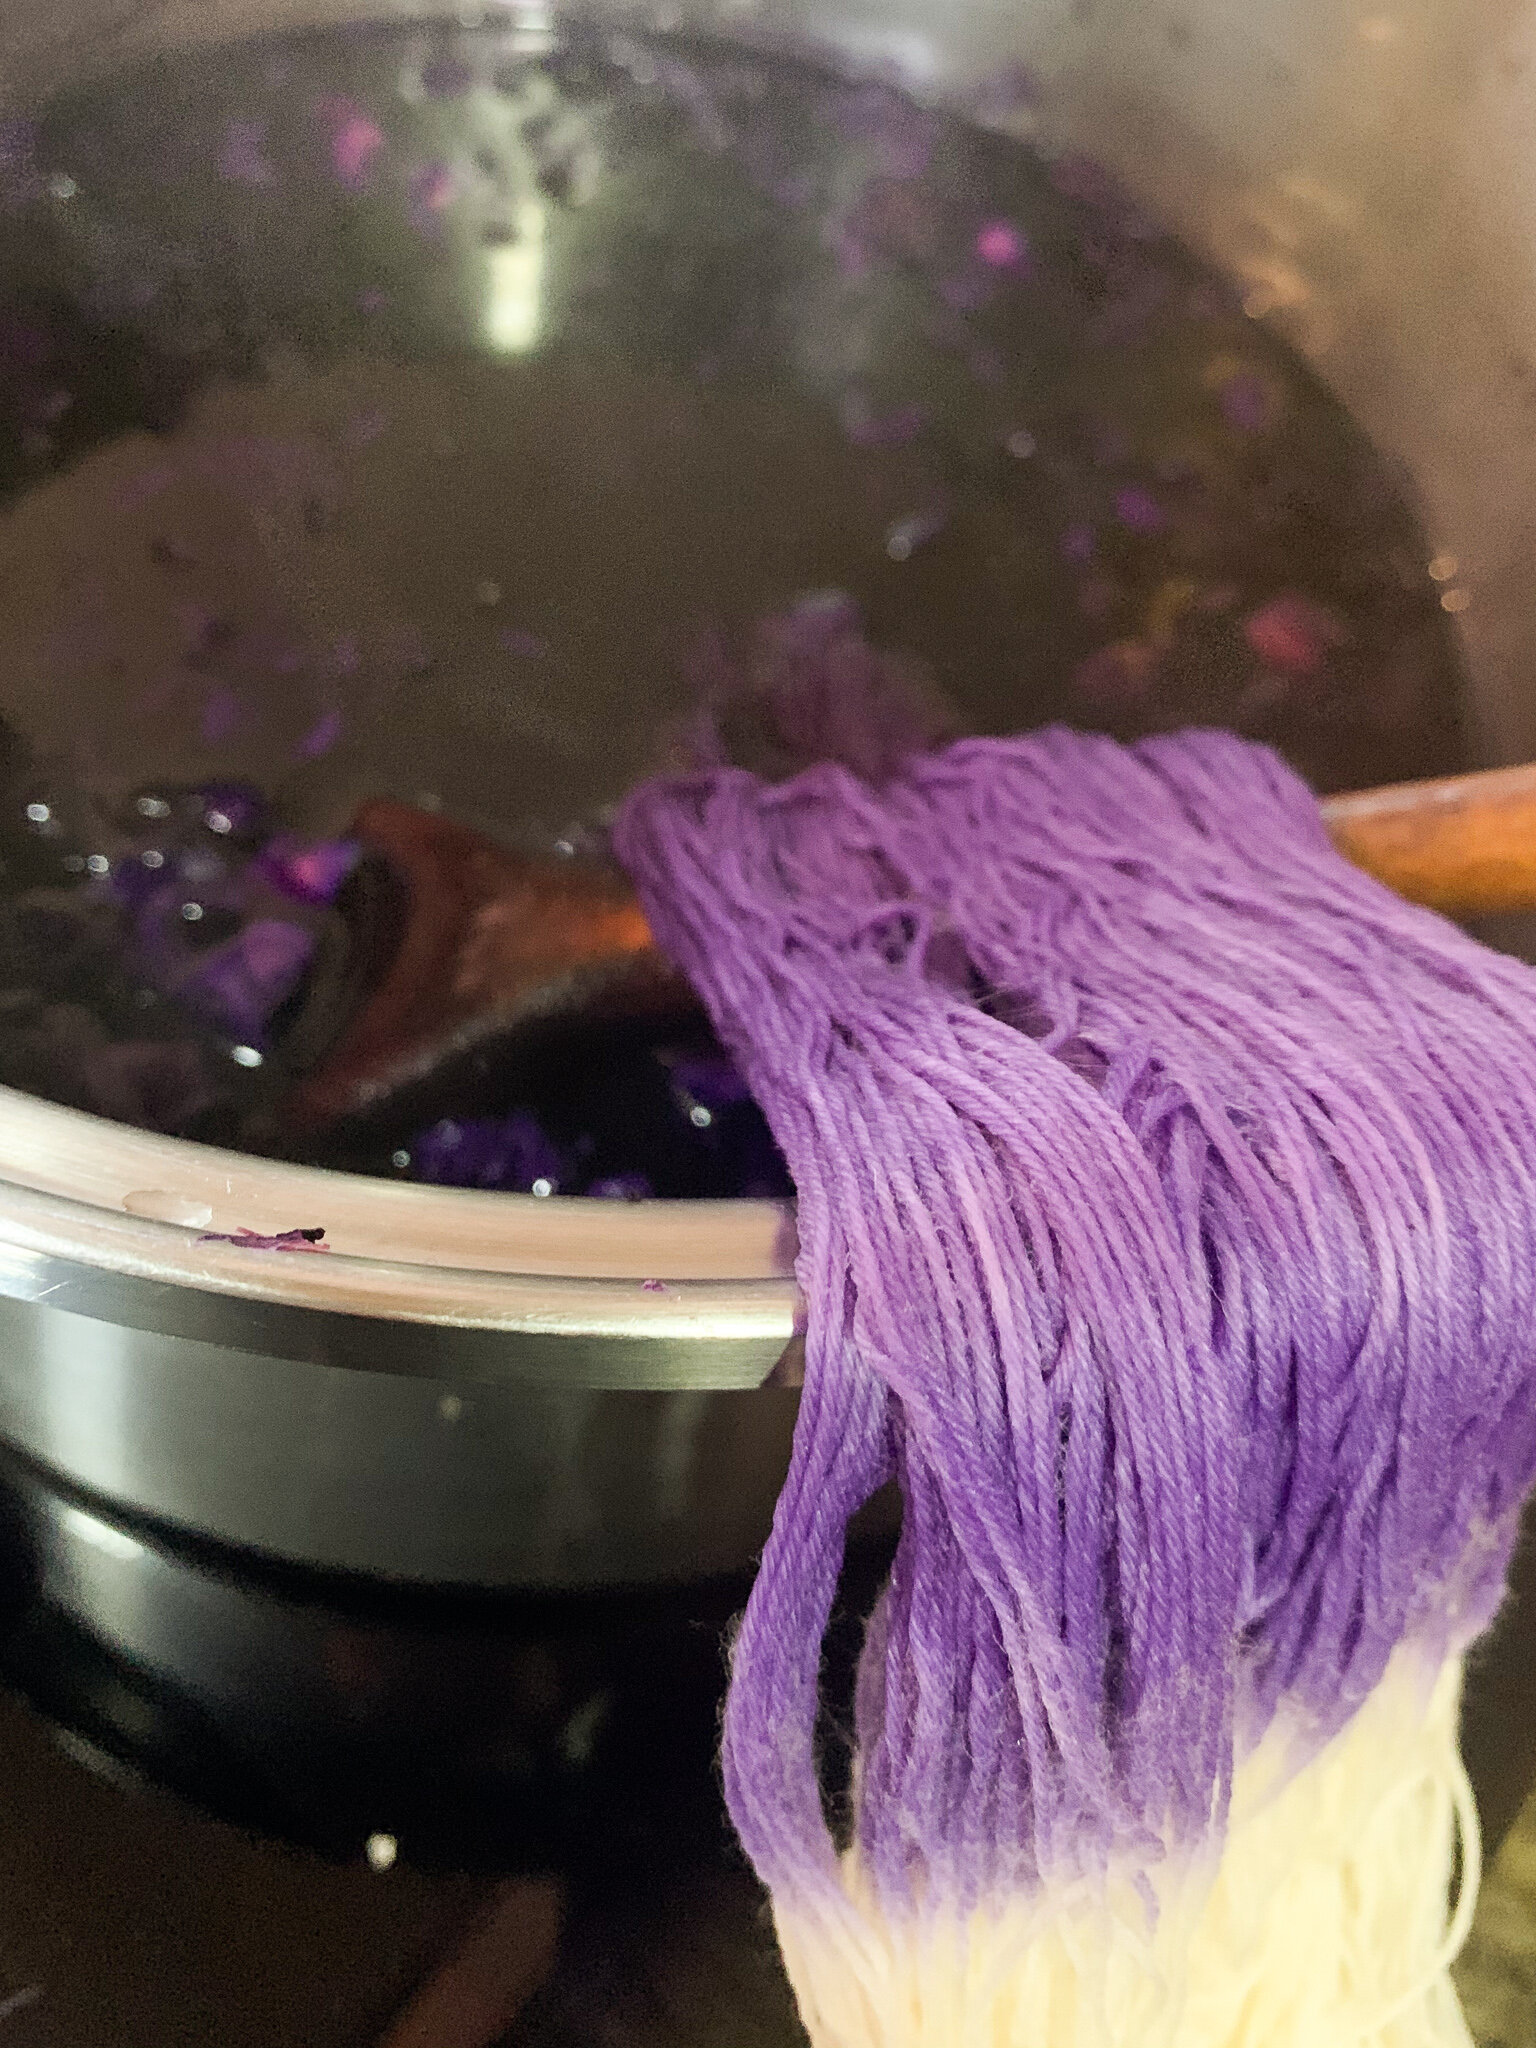
The purple dye looks very deep soon in the process and is giving strong purple hues.
This is how deep the color is after 2 hours of simmering the cabbage. Remember, specially when dyeing with cotton and cellulose fibers, the colors do get lighter. Protein fibers are better at obtaining deeper colors.
Without adding any baking soda, the color is very purple and bright.
3. If you do want to alter the ph…
For 500g of fiber I use 2 tablespoons of baking soda. There is not a specific rule of how much baking soda is good to use with red cabbage dyeing, but we realized that the more baking soda you add you can even get to teal/green hues. We are going for blue firstly so we will just stick with a 2 tablespoons so our bath does not turn too alkali.
As soon as you introduce the baking soda, you get a quick change in the color of the dye bath. The color was very bright blue very quickly.
The Yarn skein was looking blue and the cabbage turned deep blue and purple, all the white areas where gone by this point.
4. Keep your fibers in the dye bath overnight and preferably for 24-48 hours.
5. Wash off the cabbage and dye and wash your fibers until water runs clear.
Let’s look at our first results
Our deep blues and purples came out as lighter sky blues and lilac. Beautiful colors, but you notice how much of the dye is not absorbed. This can be due to firstly, the fiber! Cellulose fibers such as cotton and linen tend to absorb color less than animal, protein fibers such as wool. After seeing these results I would be interested in trying it out with a protein fiber to truly see the difference in absorption. Also, natural dyes are complex, and each source is different. Red Cabbage dye is clearly one that gets color very fast as supposed to avocado dye which tends to get deeper with time.
From right to left: Lilac from the first bath with no baking soda. The next two skeins are sky blue tones with added baking soda and the clothing piece is a baby overall that was dyed with the same blue dye.
Here you can see the difference. Right: Lilac and Left: Sky Blue
NOW, LET’S TRY SOME GREENS!
We told you that Red Cabbage dye has many different colors it can give you. We wanted to obtain greens by adding more baking soda than the amount we added to get blues. This time we will add 1/4 cup instead of 2 table spoons to see the difference. We will also re-dye the purple to see if the color gets any deeper.
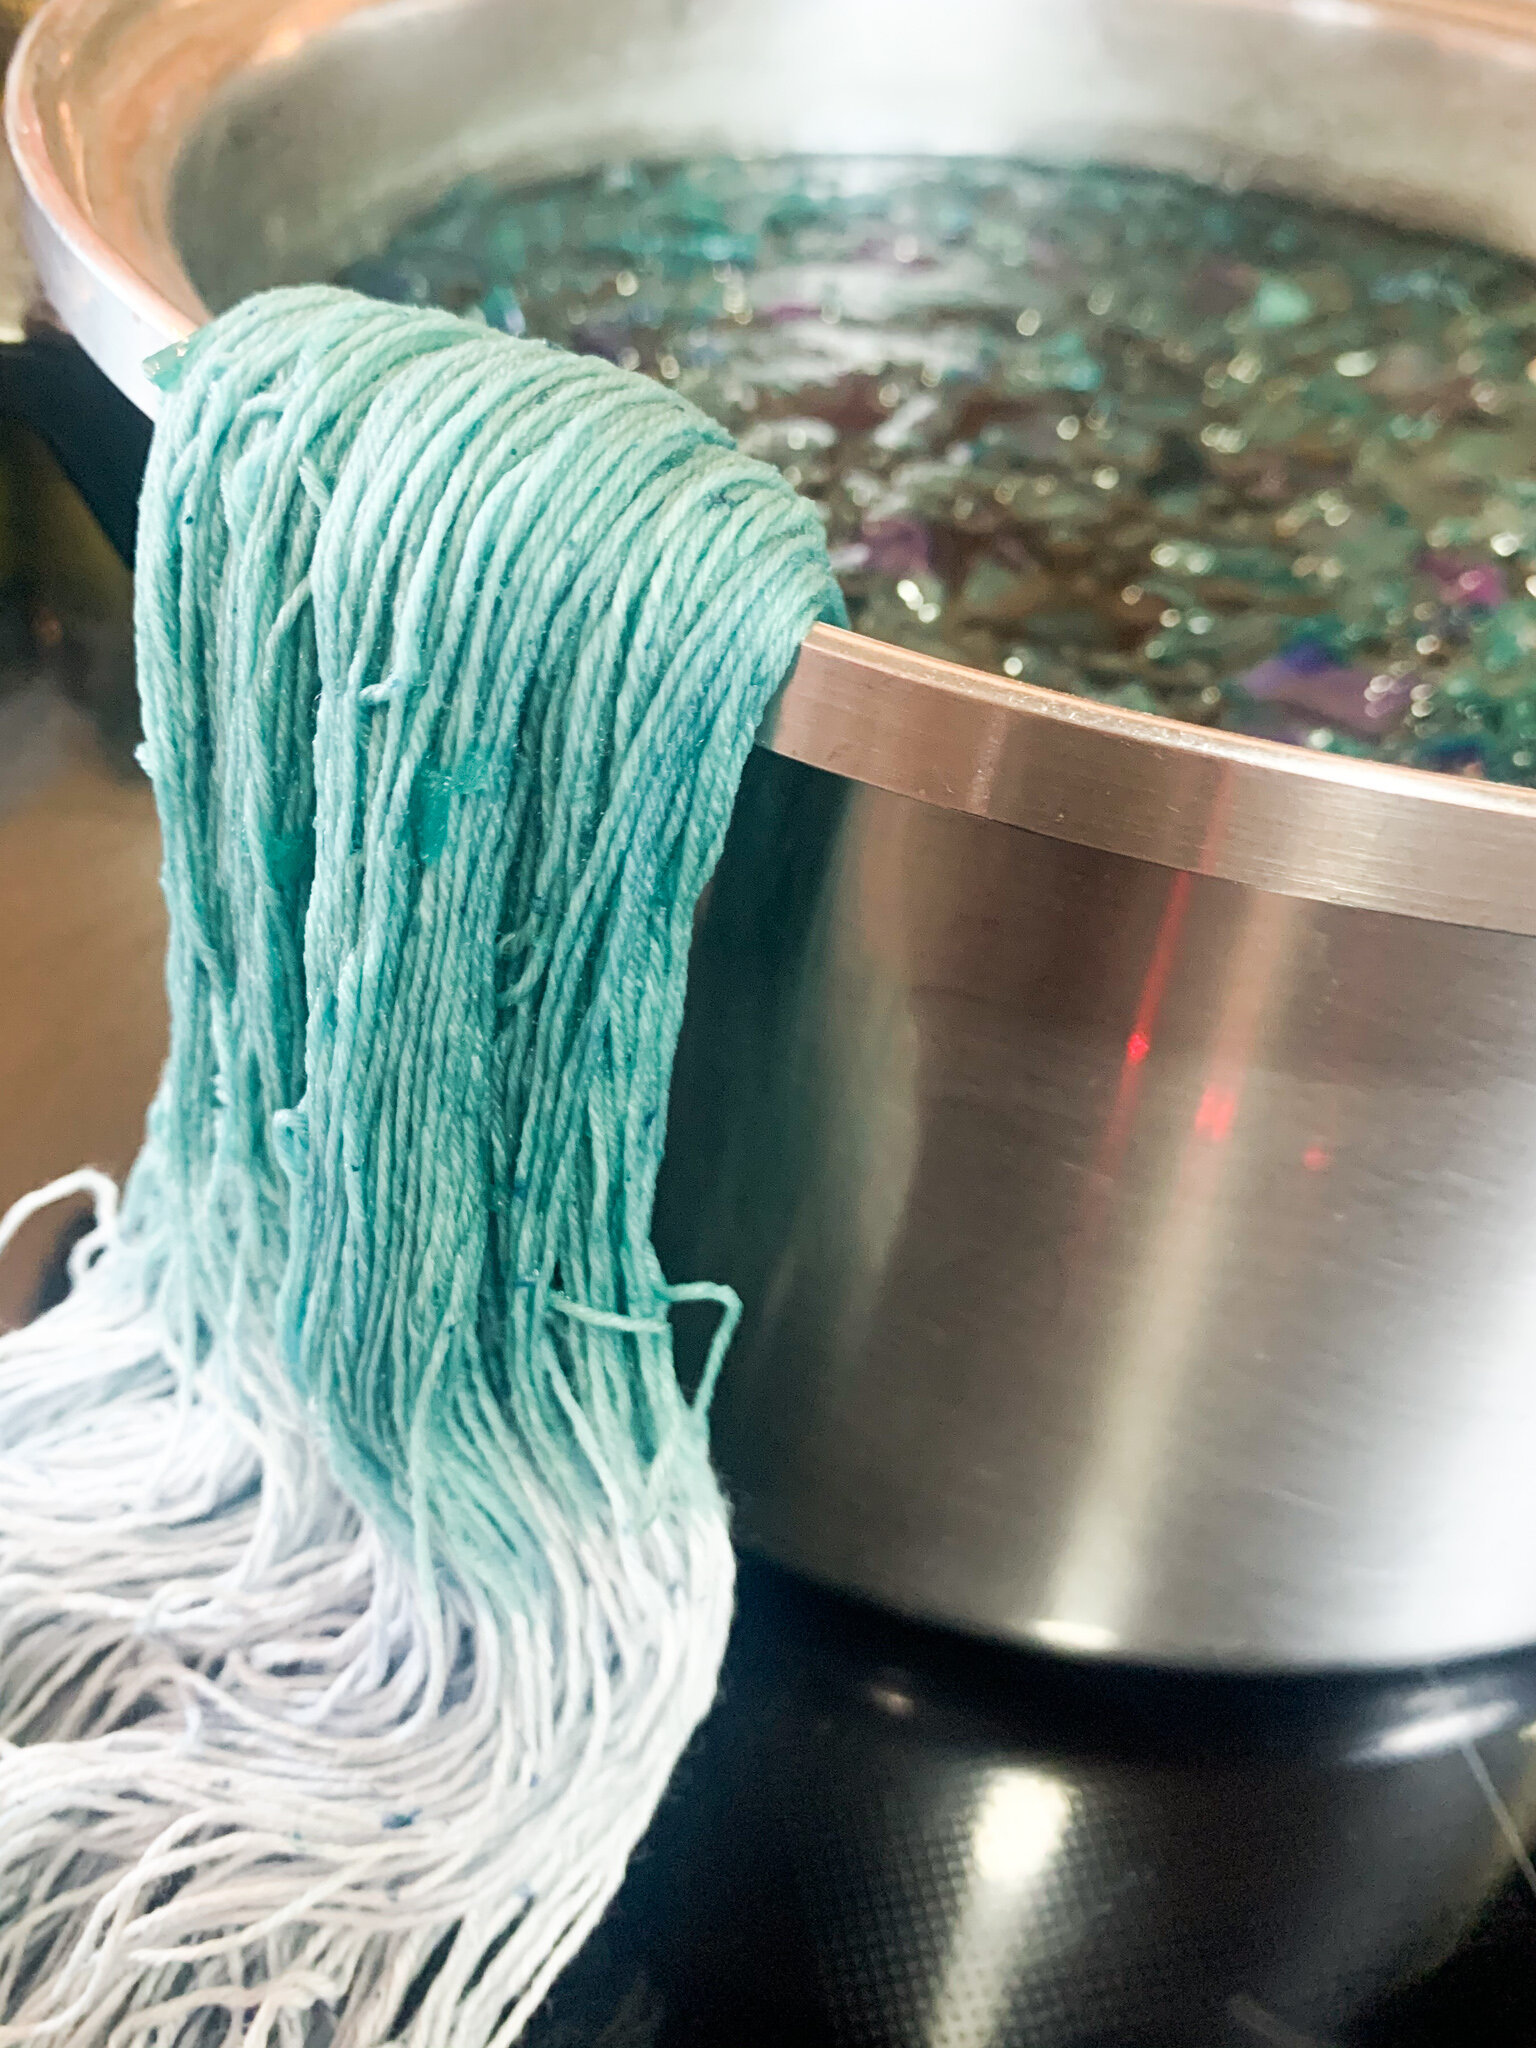
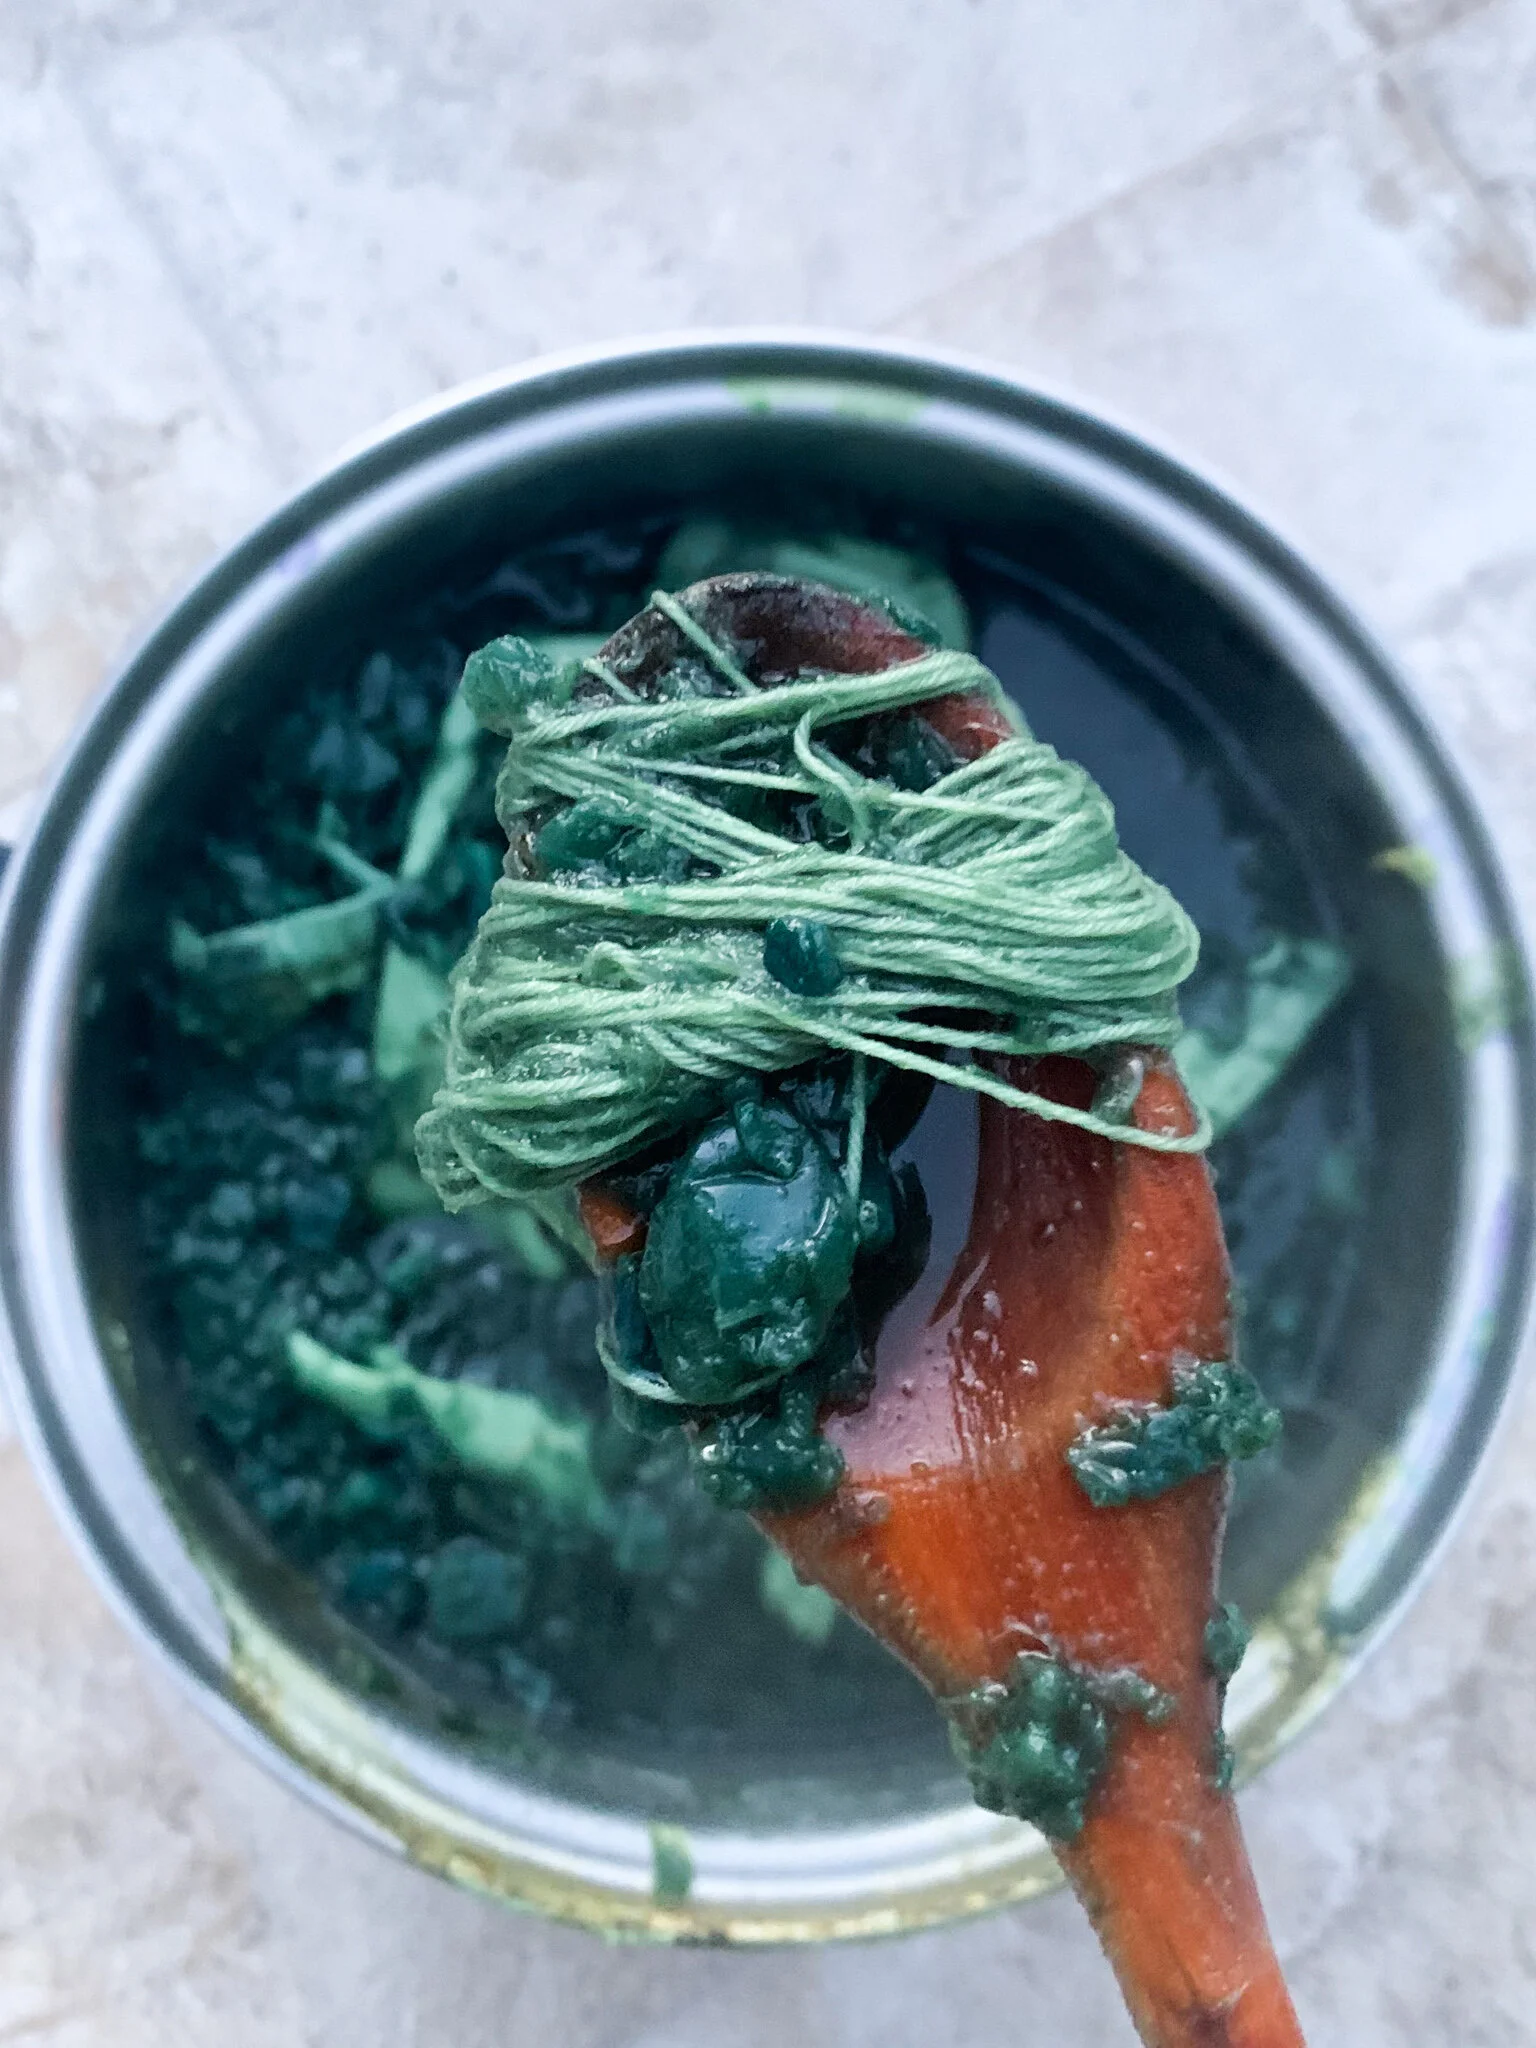
After adding more baking soda, the color quickly turned from blue to a teal color. You can see the already blue dyed yarn turning into a lovely green teal at first.
After a couple of hours of sitting in the bath, the color turned more green, still looking more green-teal, but deeper.
These are the final results of the 3 different colors
After experimenting with altering the ph of the bath and attempting to getting different colors with red cabbage, we were amazed at how much the colores varied. Here are a couple of thoughts of dyeing with red cabbage after our experience experimenting with this natural dye:
For deeper colors, the rule of 50:50 does not apply. You will see that you need to double the weight of your fiber goods to get deeper colors. The red cabbage dye is weaker than other dyes. We ended up adding extra cabbage than we thought we would need. So we recommend you experimenting with altering the 50:50 ratio rule.
Is not about time. Is more about ph alteration and the amount of cabbage you can use. If you read our avocado dye tutorial you will remember that we discovered that the more time you leave the fibers in the dye bath, the deeper the colors at the end. Avocado has an oxidizing element and the more the avocado dye is exposed, the more it oxidizes. With red cabbage, we discovered that this rule not necessarily applies. The shades where the same for all these baths after 12 hours and 24 hours. We still recommend you to leave your fibers 24hours in the dye bath. It might not make the color deeper, but it might help with colorfastness.
These colors are definitely lighter than other dyes. We love pastels! But if you are looking for deep color shades we don’t recommend red cabbage as a natural dye to get deep colors. Very deceiving from the dye bath to when you wash it off. If you mordanted your fibers correctly, you will get lovely pastel hues!
Purple Dye- No baking soda
Blue Dye - Added baking soda
Green Dye- More added baking soda
Left to right: Green (ended up looking like a light mint), Blue (sky blue), Purple (a blue lilac was the final result)

