Onion skins are magical, practical, and in almost everyone’s kitchen. We tend to throw them away, but what if I told you you could make beautiful art and get yellows, ochres, and even deep greens with your onion skins? We are excited to bring to you our yellow onion skin natural dye recipe. This is the third recipe from our natural dye series, and it’s also the way we get our beautiful pitaya yellow from our Tyba Collection Pillows. This natural dye recipe is simple, and it’s a smooth intro to the magical world of natural dyes!
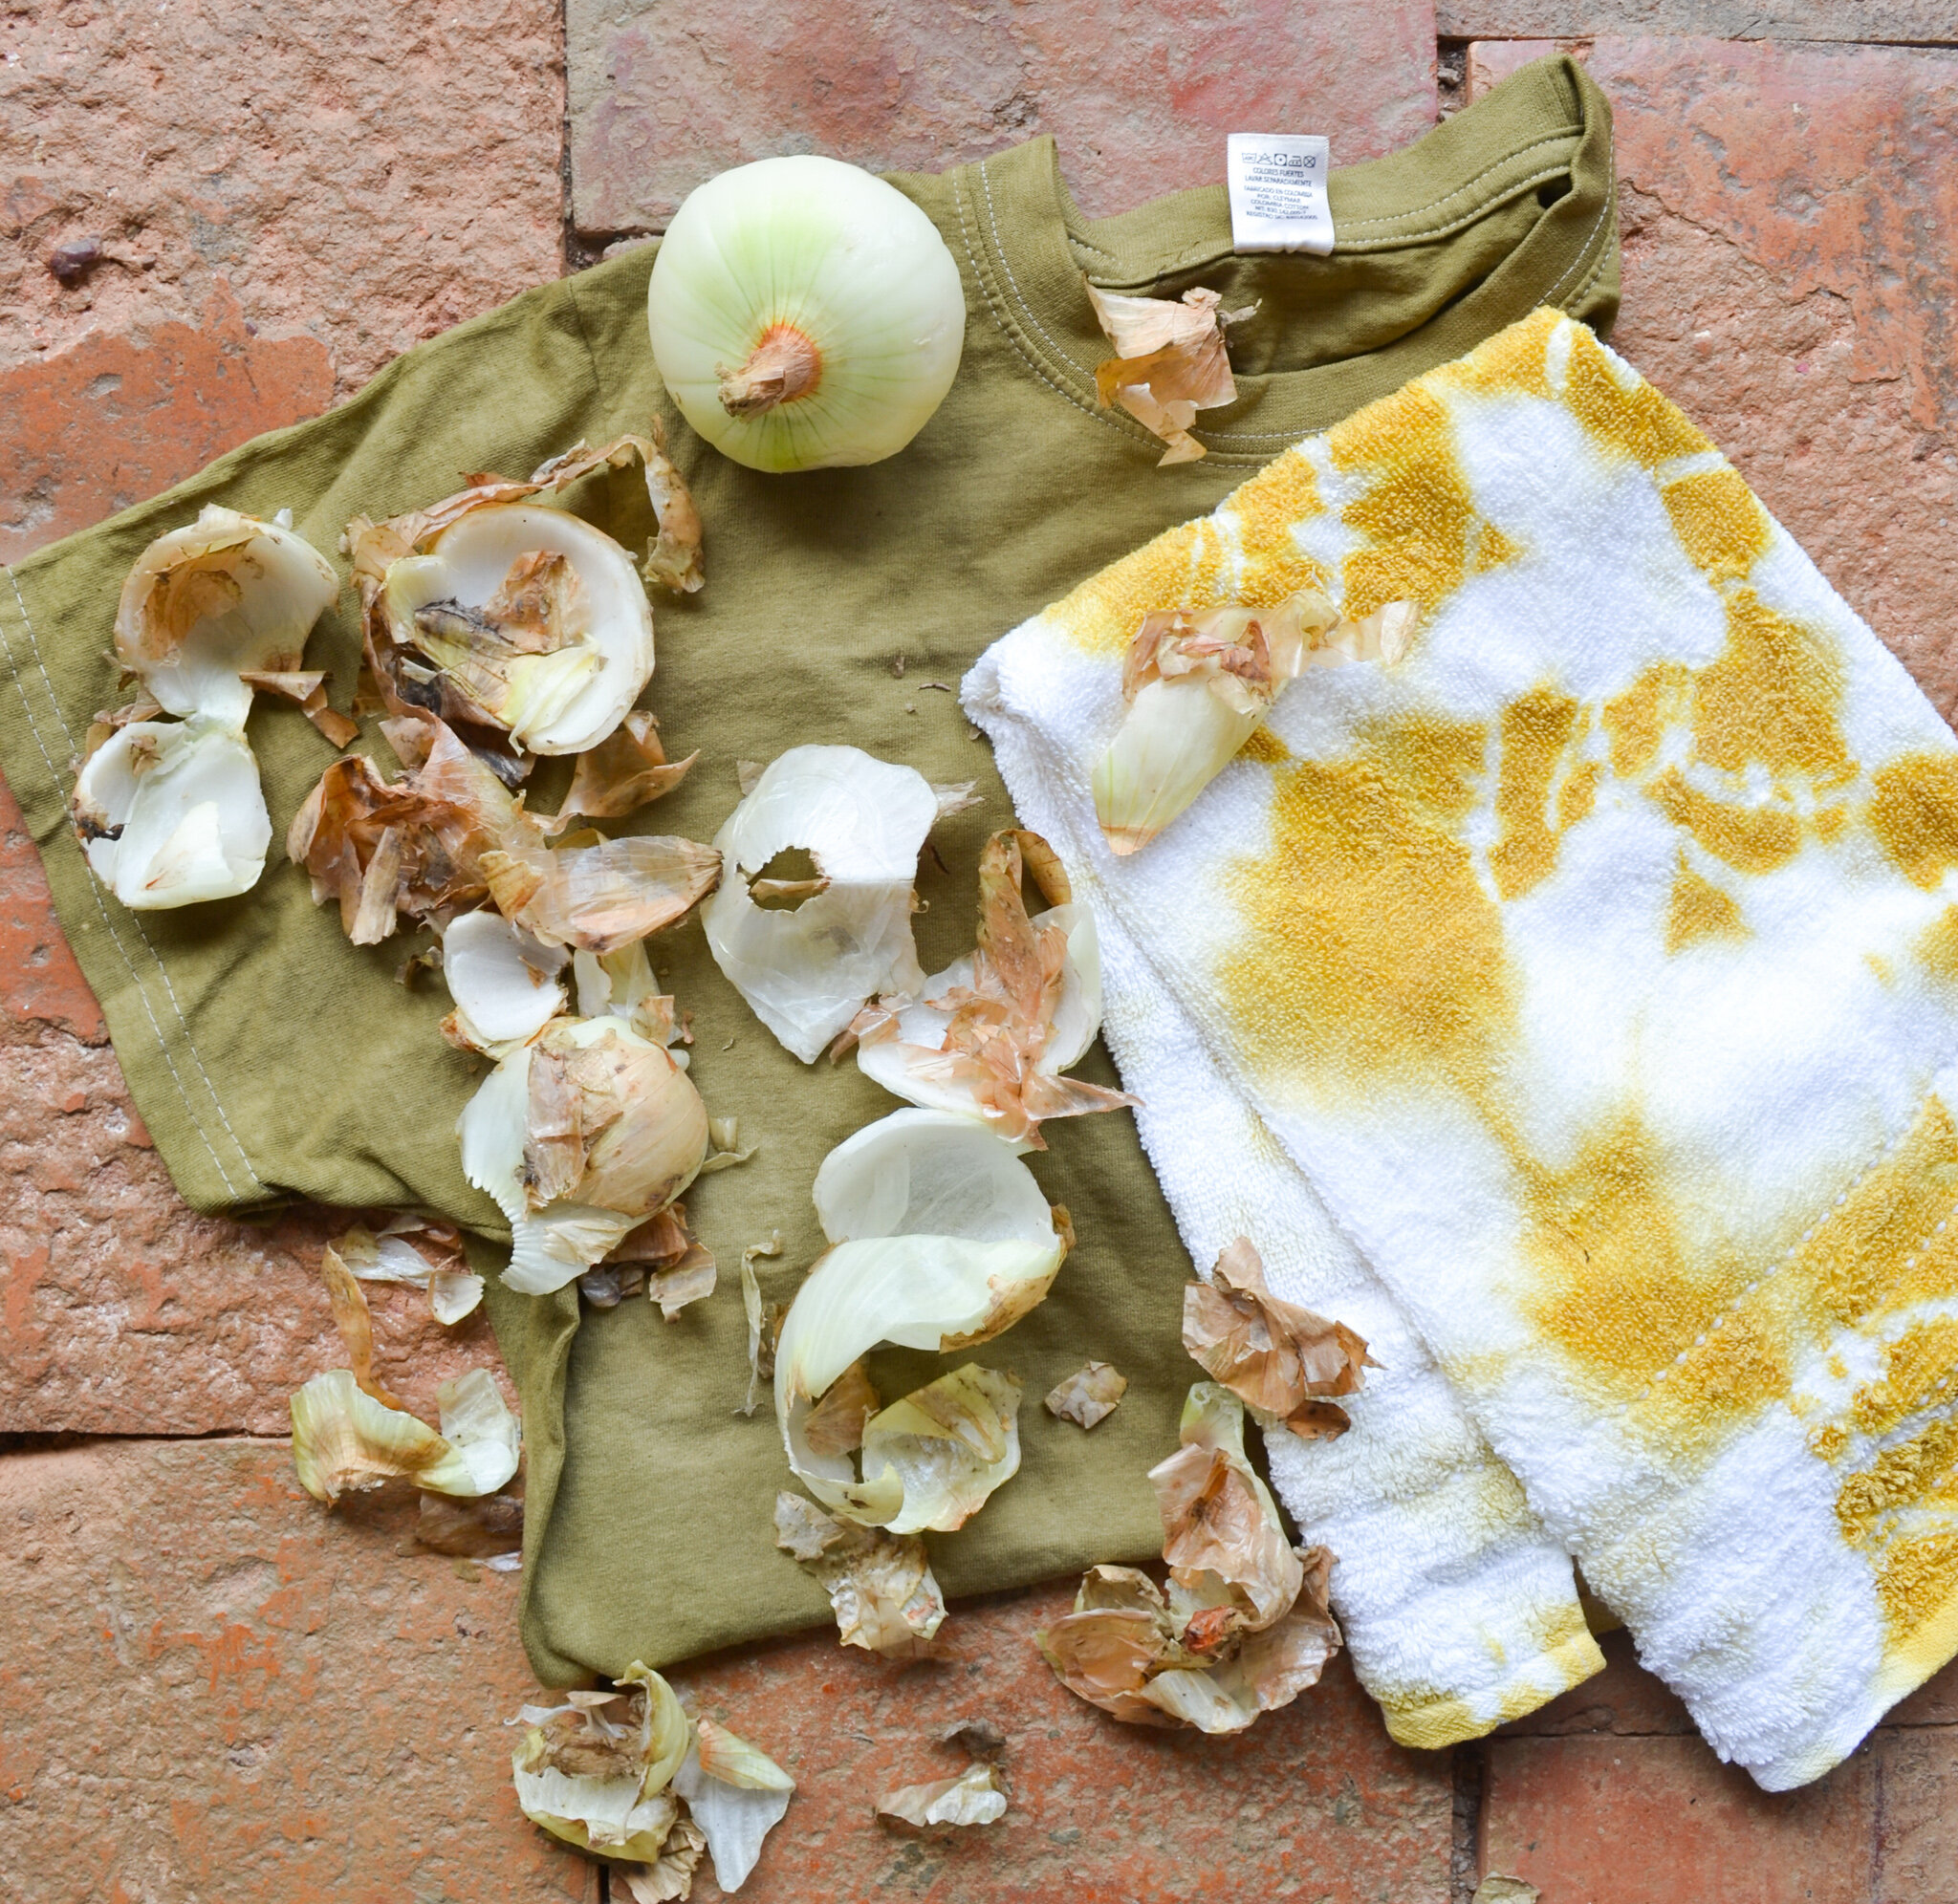
We are using 1 week dried onion skins, a cotton towel and a cotton t-shirt.
What You’ll Need
Onion Skins
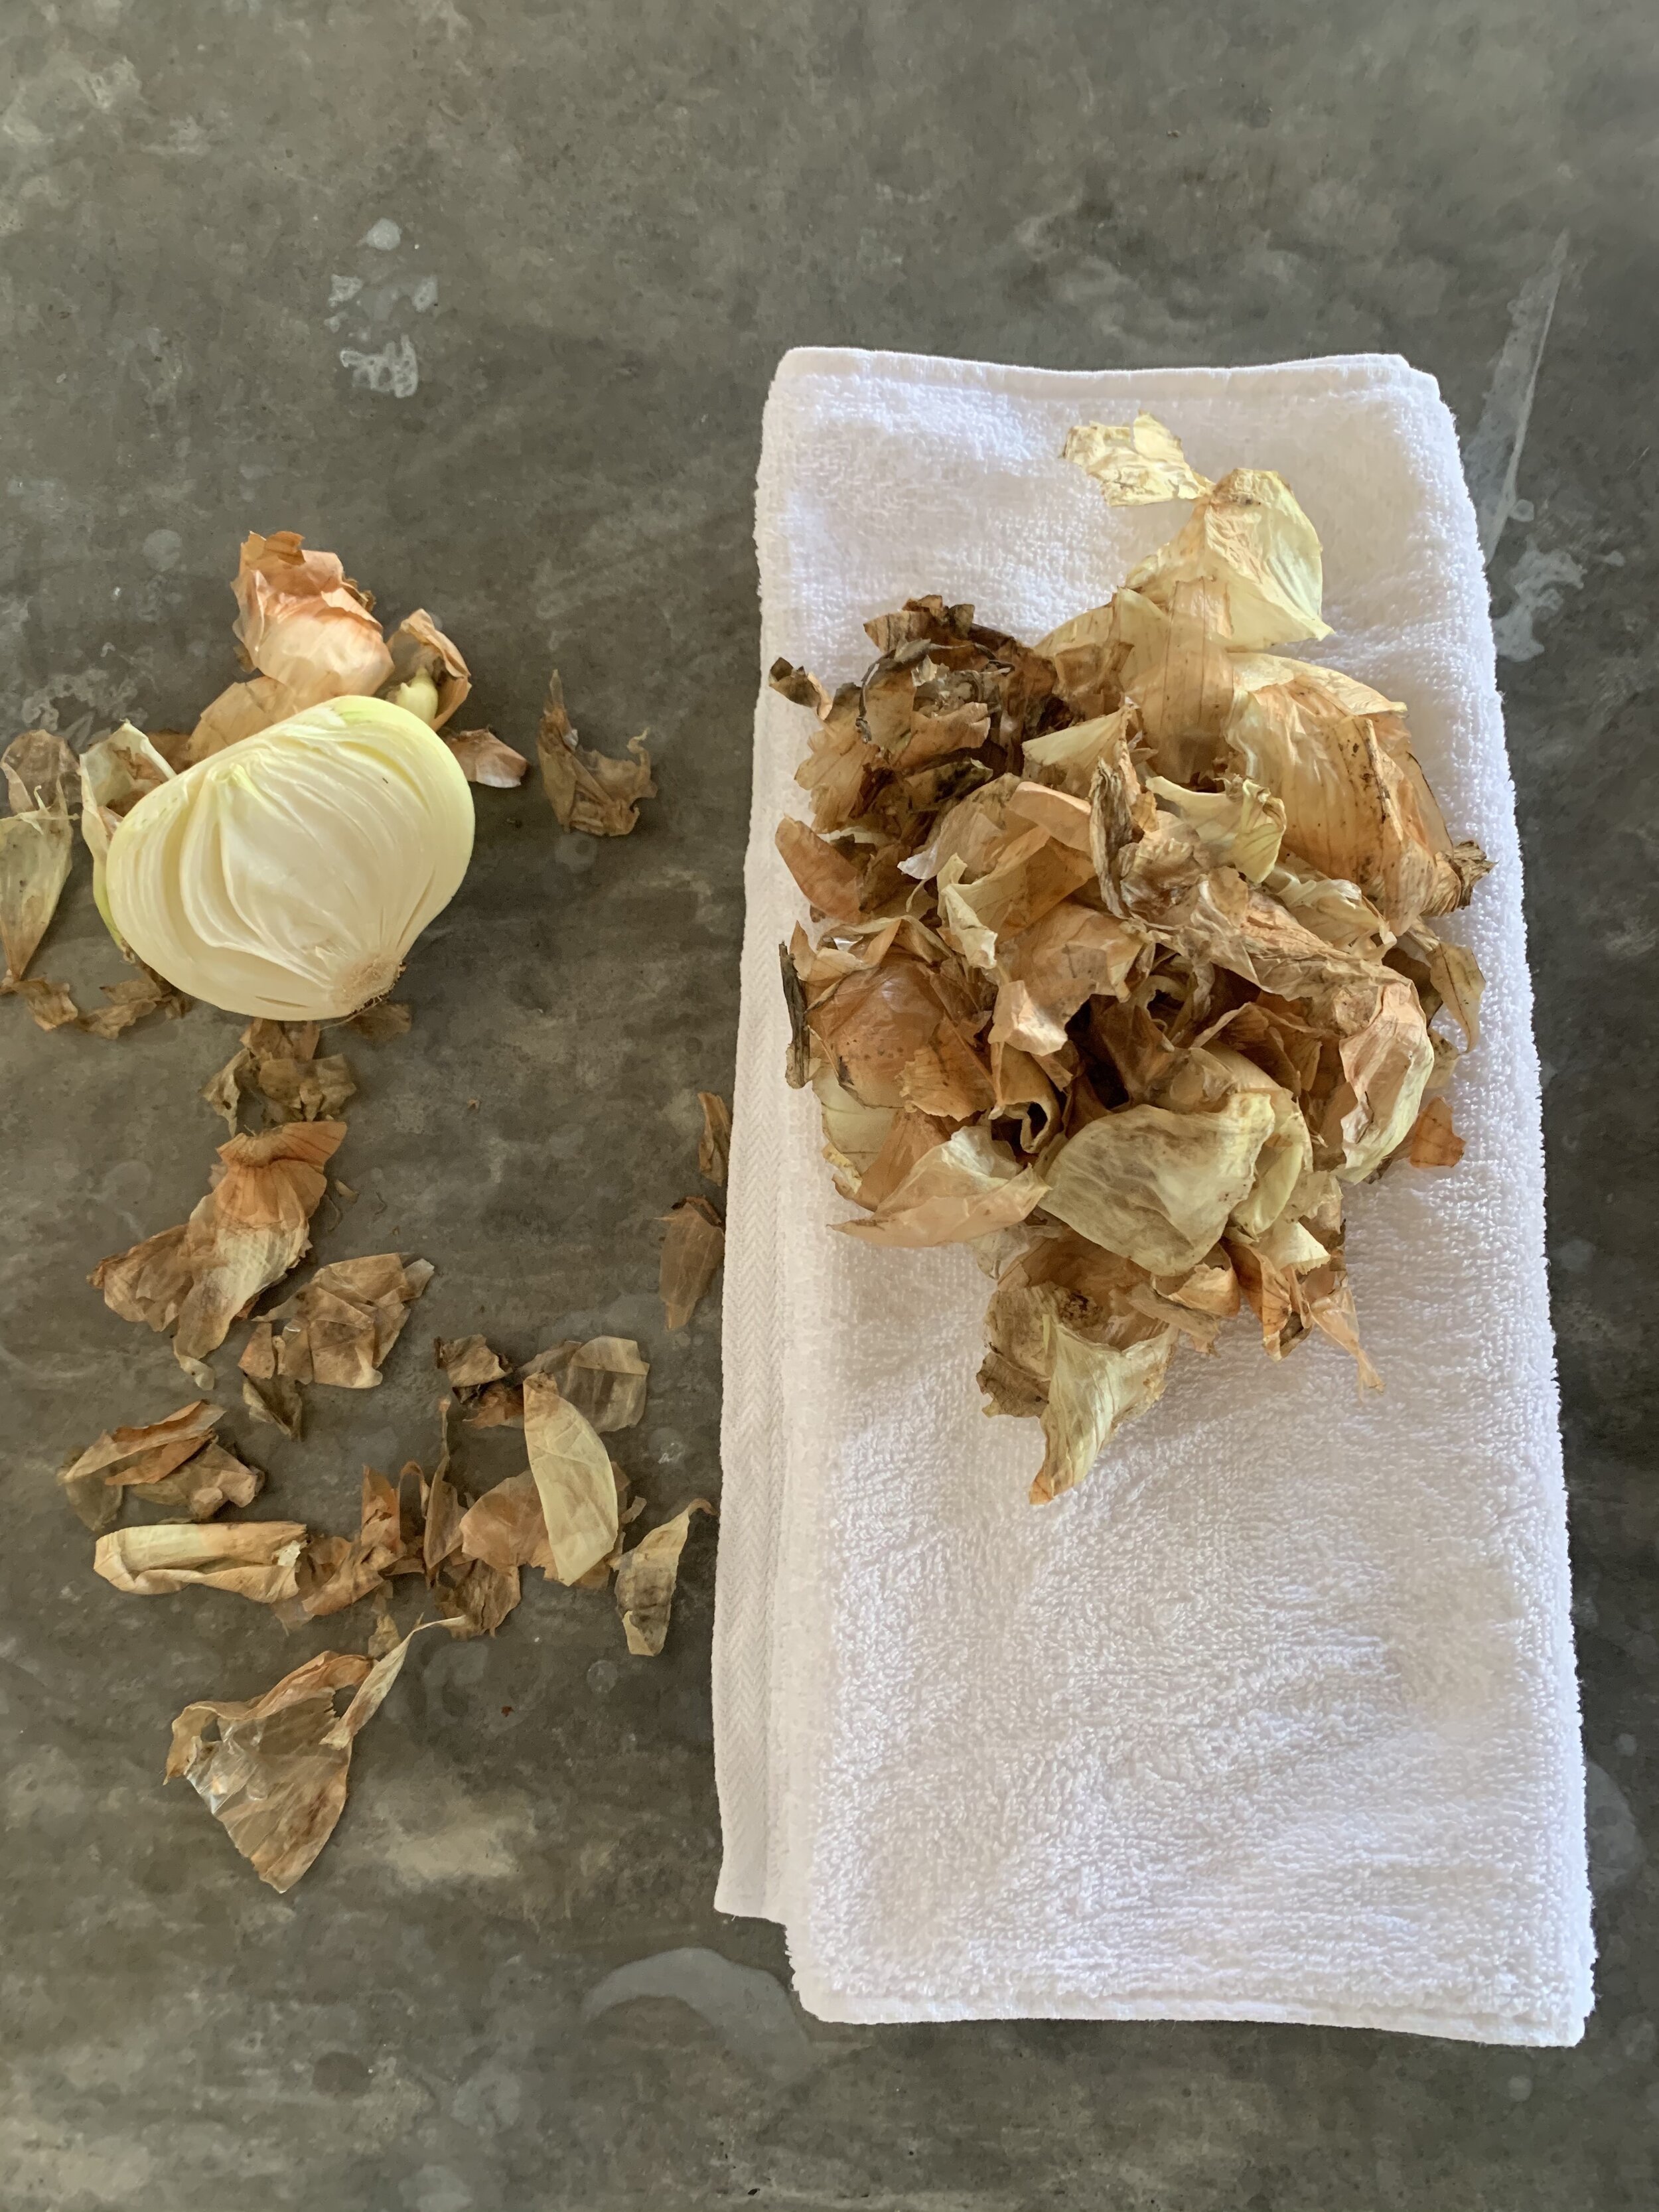
Store your onion skins in a dry place for at least a week. If you see mold collecting, you can move your onion skins to your fridge. Try to get them as dry as possible before you freeze them. The number of onion skins will vary, but as a rule-of-thumb, collect as much as your fabric weighs. A 1:1 ratio is always a good place to start.
Note: Onion skins are extremely lightweight when dried, so you might need to collect more than what you think.
Tip: If you can’t collect enough onion skins from your kitchen, head to your local farmers’ market and ask them for a few. They generally peel onions and throw away the skins, anyway!
Fabric of Choice
If you are planning to store 200g of onion skins, then you’ll need your yarn skein or your cotton t-shirt to weigh at least 200g. We encourage exact measurements.
Alum Powder or an Aluminium Stone
Some great websites sell natural dyeing materials. You can order alum powder from Dharma Trading here. If you are using powder, you will need only 1 tablespoon of powder per 100g of fiber. If you are in Colombia or in other countries outside the US and Europe, I recommend buying an aluminum stone, which you can easily find in pharmacies or online. You just need one or two for this project.
Note: We used alum stone for this tutorial.
A Large Staining Steel Pot
Heat-Resistant Gloves
A Wooden Spoon
Optional: If you wish to do some shibori (tie-dye) design to your piece, then you’ll need rubber bands, cotton rope, and/or wood blocks.
Essential Vocabulary
A few things first before we dive into the process. As I mentioned above, natural dyeing is an ancient craft where science meets art. I want to explain some important words that I will use as I explain each step.
If you read our past blog entry on avocado dyeing, you might be familiar with the term “mordanting”. This is the first step when dyeing any fiber with natural dyes to assure your color will not wash off when you wash your fibers after dyeing them. We copied the same information about what mordanting is, and how to go about preparing your fibers before you begin dyeing.
Mordant/Mordanting
To make sure the colors we get from our dyestuff do not run off once we wash our fibers, we need a mordant. The word mordant means “to bite” and that is literally what the mordant’s purpose is. A mordant is a natural chemical (such as aluminum, which we will use in this tutorial) that adheres to the fabric at a molecular level to prepare the fiber molecules to adhere to the molecules of the dyestuff better. This step is essential if you want your color to last and not fade away when washed after the dyeing process. This makes your color last for a long time, we call it color-fast.
Dyestuff
We will refer to our onion skins as the “dyestuff”. This word is used to describe the power, substance, or material that when used for dyeing it yields color.
Protein Fibers
Protein fibers are fibers that come from animals. Examples include wool, angora, mohair, cashmere, alpaca, and also silk from insects. Protein fibers are made of 20 amino acids. Dye particles adhere more easily to protein fibers than cellulose because they have many substances to attach to.
Cellulose Fibers
Cellulose fibers are fibers that come from plant sources. Examples include cotton, flax, hemp, jute, linen, and bamboo. Cellulose is a polymeric sugar polysaccharide because the molecules are made of are mainly glucose. When dyeing cellulose fibers, dye particles can only adhere to sugar particles as opposed to 20 amino acids in protein fibers. So, the color is less vibrant when cellulose fibers are dyed, and more vibrant when protein fibers are used.
Steps
MORDANTING YOUR FIBERS
First, we are going to prepare your fibers to soak up and adhere to the color as much as possible. I prefer to mordant all my fibers with aluminum before dyeing because it makes the colors stronger and even more long-lasting. It’s a simple step that helps guarantee your color won’t wash off after dyeing.
Boil enough water in a medium-size pot. Just enough to cover your fibers.
Introduce 1 aluminum stone or 1-2 teaspoons of aluminum powder (based on the weight of your fibers)
Mix thoroughly until dissolved.
Wet your fibers. Make sure your fibers (t-shirt or yarn skein) are fully wet before introducing them.
Introduce your fibers to the hot pot and simmer for 1 hour.
Move your fibers around every once in a while. Do not let the fibers sit. This will avoid having uneven color and help you get nice even results
Remove and wash with cold water.

This is what an aluminium stone looks like. You can easily find it in a pharmacy in Colombia. If you can buy alum powder instead it works exactly the same.

We used two skeins of cotton yarn (50g) and a white cotton t-shirt, all weighing around 150g. So we used one alum stone to mordant the fibers.
A few notes before we start! (these are tips we found out during making it twice)
Why Yellow Onion Skins?
For this specific tutorial focusing on yellows and greens, we found results are better with yellow onion skins. You can also use red onion skins to dye fabric, but you won’t get yellow with this recipe.
Modifiers
Modifiers are elements that alter the ph of your dye. Making it more acidic or alkali. Color is affected deeply by modifiers, and this could be a fun way to experiment with the recipe and get a larger range of color variations. In this tutorial, we will teach you an easy modifier of iron after you dye your fabric one time. There are other modifiers such as citric acid, vinegar, cream of tartar that we encourage you to try also and record your results!
Natural Dyes are Never the Same
This is very important to understand when learning natural dyeing. Although we might give you some tips to control some elements such as ph, temperature, the weight of the fabric, and dyestuff, we can never assure you the yellows you get will be exactly the same as ours, and that is amazing! Even after using onions from the same farm, same water source, tools, and fibers, we sometimes get yellows that are much darker sometimes of the year, and other times we get softer yellow hues. All we can say is embrace the color you can get and if you are really into recording your results, repeat this recipe at different times of the year! You might get seasonal colors in play as well.
Check out our Pitaya Yellow Products
Our Pitaya Yellow products are made with this onion skin natural dye recipe! Be sure to check out all the pillows and table linens we offer in this beautiful yellow color.
Process
1. In a medium-size pot, bring water to a boil and then keep it at a simmering temperature. How much water you might ask? This is not as important as the exact measurement for your dyestuff and dry goods. Enough water to cover your fibers is good.
2. When the temperature is simmering, add your dry onion skins to the pot. DO NOT let the water get to a boiling temperature as this might burn the dye and you might get results that end up brown.
3. Keep at a simmering temperature (medium to low heat) for about an hour.
4. You can either filter out your onion skins in this step or keep them in the bath, is up to you.

In this tutorial we will use a cotton towel and tie it in a shibori pattern. We used hair ties and tie multiple sections of the towel to obtain circular design patterns.

This is what your dye pot should look like as soon as you introduce your onion skins.
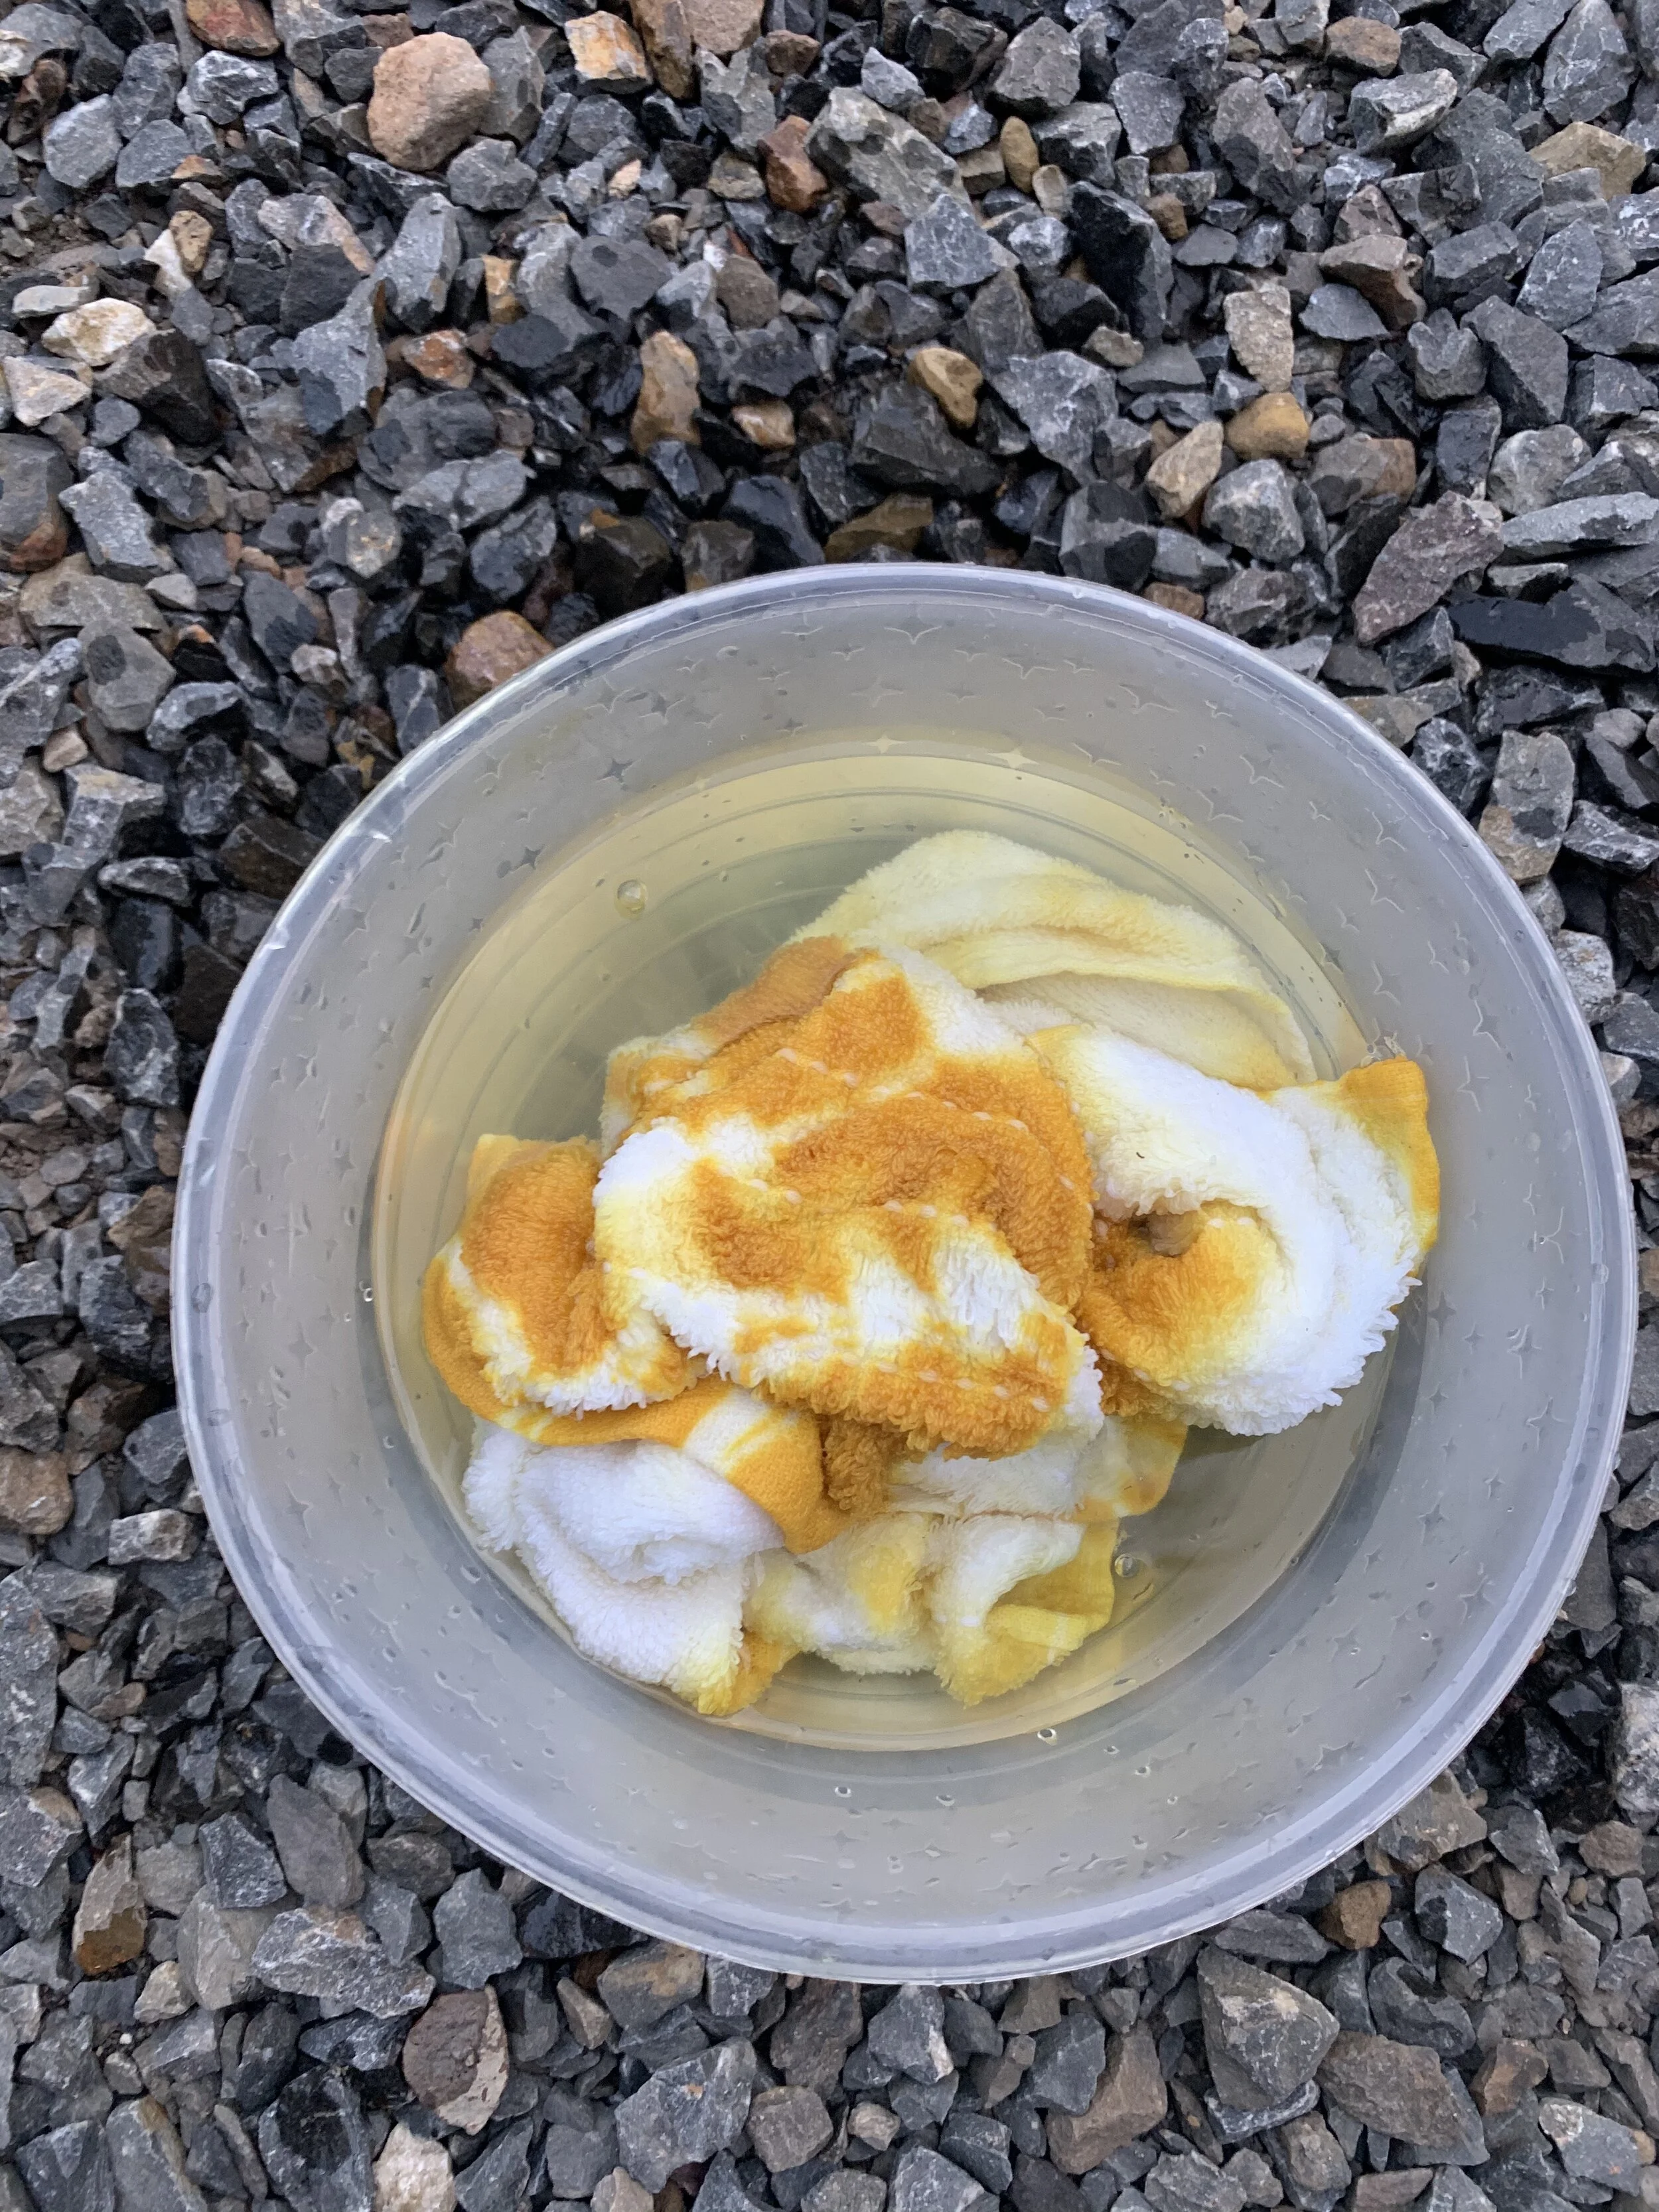
5. Introduce your fibers. I recommend always washing with water your yarn skein or fabric before introducing it to the dye bath. This opens up the fiber molecules to receive the dye better and avoid uneven dye spots.
6. Move your fibers around constantly. You can use metal tongs, wooden spoons, or heat-resistant gloves to move it around the dye bath. This is crucial to getting even colors.
7. Leave your fibers between 1-2 hours in the dye bath and move around constantly.

Once you introduce your fibers they should start looking yellow within a few seconds of being introduced into the dye bath.

After 1 hour of simmering in the dye bath both the towel and the t-shirt have a golden yellow color.

After a few minutes in the dye bath we can see colors getting deeper by the minute. I introduced another element here and it was a cotton t-shirt with no shibori design this time.

Once you are happy with the color you got you can separate your fabric and save the dye water to do the iron modifier step
8. Carefully use your heat-resistant gloves to take out your fibers and wash with water until water runs clear and discard your onion skins in compost or organic material waste.
9. Modifier Extra Steps! If you want to try out an iron modifier, then do not throw your dye bath away. Add a spoon of iron powder (you can purchase iron powder easily online or even make your own iron water.) to your dye bath and dissolve.
10. Introduce your fiber once again to the dye bath. Here you will be able to notice the color change quickly. Leave to simmer for 30 minutes in this new modified iron dye bath.
11. Repeat step 8.
Final Results
This is our shibori towel after the hair ties were taken out and washed until water ran clear.
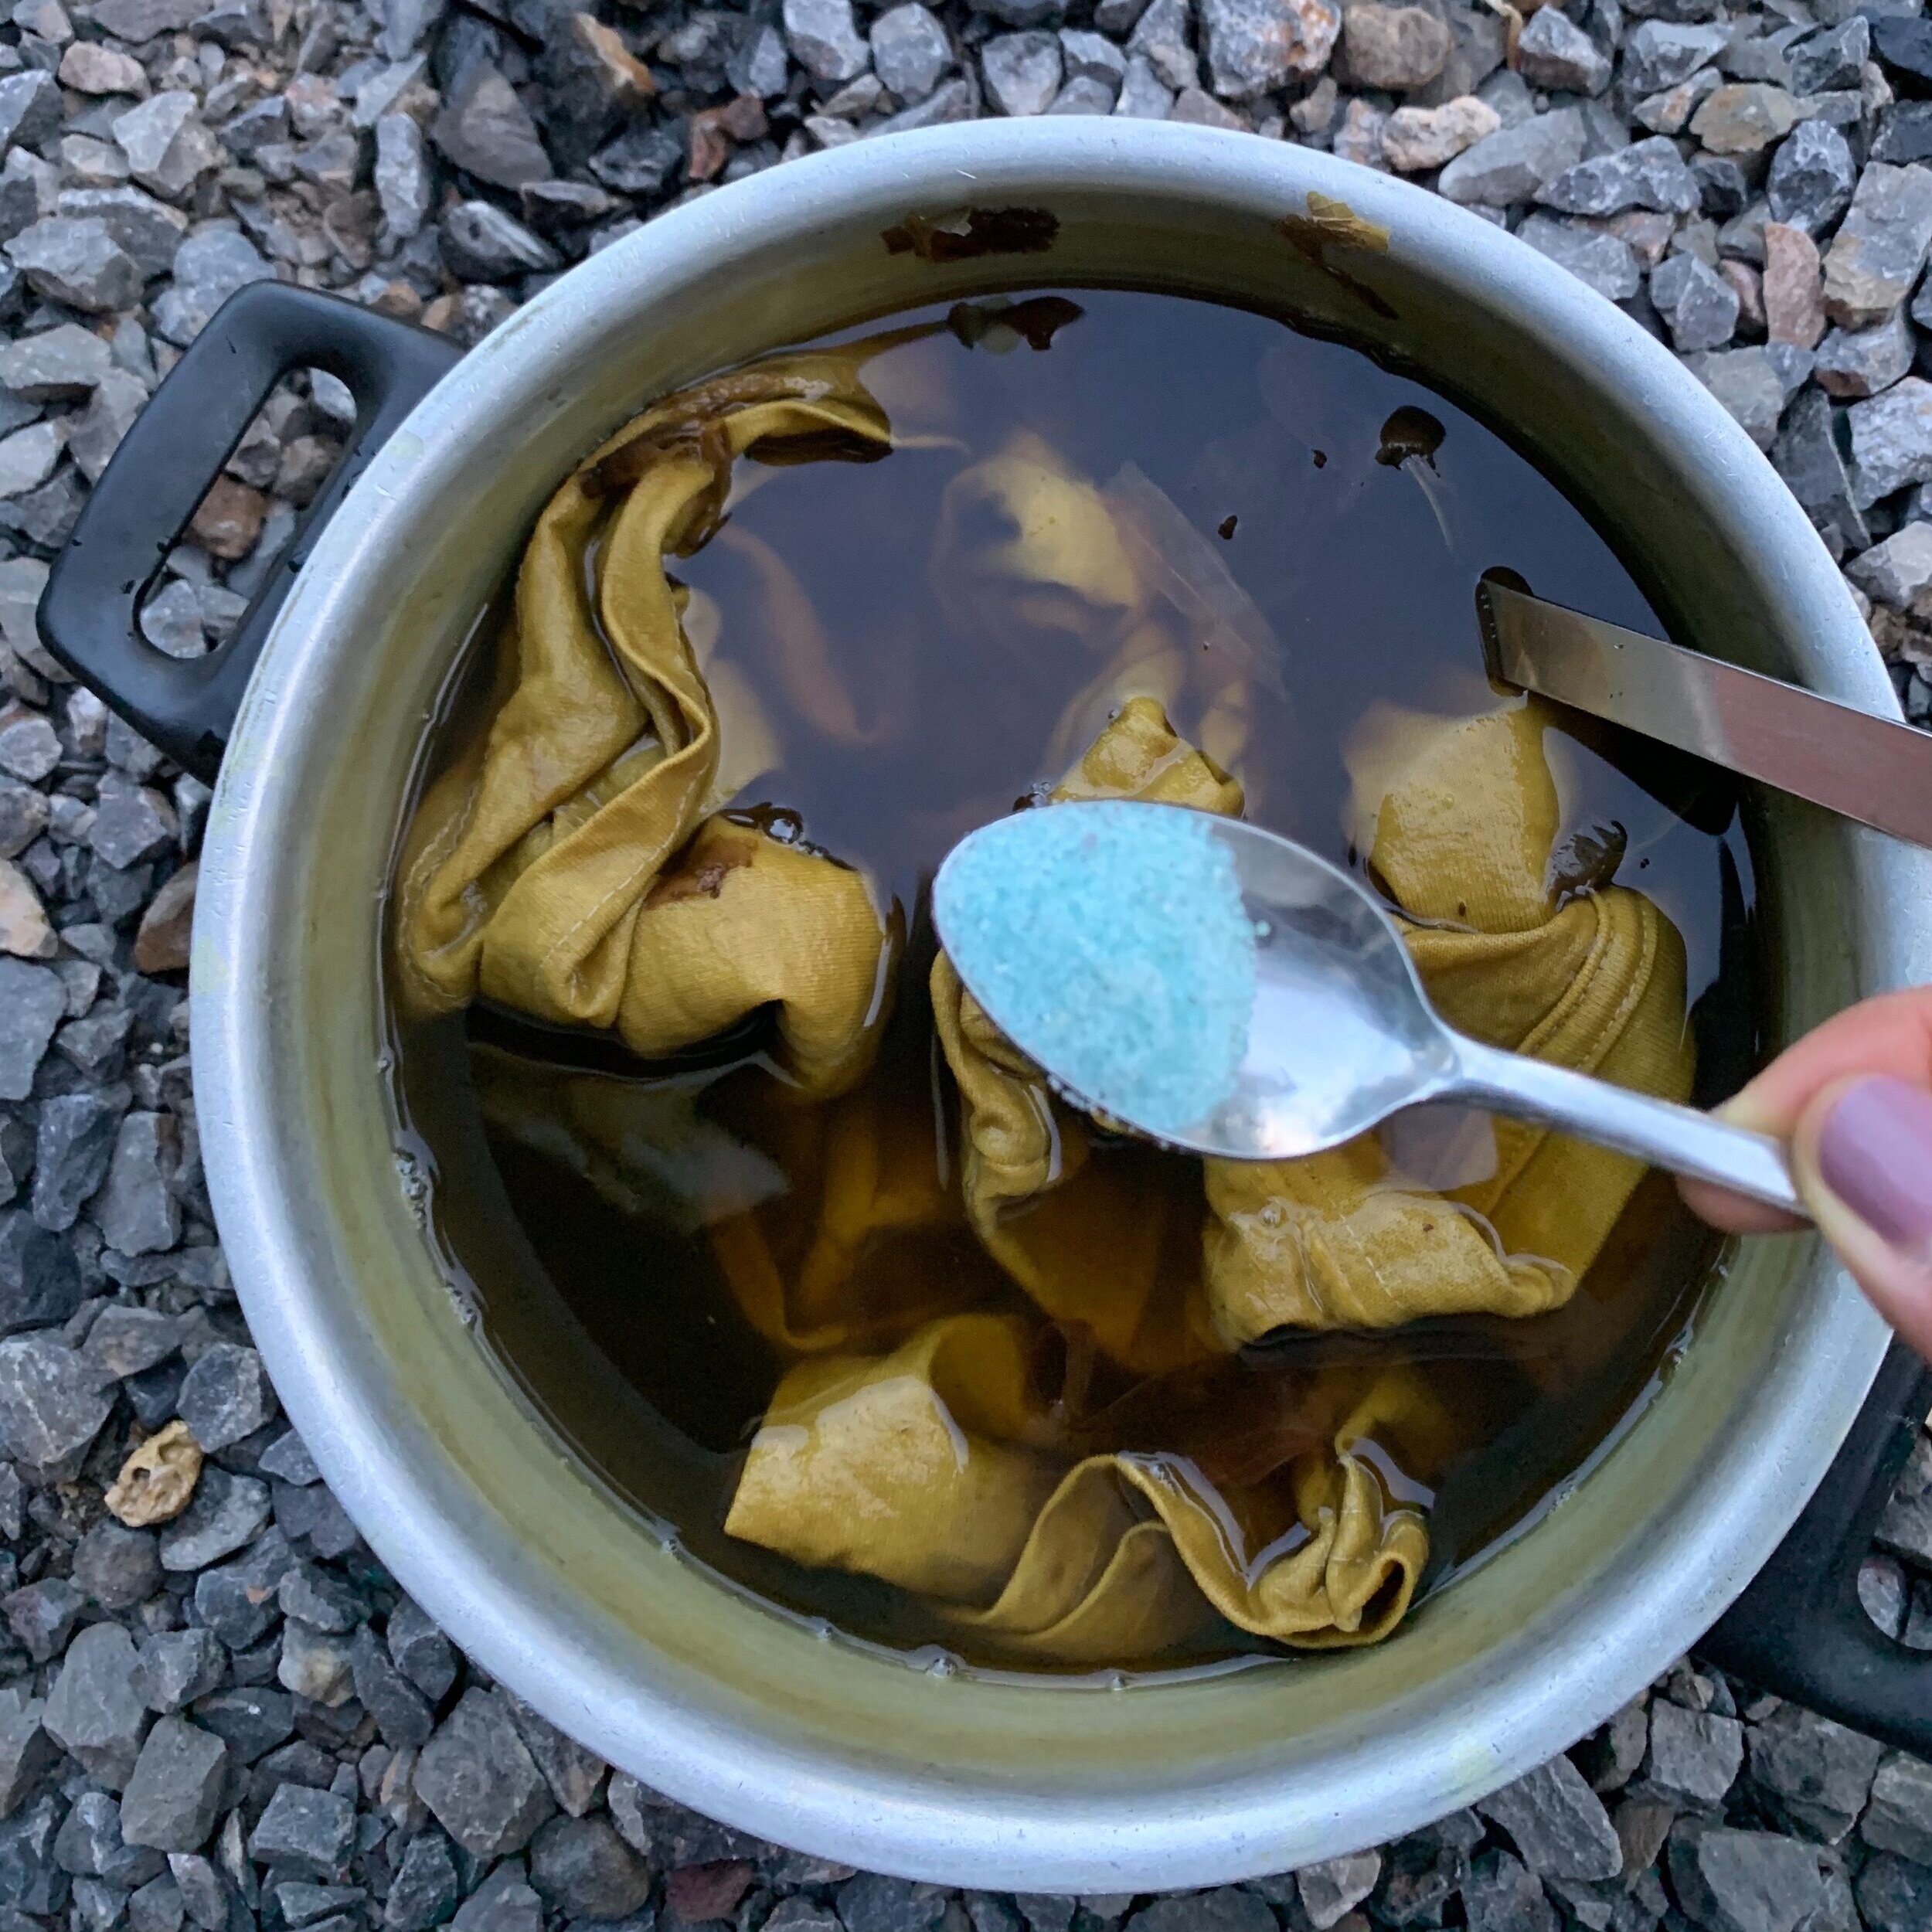
For our iron modifier we saw immediate results as soon as we mixed our iron powder in the remaining dye bath.

Final results of towel after washed and dried. You can notice because of the shibori design we got soft yellows and deep f
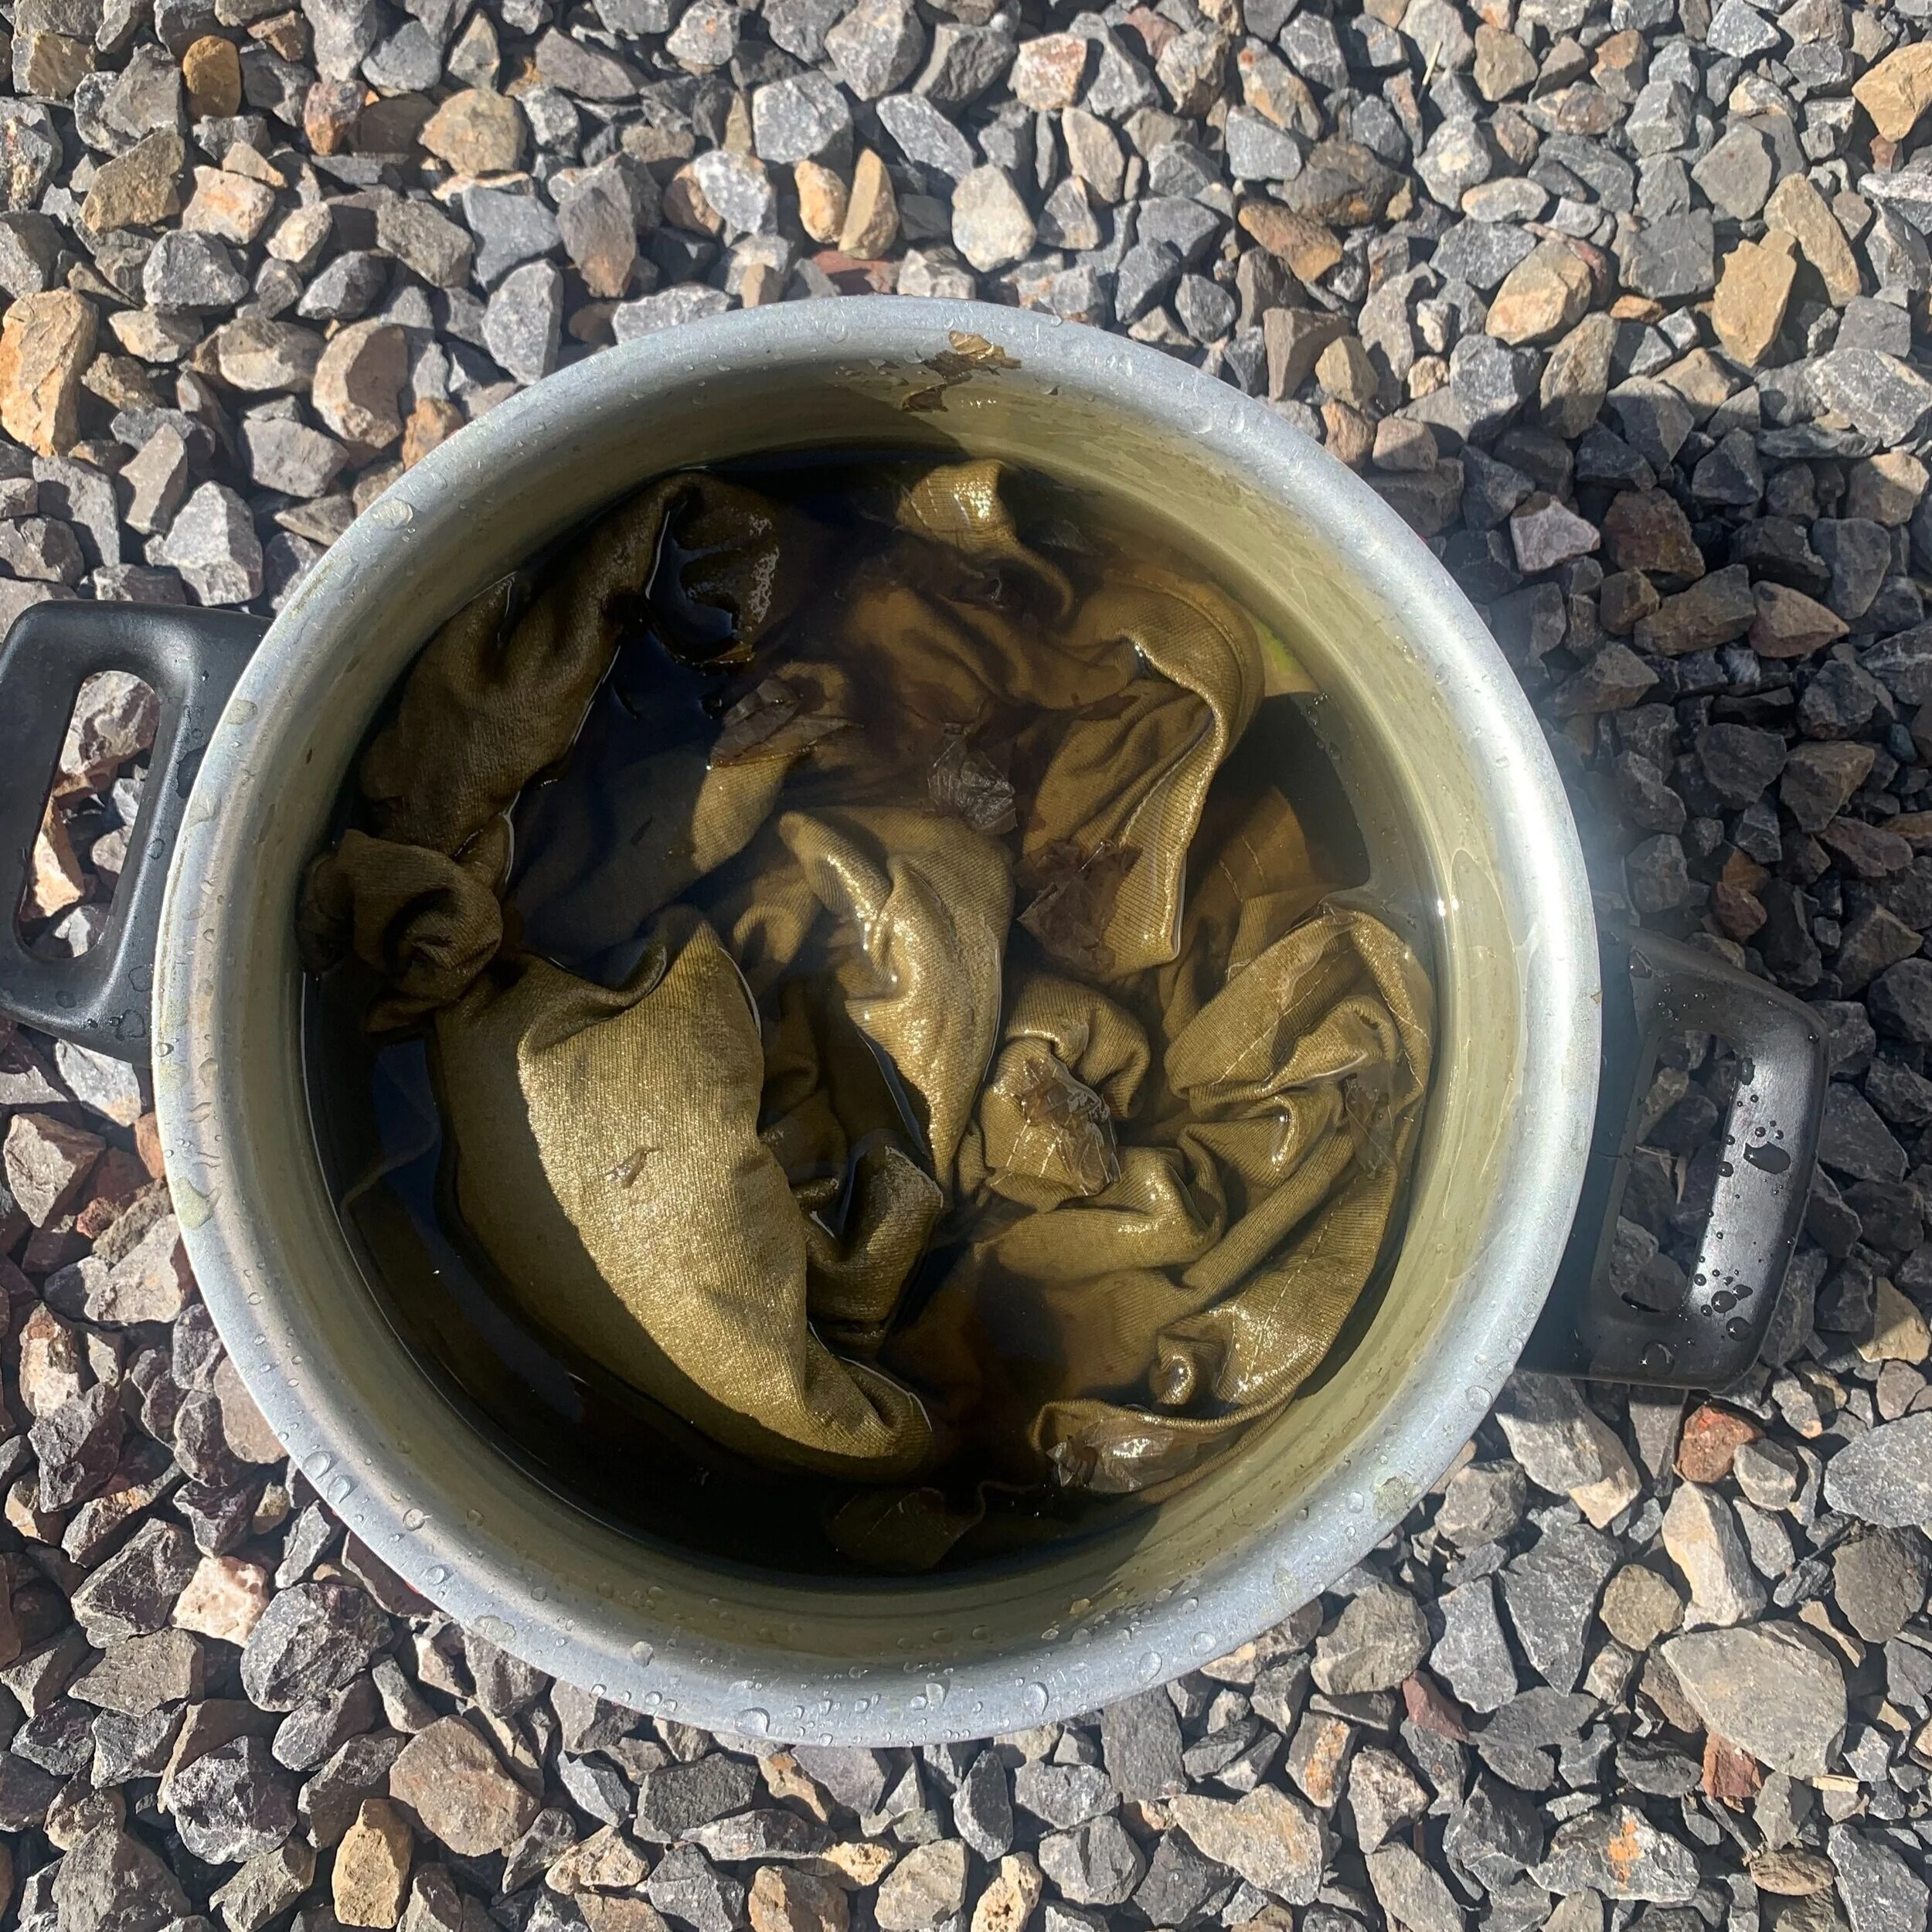
After 10 minutes, the cotton t-shirt was looking like a military dark green. I took it out after 30 minutes soaking in the modified bath, rinsed and dried.

To the left, our shibori tied cotton towel after dried still has a variety of shades between light and mustard yellow. To the right, our iron modified cotton t-shirt still had that dark military green from only sitting 30 minutes in the dye bath.
You probably got some hues between peach, oranges, soft yellows, or if you’re lucky, nice deep golden yellows! It’s amazing how our colors can change depending on where we are located, the water ph, our timing of how long we left the dyestuff in the bath, and if you were dyeing with cellulose or protein fibers! If you went a step further and tried out the iron modifier hope you were so surprised by how much color can change by adding an alkali agent to the solution!
If you are excited about all the possibilities of natural dyeing, we suggest you keep a record of all the conditions you had to get a specific color. This way you can continue to experiment in changing some elements and discovering alternative ways to get natural colors! For more recipes please be sure to check out tour Red Cabbage & Avocado Natural Dye Tutorials and be sure to share your thoughts or results with us leaving us a comment or posting your results via social media! remember to tag @zuahaza so we can see your beautiful work.
Happy dyeing!
Check out the EcoClub Results!
We collaborated with The Eco Club Official for this tutorial and we are so excited to show you their results! Be sure to check out their blog post on onion skin natural dyeing and be sure to check out our IG LIVE where we discuss more details about the process, tips and more!

Color Results from the EcoClub. For more results check out their blog here
